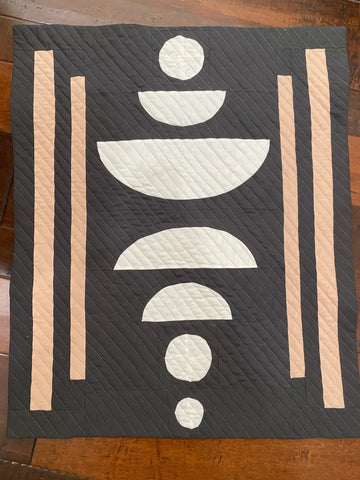
Adding a facing to your quilt is a great way to give it a clean, modern look and is an alternative to adding a quilt binding.
Here is a quick video of the process (detailed instructions are below):
VIDEO: How to face a quilt
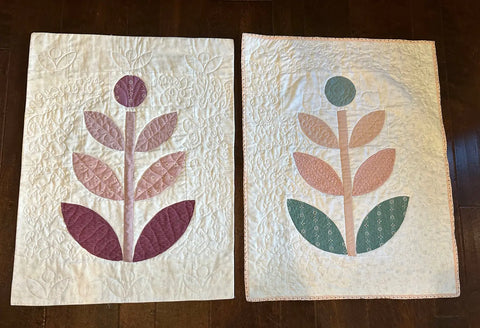
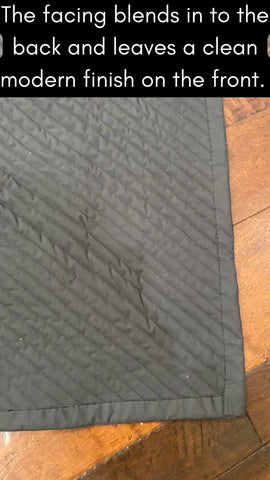
Here are two similar quilts- one with facing (on the left) and one with binding (on the right). As you can see it changes the overall impact and is cleaner and more modern. It's great for wall hangings as the back is not as clean as the binding edge is.
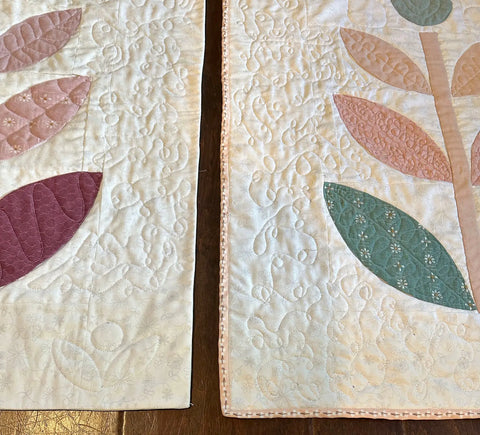
Here is a closeup of the quilt binding vs. the quilt facing.
Here's how you can add a facing to your quilt:
1. Cut your facing strips: Cut 4 strips of fabric that are 2 inches wide and about 4" longer than your quilt sides.
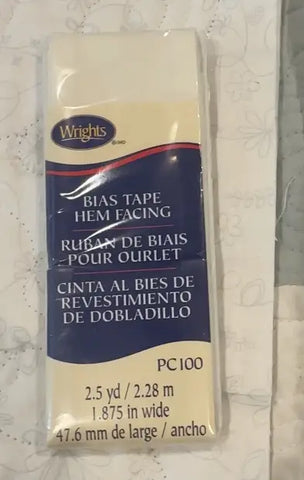
In the video I used this Bias Tape Hem Facing product that you can buy pre-cut. Buy it here

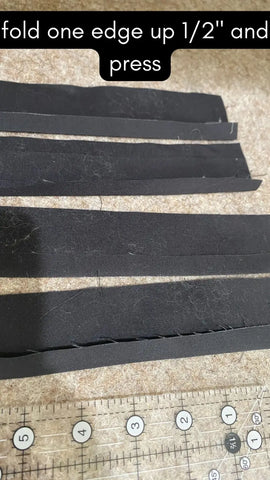
2. Press: Press 1/2" towards the wrong side of each strip. This gives a clean edge for your hand stitching later.
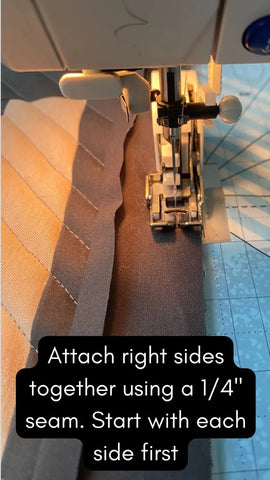
3. Attach the facing to the quilt: Place the facing strip right sides together with the quilt top, aligning the raw edges.Stitch 1/4" seam. Start with the sides first and then trim to the edge of the quilt.
I use a walking foot to make managing the bulk easier.
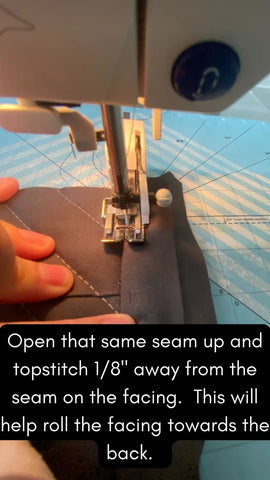
4. Topstitch- open the facing up and topstitch on the facing 1/8" away from the seam. This helps to roll the facing towards the back of the quilt later. Tip: to get a 1/8", i moved my needle over 3 spaces using my sewing machine options.
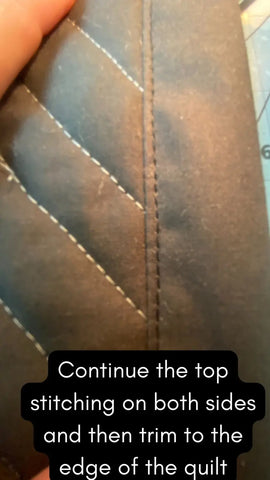
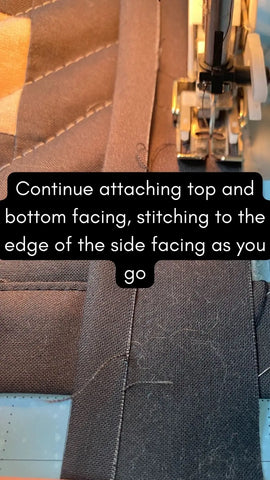
5. Continue with attaching the top and bottom and topstitch these as well.
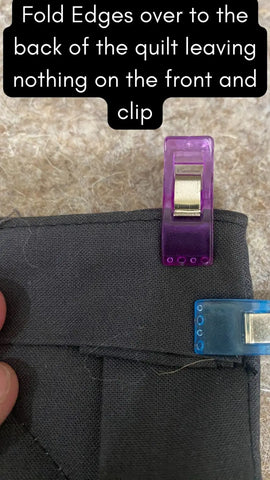
6. Turn the facing to the back: Turn the facing to the back of the quilt and clip. your topstitching should be on the back of the quilt. For the corners, use the excess on the top and bottom and fold over to make a neat finish. I use clever clips to clip.
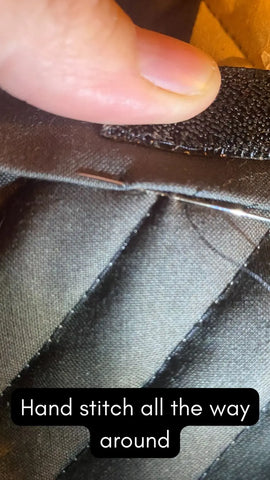
7. Finish the facing: Hand stitch around the facing. To make it easier to see the black on black, I used my light my needle gloves!
That's it! Adding a facing to your quilt is a simple technique that can give your quilt a beautiful and polished finish.


Carolina olivarri
June 01, 2023
Thank you so much for accepting me.I
Enjoyed your video. I’m new to quilting and have a lot to learn . I’m 82 years old. Never to old learn. I love it. The Lord bless you 🙏.