This tutorial walks you through Free Motion Quilting with rulers using the Simple Arc and straight line rulers found in the Free Motion Quilting Essentials Template Set. This ruler is great for stitch in the ditch, cross hatching, curved cross hatches, and even baptist fan.
Quilting with the Free Motion Quilting Essentials Template Set can give you the look of longarm quilting from your domestic sewing machine. The set includes five essential rulers, which are:
- Simple arc and straight line ruler- 6.5" x 2.5"
- Long Double Arc ruler- 10" x 3"
- Clamshell ruler (small wave, clamshell)- 7" x 3"
- Circle (both inner and outer can be used for designs)- 4.5"
- Feather (three sizes of feathers on one ruler)- 7.5" x 3"
You can clickhere to find a great introduction to using the rulers, including selecting the correct ruler foot for your machine and how to set up your machine for sewing with a ruler foot. Let’s take a closer look at the Simple arc and straight line ruler and a few of the interesting designs you can make with it.
Anatomy of the Ruler

The ruler itself is listed at 6.5” x 2.5,” although I measured it at 2.75” at its highest point in the center. The ruler, like all the rulers in the Free Motion Quilting Essentials Template Set, has a non-slip coating on the back of the ruler, which prevents it from sliding around on your quilt (this is the green areas that you see). There is a ¼” line marked all the way around the ruler, then another ½” line marked inside of the ¼” line, on the top and bottom. The top has both straight and curved lines marked. There are additional 1” lines marked across the ruler from one end to the other, inside of the ¼” lines.
Watch our full video here:
Designs with the Ruler
Stitch in the Ditch
This ruler is perfect if you want to stitch in the ditch of your quilt but you want the freedom to move you any direction, rather than constantly rotating your quilt. By using free-motion quilting, you are able to move your quilt in any direction you want, because your feed dogs are not engaged. By using the straight edge of this ruler, you can guide the ruler along your straight seams and get perfectly straight quilting lines along your seams in any direction.
Crosshatching
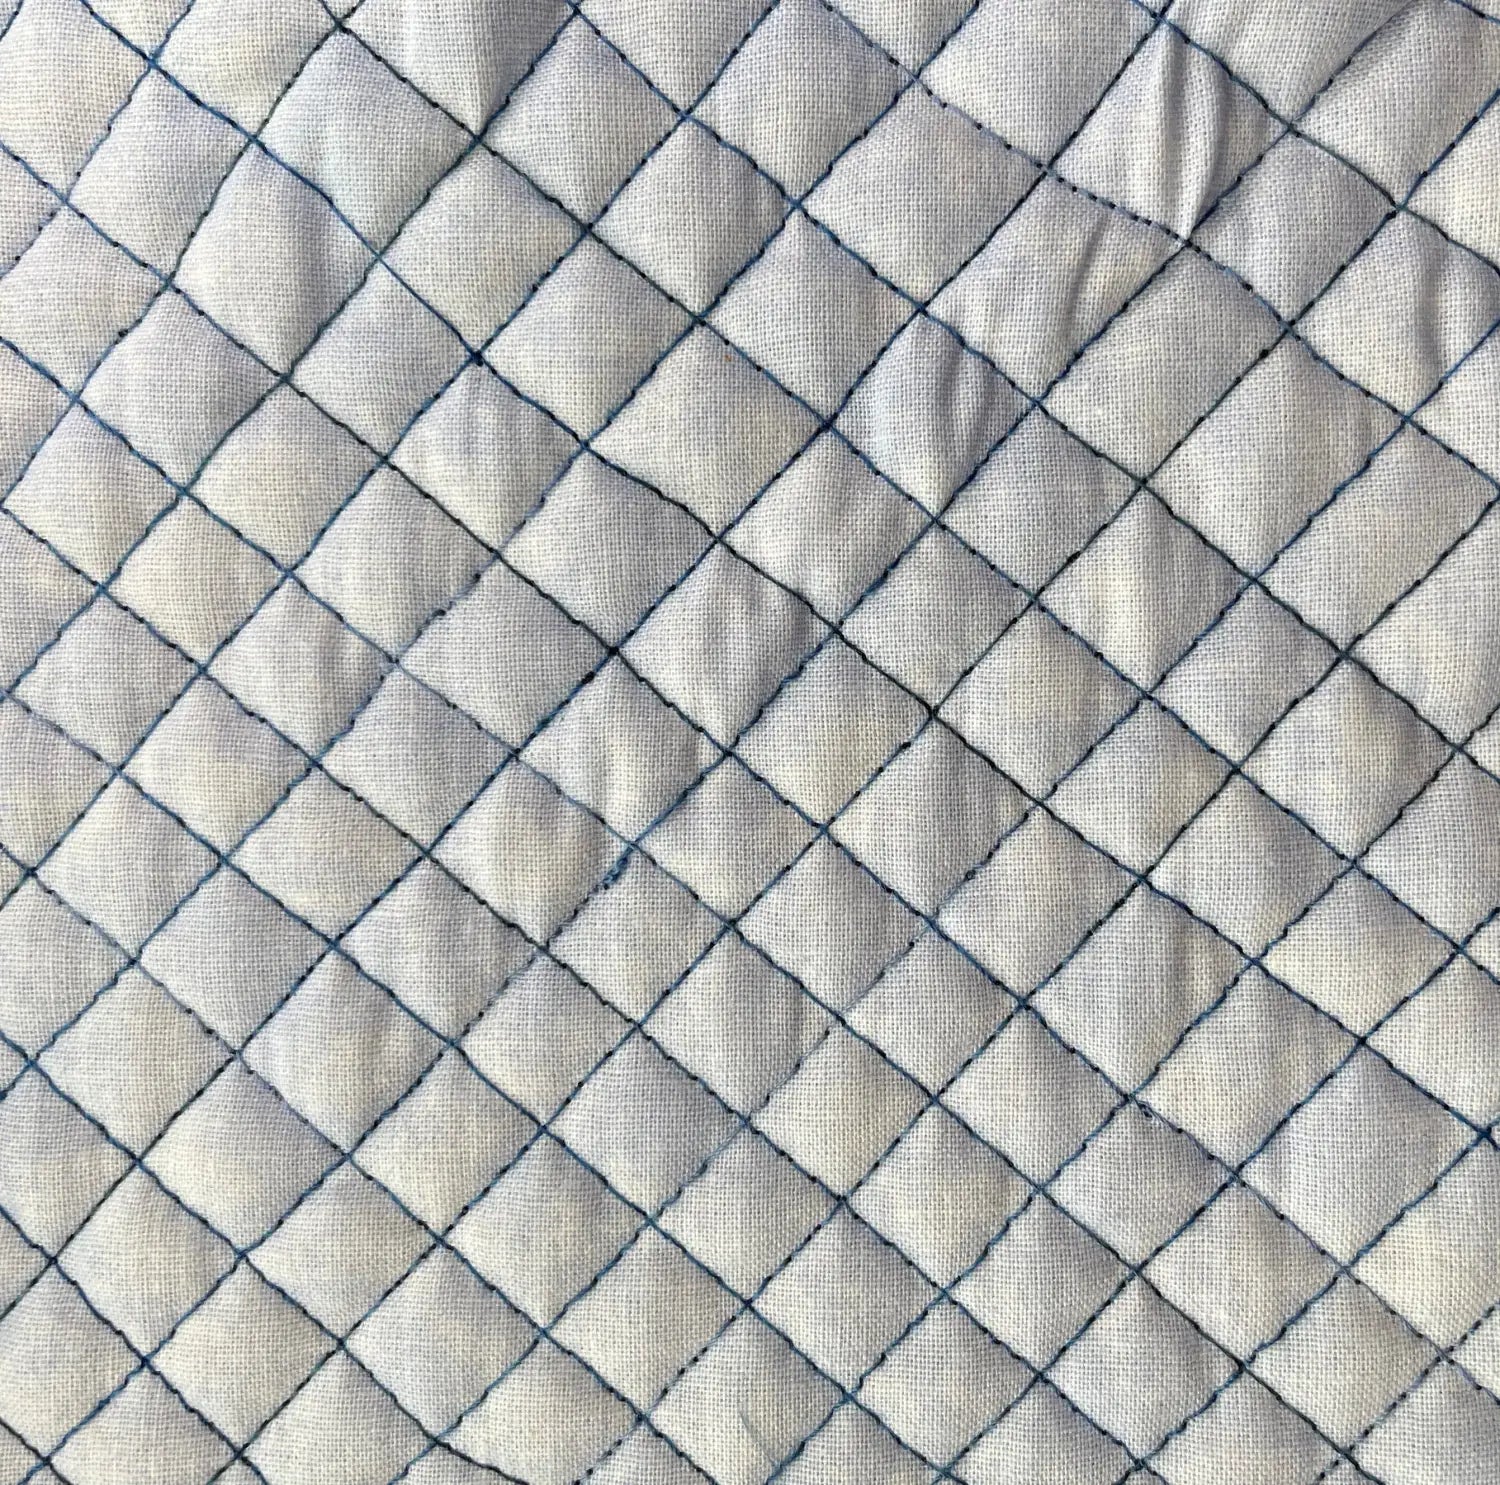
Crosshatching is simply creating a lattice of straight lines, by stitching first in one direction, then in the opposite direction.
Curved Crosshatching

Curved crosshatching works exactly like crosshatching, but uses the curved side of the ruler instead of the straight side.
Sashing and Border Designs
The curved side of the ruler can be used to create arcs in the sashing or border of the quilt. By using the straight ¼” marking on the curved side of the ruler, and lining that up with the edge of the border or sashing of the quilt, it creates a small arc to use as a design element.
These are just a few of the many possibilities with this ruler. Let your imagination run wild.
Happy quilting my friends!


Leave a comment (all fields required)