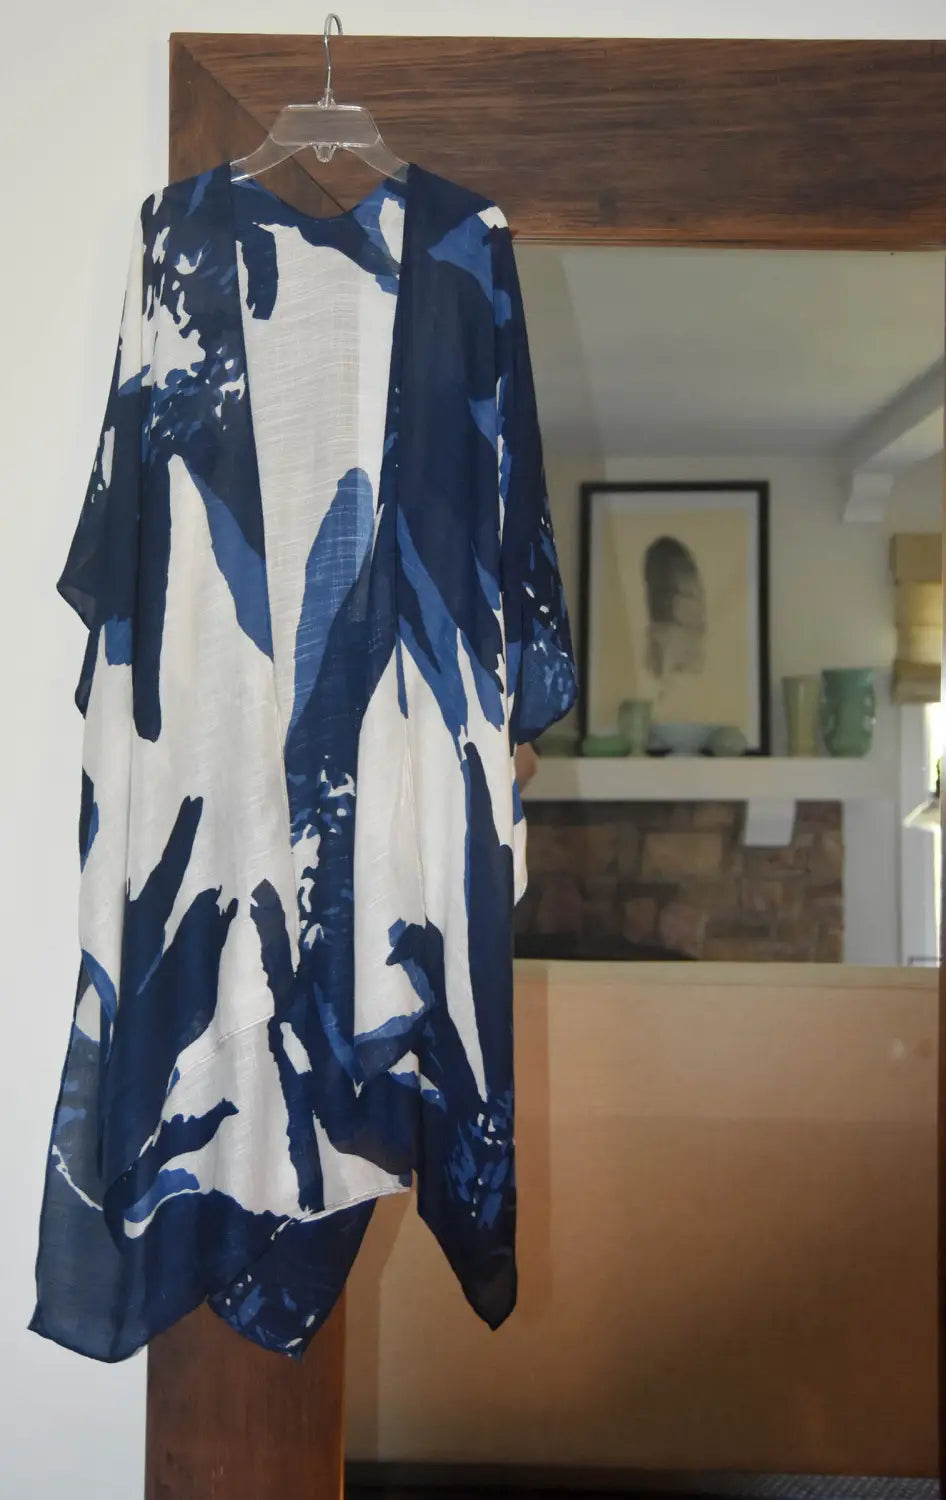
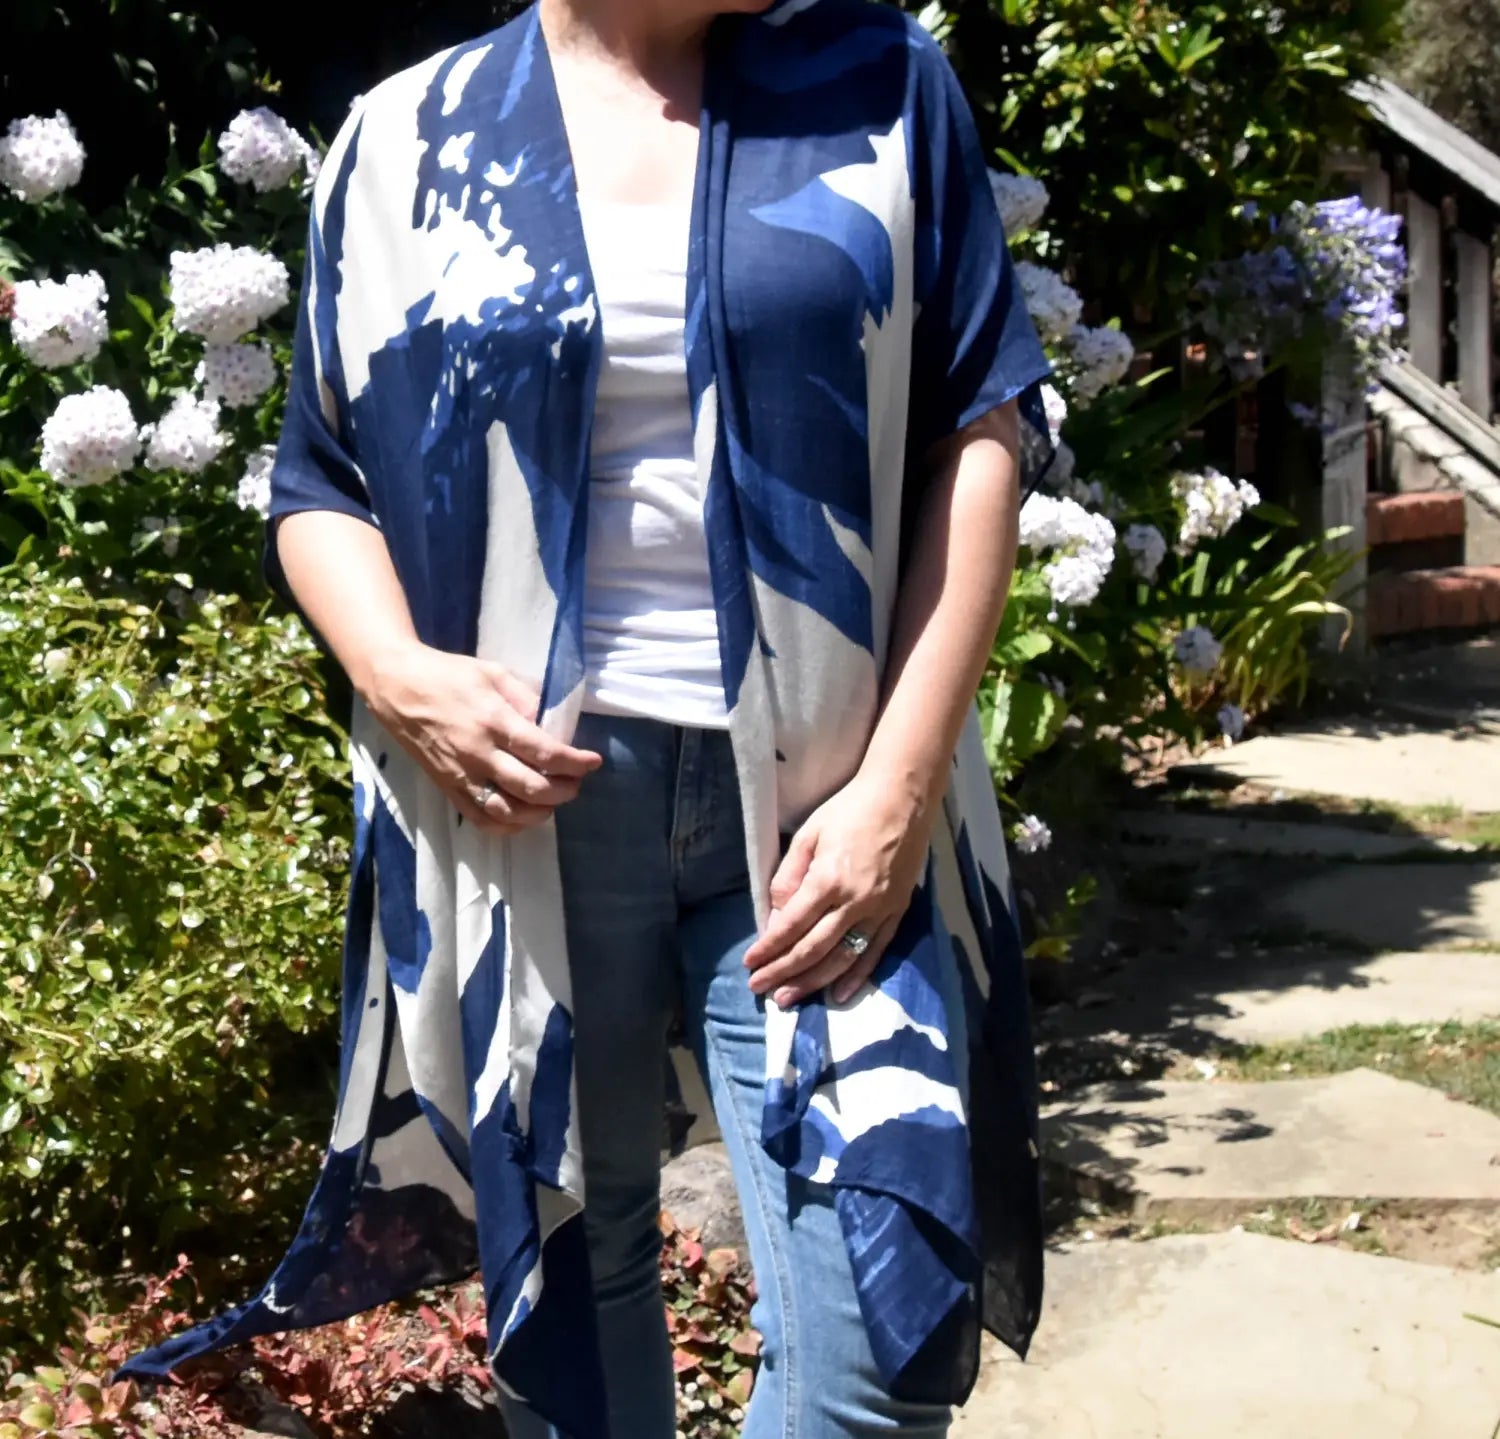
This great easy open cardigan sewing tutorial (sometimes referred to as a "Kimono style" is an easy project for a beginner, and creates a useful third piece that's easy to wear casual or dressed up.
- Finished Length measures 33” from shoulder to front hem and 44” to back hem. This has an easy fit and generous proportions adjust as needed.
Materials and Tools
- Scissor or Rotary cutter, ruler and mat
- 2 1/16 yd of 45” wide fabric (lightweight cotton voiles and knits work well). You could check your scarf stash as well and see if you have something you want to reuse.
- Thread
- Pins
-
Rolled Hem Foot (recommended) (included in our 32 piece set)
- Small amount of fusible interfacing (optional)
Here's a video to walk you through the process (written instructions below)
Instructions
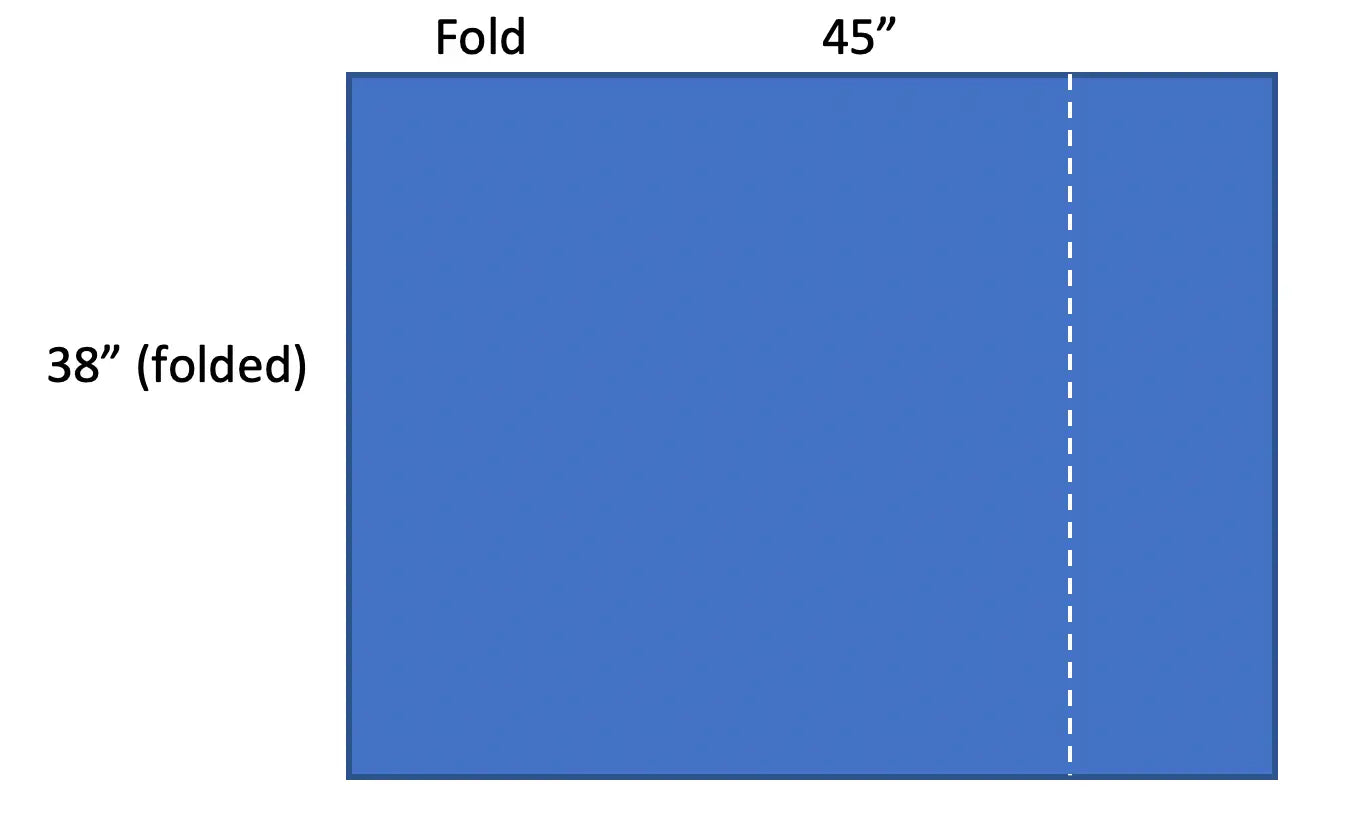
- Fold your fabric in half. You should have roughly a 38” (76” unfolded) x 45” square. If you have less than 38”, your kimono will just be slightly shorter. If you want a longer kimono, use more than 2 1/16th
- Note: If you are using a lightweight fabric you may need to pin along the sides to keep all in place during the next few steps.
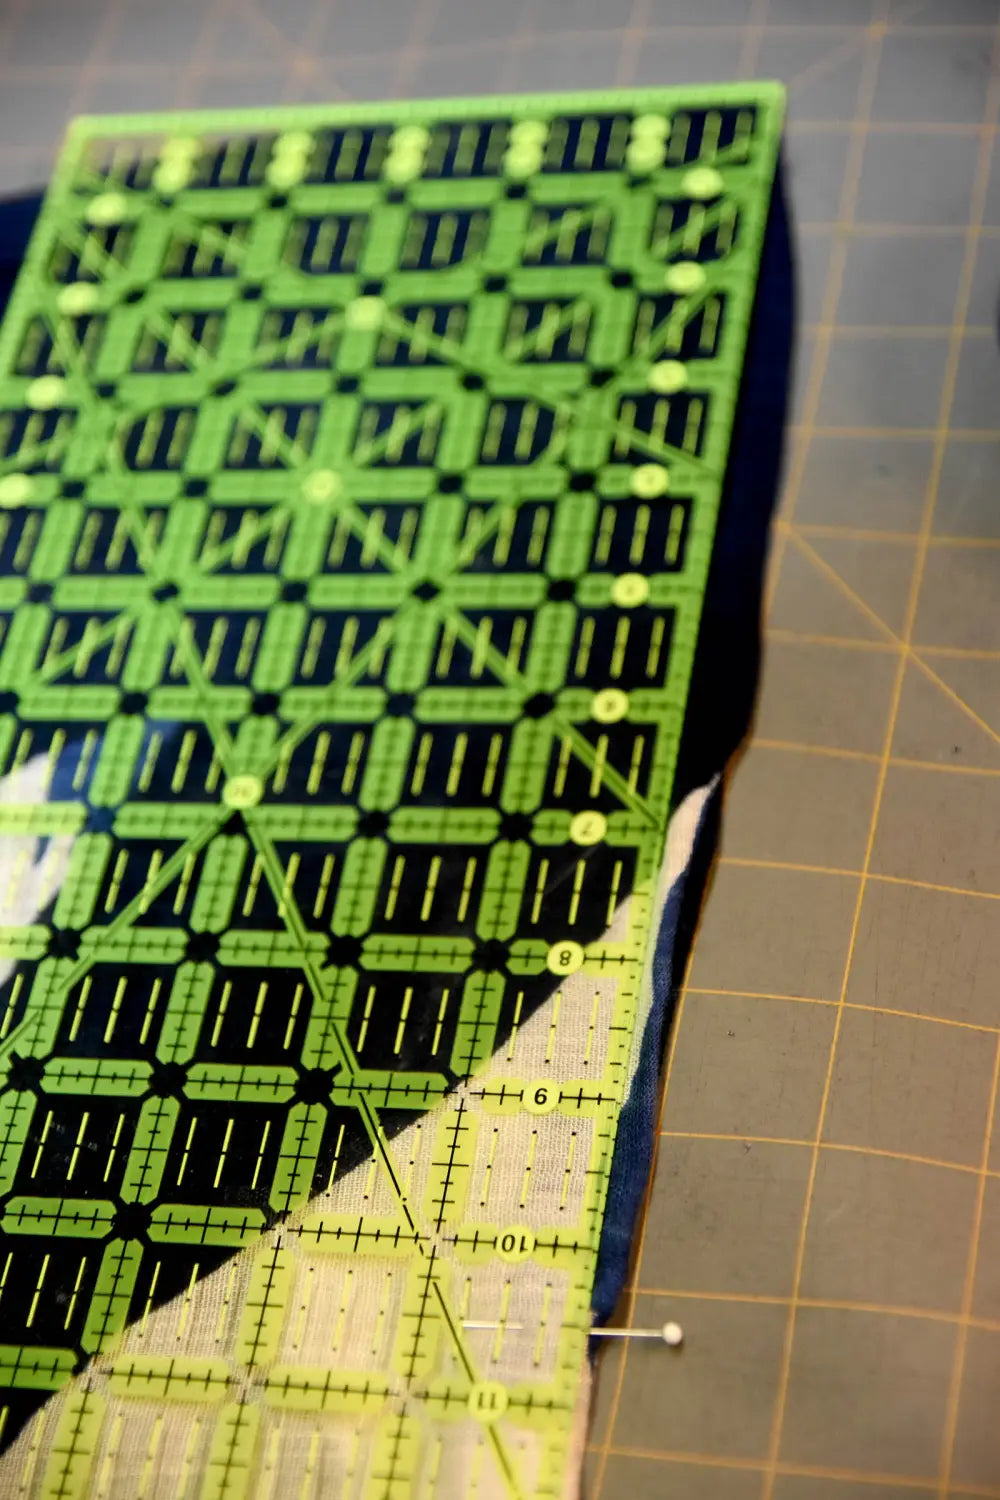
- Cut your Kimono. Using your rotary cutter or scissor, cut 9” off to create a 36” wide x 38” (76” unfolded) piece. If you would like a wider kimono, you can cut off less in this step. This is a very generous easy fit.
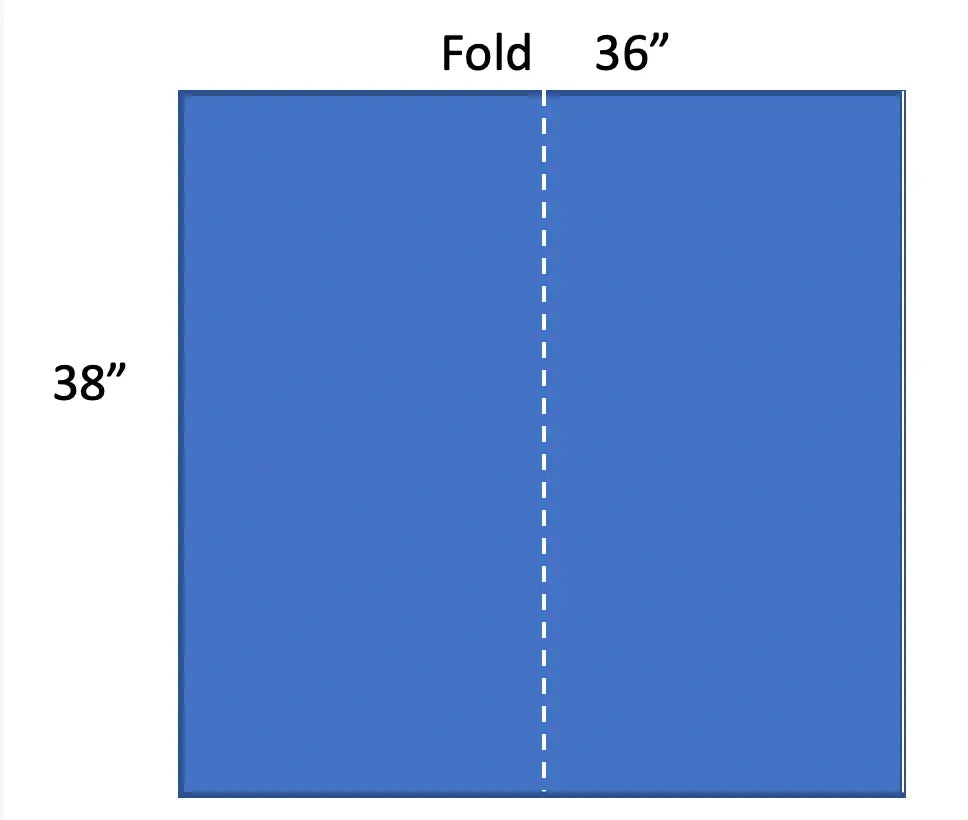
- Create the center opening. Measure 18” from either side to find the center point and draw a line from top to bottom. Cut JUST THE TOP LAYER, this is the opening for the front of the kimono. There are no shoulder seams, the shoulders are the fold in the fabric.
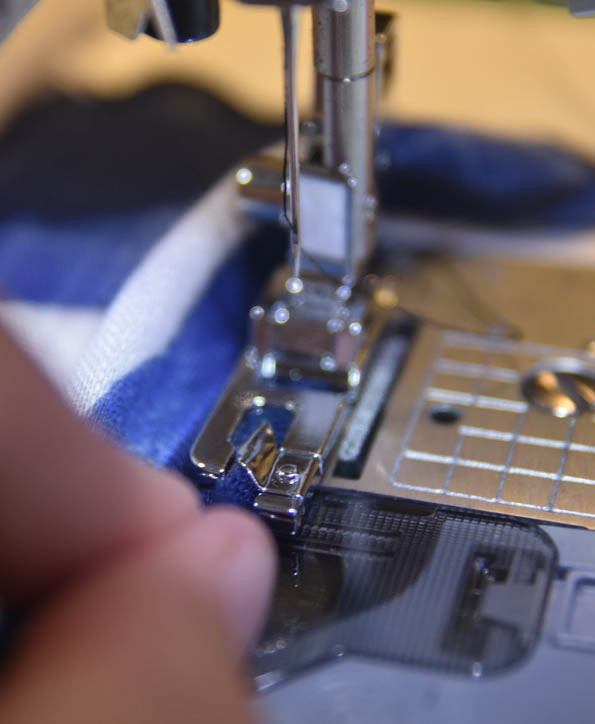
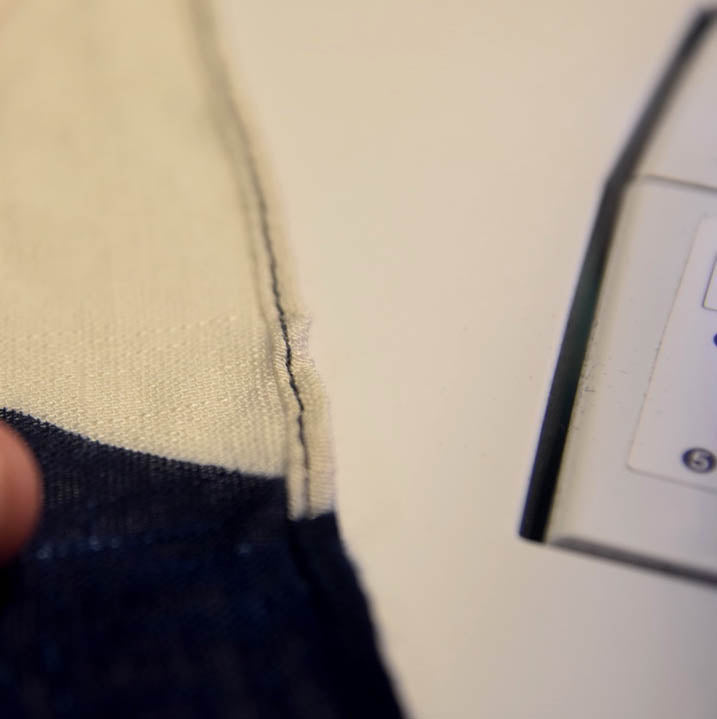
- Finish the raw edges. Now simply finish the edges by using your rolled hem foot all the way around the edges. I like doing this step prior to doing the armhole seam, this way the seam edge is finished in the armhole.
- Note: For delicate fabrics, you may need a different needle for your machine.Use a brand new, very fine sewing machine needle such as a 65/9 or a 70/10.
- Here are some tips on using the rolled presser foot on delicate fabrics (source: Bluprint.com)
- If you're working with a lightweight fabric that's a bit tough to handle, stabilize the first inch or so with some fusible interfacing. That will help the edge feed into the foot more easily. To do this, cut a narrow strip of ultra-lightweight or sheerweight fusible interfacing: The strip should be anywhere from one-sixteenth-inch to ⅛-inch wide (depending on how narrow a hem you want), by 1 to 2 inches long. Fuse the strip to the edge of the fabric.
- First, fold your hem by the width of the interfacing strip. Then fold it over again by the same width, and pin it. You'll pin the first 1 to 2 inches of the hem in place in this way.
- Start by placing a small strip of tissue paper under the presser foot. This will keep the fabric from sinking into the throat plate when you begin to sew. Now place the pinned hem over the tissue paper, and carefully line up the folded outer edge of the rolled hem to the inner edge of the presser foot’s right leg. As you gently pull the thread tails away from the machine, slowly stitch 2 to 3 stitches into the hem to secure it in place.
- Begin by removing the first pin, and with the needle inserted into the fabric, raise the presser foot. Remove the second pin and begin to feed the folded hem into the curled portion of the presser foot.
- While you gently pull the narrowly folded hem edge towards you, slowly stitch the hem in place. Make sure you keep the fold positioned over the curled portion of the presser foot. With your hands, continue to fold down the edge of the fabric about one-sixteenth-inch to ⅛-inch as you sew, feeding the folded edge into the curled guide as evenly as possible.
- When you're done, just tear away the tissue paper, press — and gawk at that perfect, pro-looking rolled hem you just made!
5. Create the armholes. Measure down on each 38” side, 10.5" inches and mark with a marking pencil. Measure 3 inches from that 10.5” mark and mark again. You will stitch between these lines to create the armhole (3” long seam) Do this on each side.
6. Enjoy your new kimono!!!

Stay in touch and Show us what you've made:
Instagram: @sewingbysarahstore
Facebook VIP Group: https://www.facebook.com/groups/sbsvip


Leave a comment (all fields required)