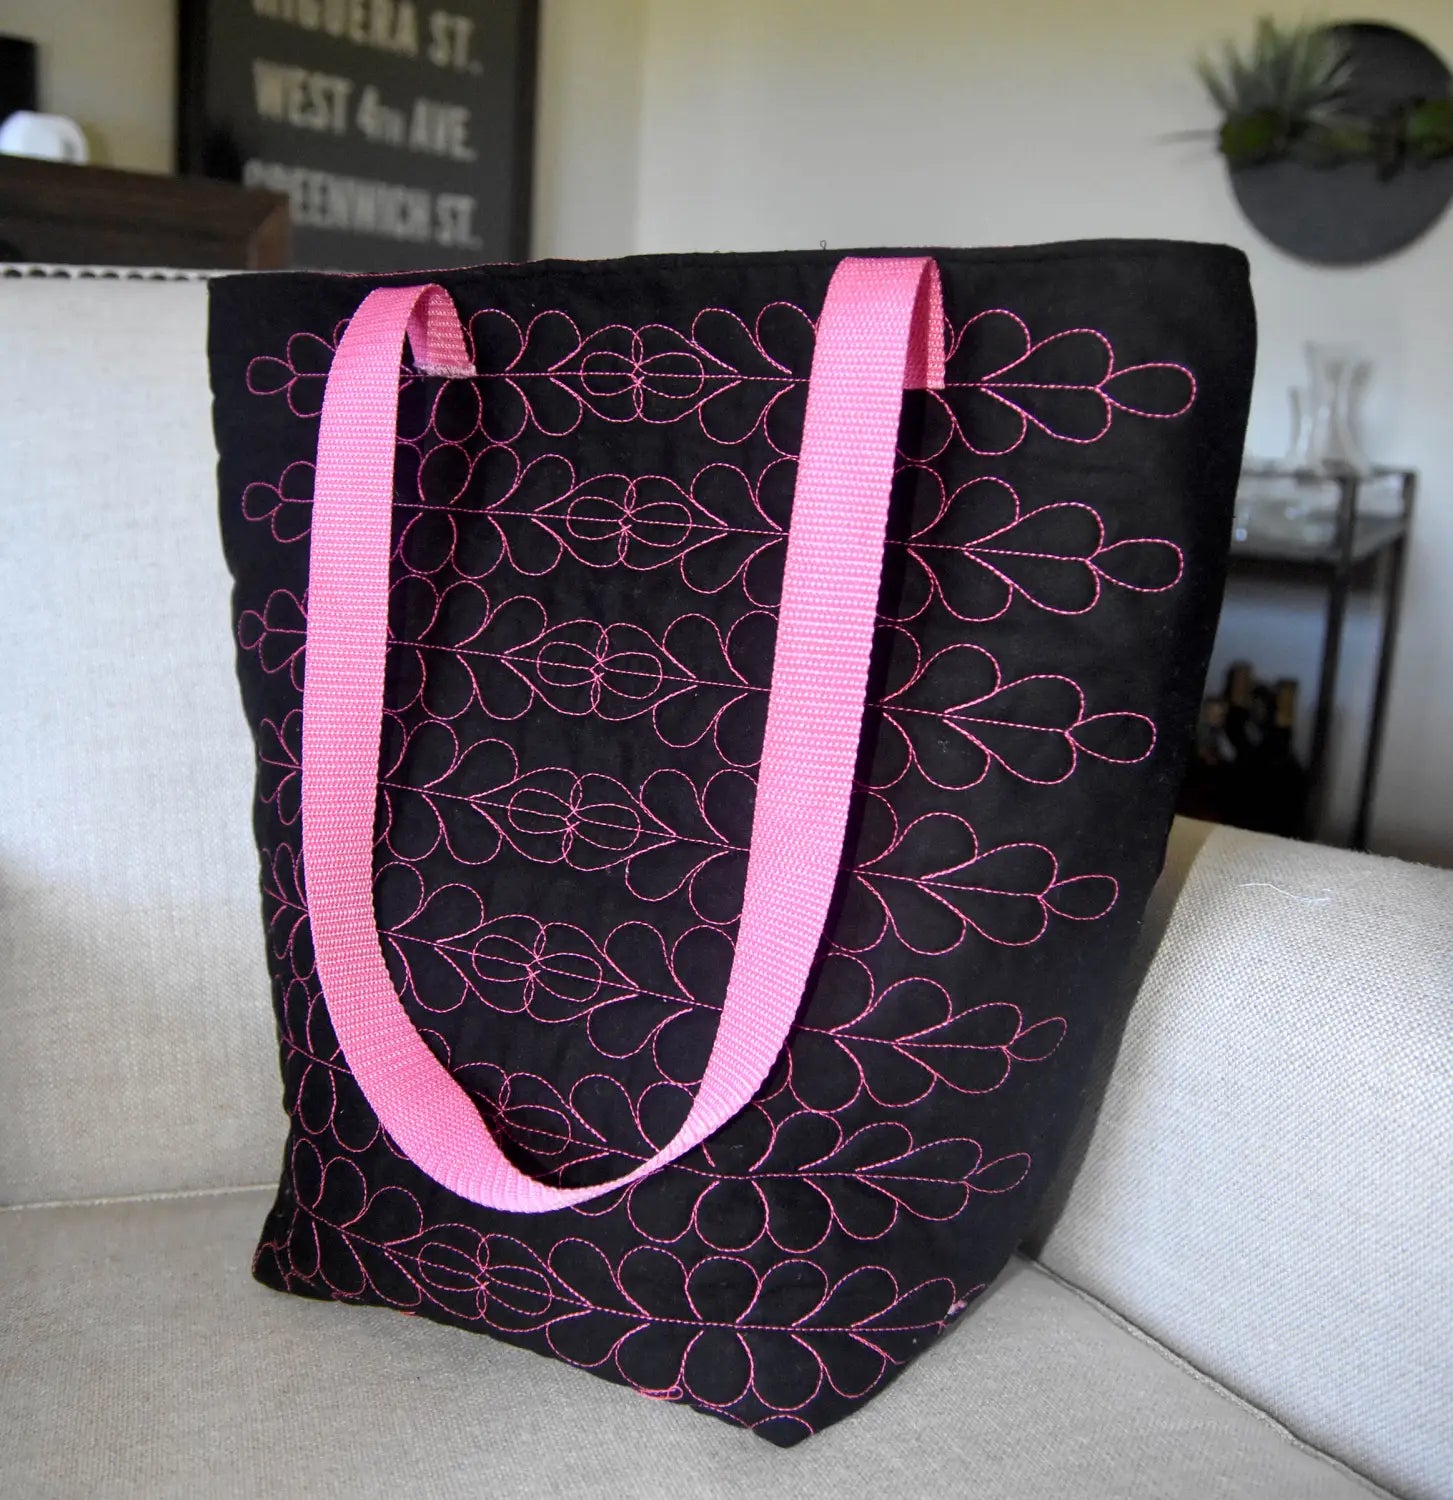
This tote is a great project to practice a sewing technique you’ve wanted to do in a smaller project that can be finished quickly. Here I use this project to practice my Free Motion Quilting skills, but you can easily use up old quilt blocks, embroidery, Sashiko, or try another technique for your tote. The basic instructions will work for any material, but it’s tailored to a quilted outer. I based this tote on my favorite Madewell tote, that ended up with a huge ink stain on it, so now I’ve made my replica and I love the shape and size. It’s fantastic for carrying my laptop and papers for work. This style is a “North/South or Portrait” orientation, but you can easily make this an “East/West or Landscape” shape by changing the measurements.
Supplies
- Thread
- 22” x 44” fabric or quilted piece for outer
- You may also use two 22” x 22” squares
- 22” x 44” fabric for lining
- You may also use two 22” x 22” squares
- Handles:
-
- (1) pair 21” (53.34cm) faux leather rolled handles OR
- webbing
Equipment
- Sewing Machine
- Walking foot or glider foot (included in our Quilting Presser Foot Set)
- 1/4” foot with guide (included in our Quilting Presser Foot Set)
- Ruler foot (if free motion quilting the outside) (included in our Quilting Presser Foot Set)
- Ruler
- Rotary Cutter or scissors
- Cutting Mat (if using rotary cutter)
Preparation
You may start with either a 22” x 44” piece or two 22” x 22” squares for both the lining and the outer. Since the outer needs some heft to it, I used an already quilted piece. The batting stabilizes and adds some weight to the tote. If you are starting with a plain fabric, you may want to fuse the wrong side with a fusible interfacing to add some weight to the tote.
Please note, I used this tote as an opportunity to practice Free Motion Quilting, I used our Feather Templates and a Ruler Foot to create the effect. It is a manageable size so it's nice to be able to practice a new skill. Check out all our Free Motion Toolshere.
Assembling the Tote
Note: I used a glider foot for the assembly of my tote. This foot allows me to sew through many layers of quilted material with ease. The foot was originally designed for sewing denim, so it works well on thick constructions like this one. A walking foot would also work. Both of these feet are included in our Ultimate Quilter’s Presser Foot Set.
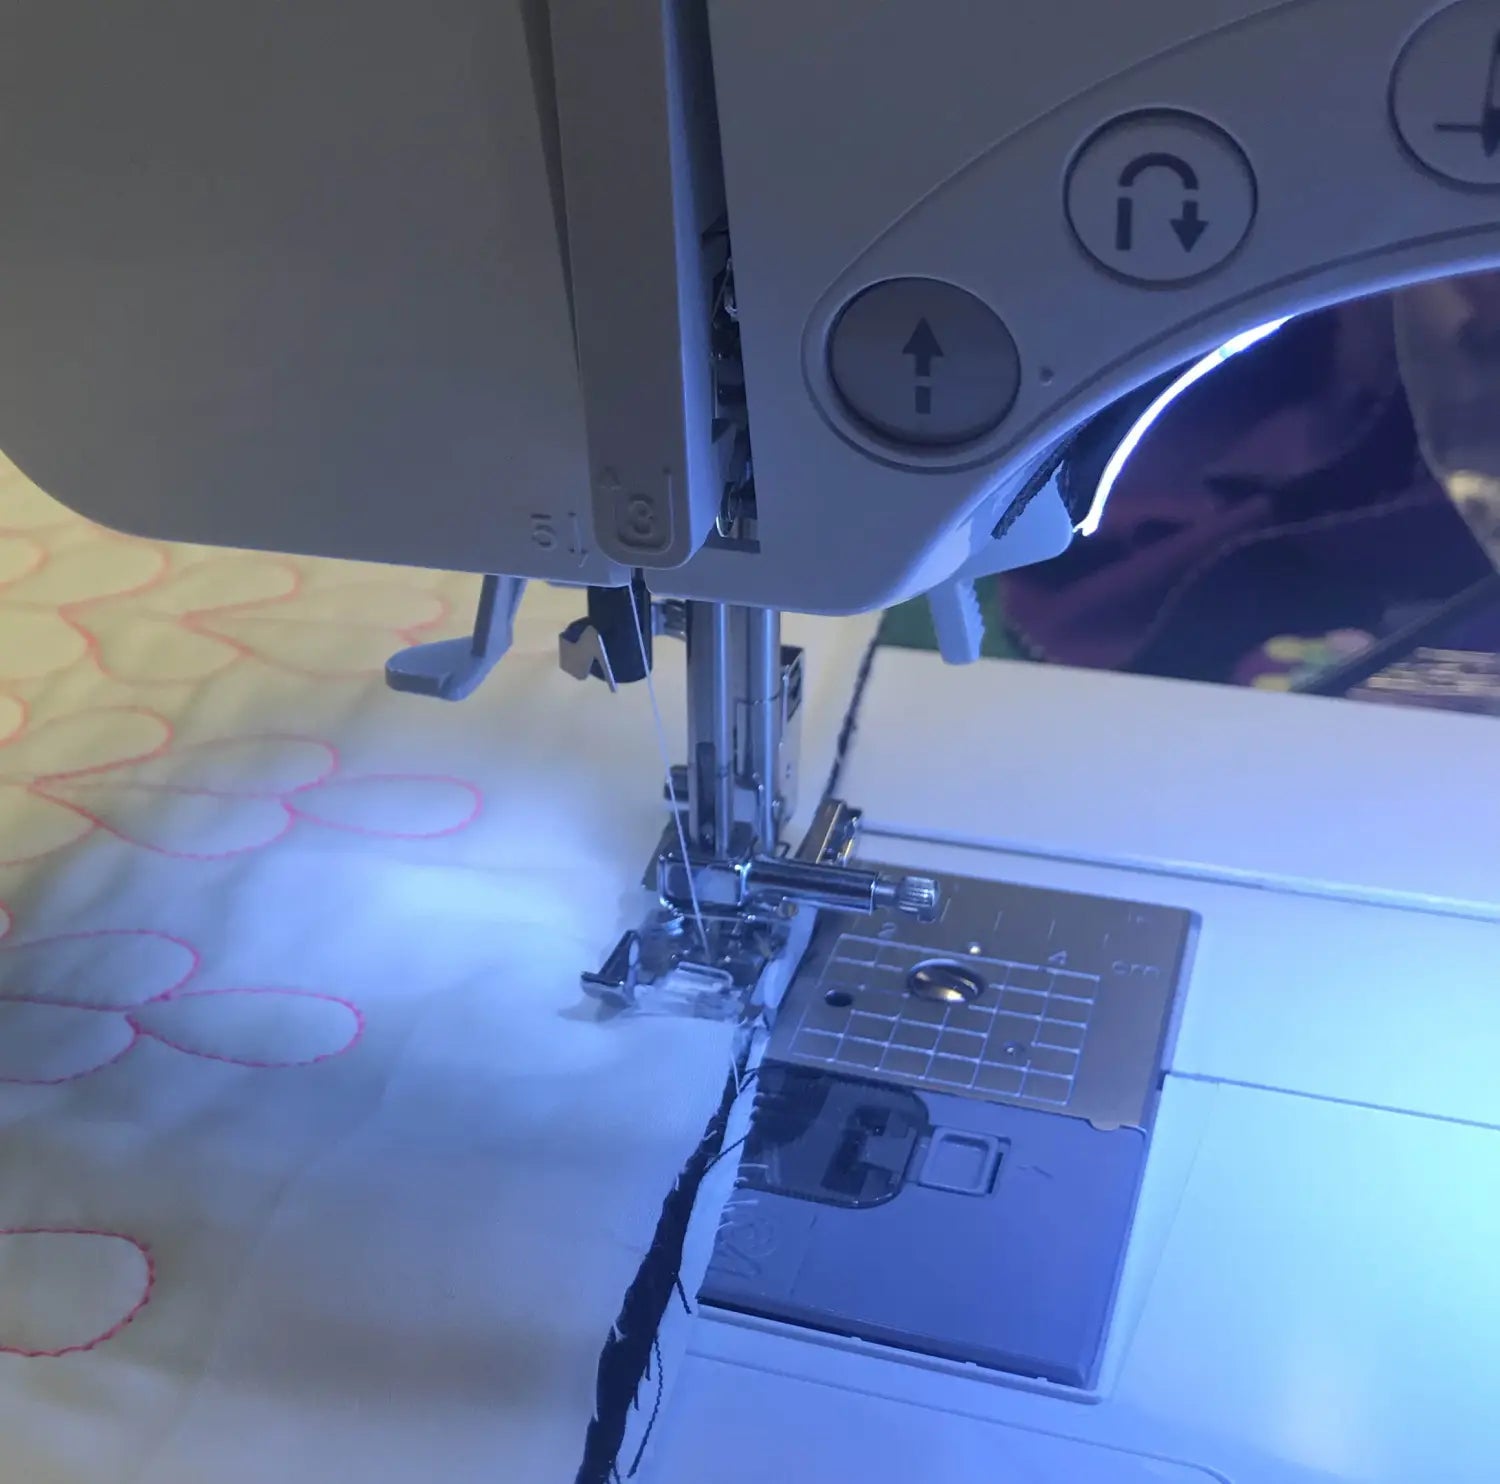
- 1. If you are using 22” x 22” squares, sew one side together to make the 22” x 44” piece (it will be slightly smaller due to seam allowances but this will not impact the construction).
- 2. With right sides together, sew the tote front to the back at the side seams.
- 3. To create the bottom of the bag:
- Find the bottom of the bag, where the side and bottom seam (or center of bottom), measure up 4” from the bottom of the bag. Mark with a pen.
- Note: For those of you that started with a 22” set of squares, you will have a bottom seam. For those of you that folded your 44” piece to create the sides, you will not. The pictures depict no bottom seam.
- 4. Spread out into a triangle with the side seam in the center and where the bottom and sides meet as the point of the triangle. Then draw a straight line at the 4” mark across your bag to form the triangle.
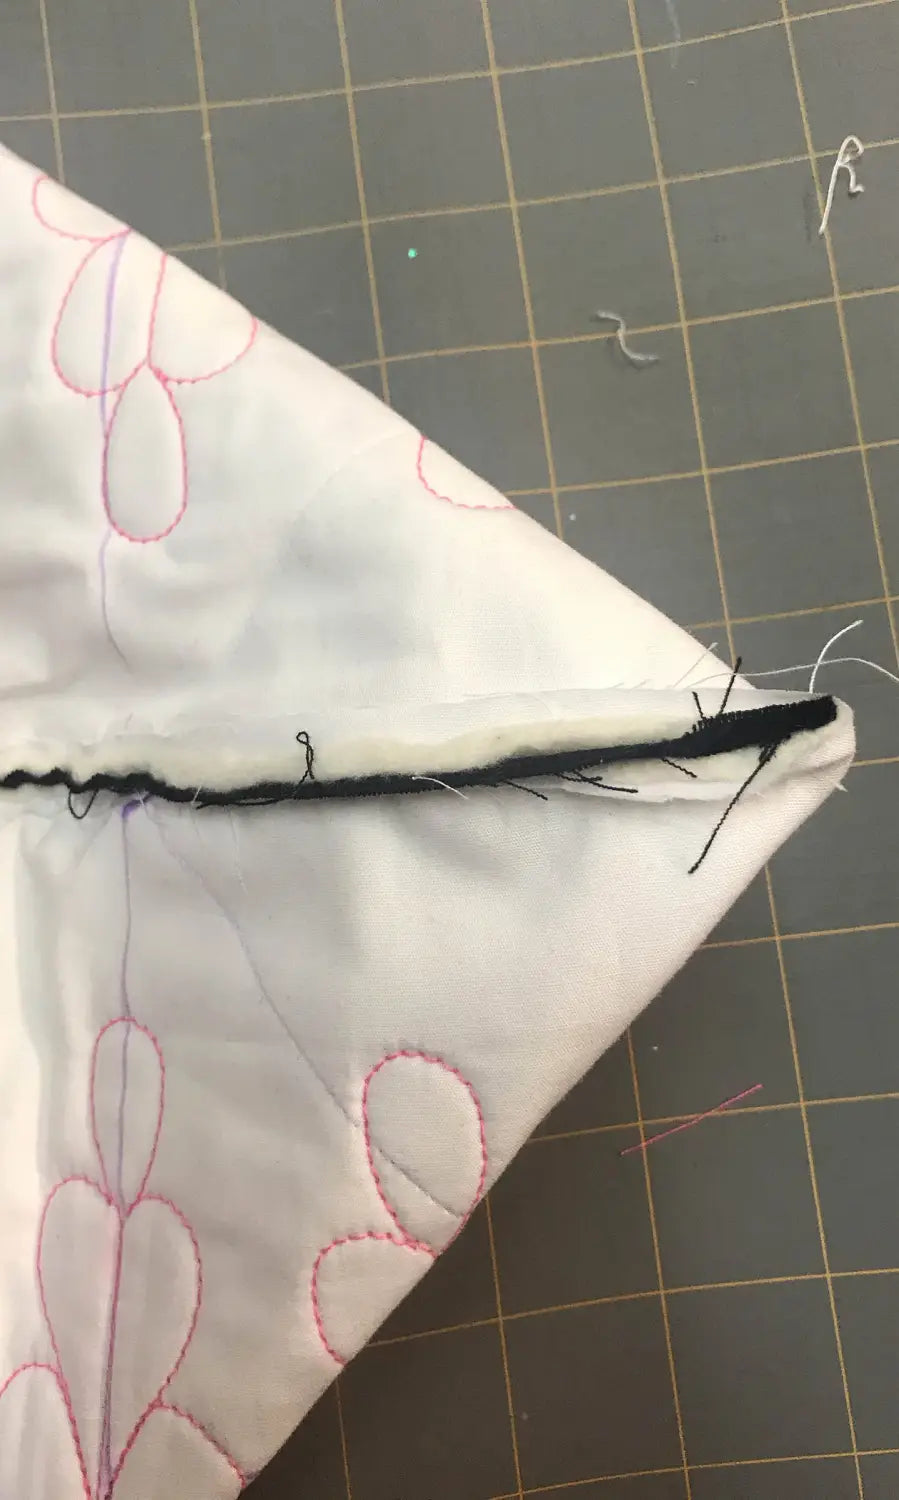
- Find the bottom of the bag, where the side and bottom seam (or center of bottom), measure up 4” from the bottom of the bag. Mark with a pen.
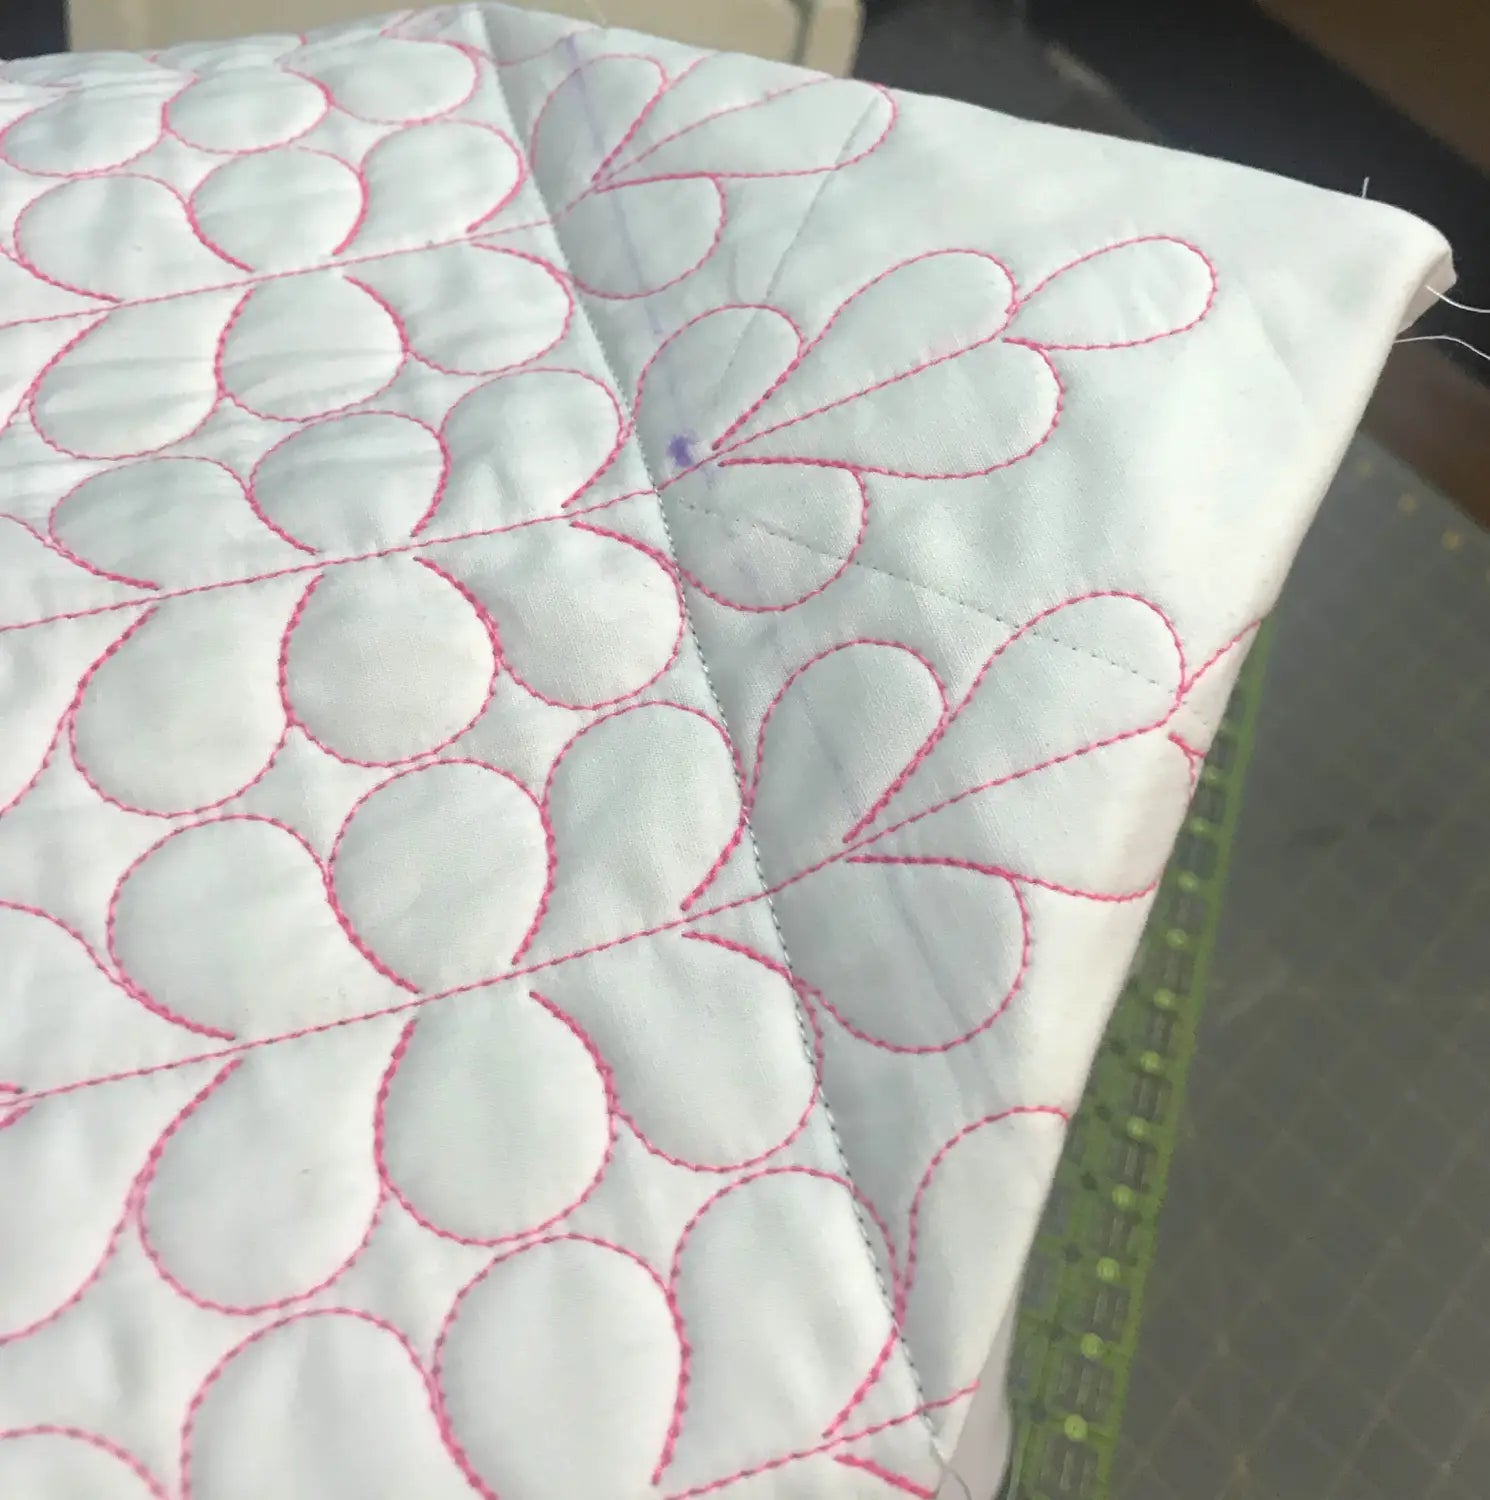
- 5. Sew along the marked line. Repeat on both sides of the bag to form the bottom.
-
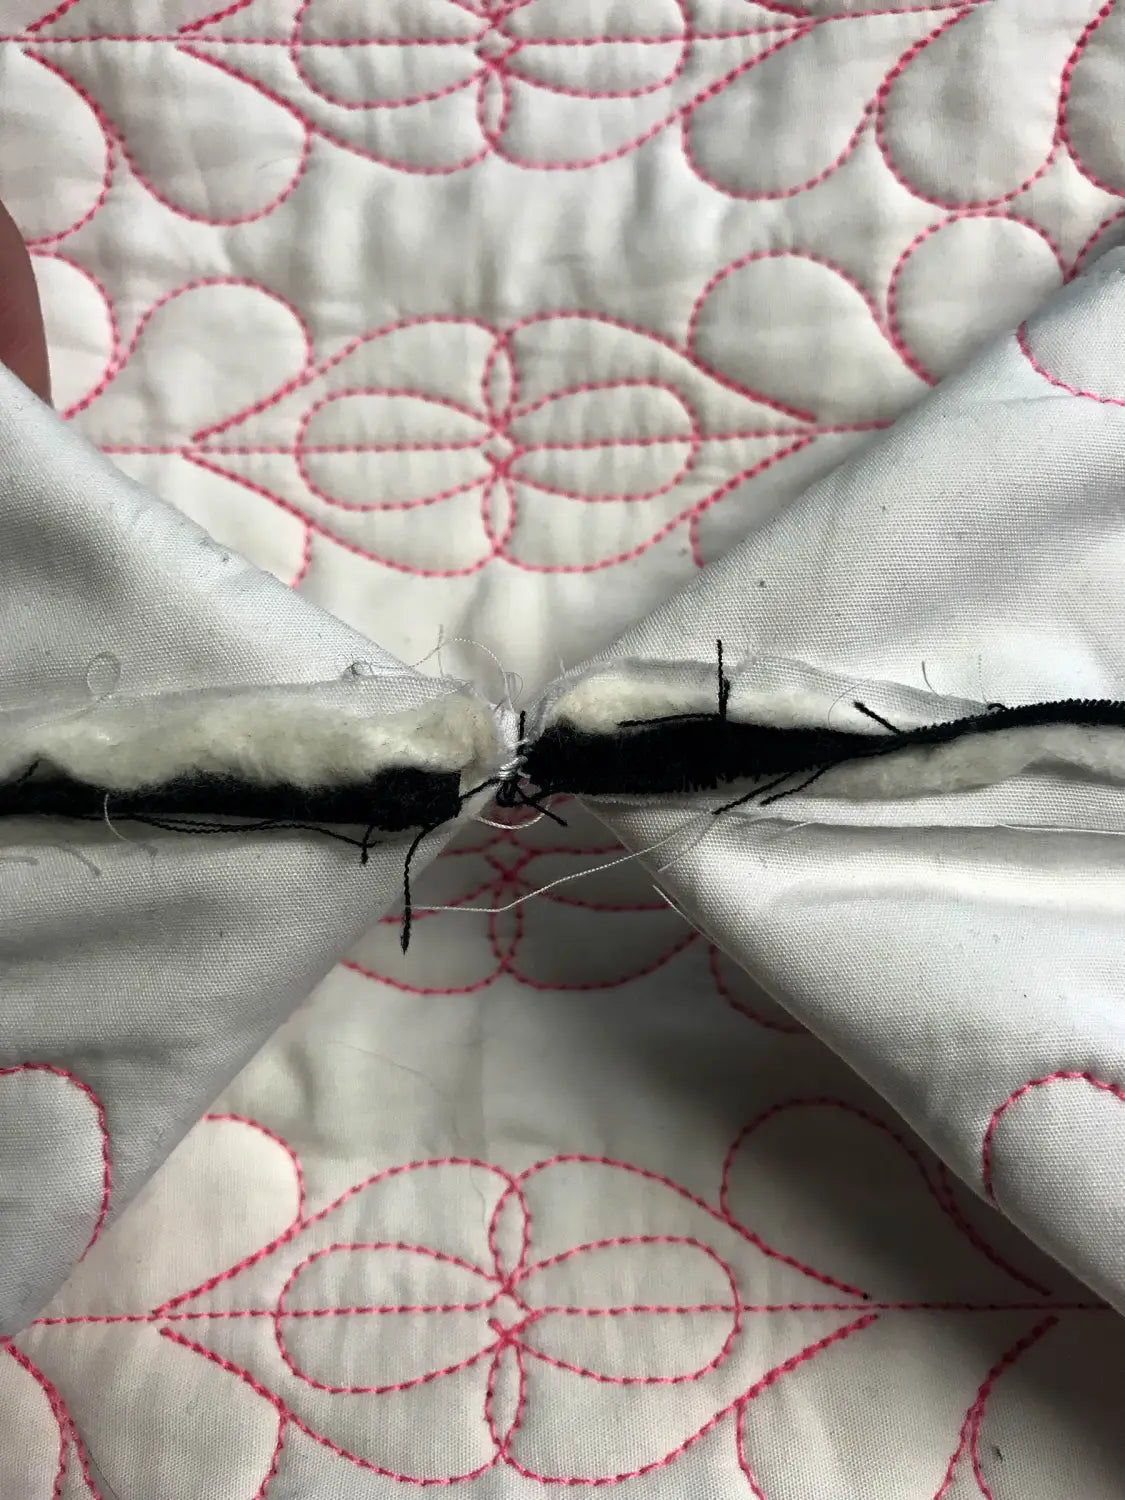
You will now have two triangles at the bottom of your bag. You can trim these, or you can fold them together and stitch a quick zig zag or whipstitch by hand, I have found this adds another layer of support to the bottom of the bag.

Finishing the Tote
- 1. Turn the tote right side out through the lining opening.
- 2. Press the upper edge, rolling the lining to the wrong side. Push the lining into the tote. Press.
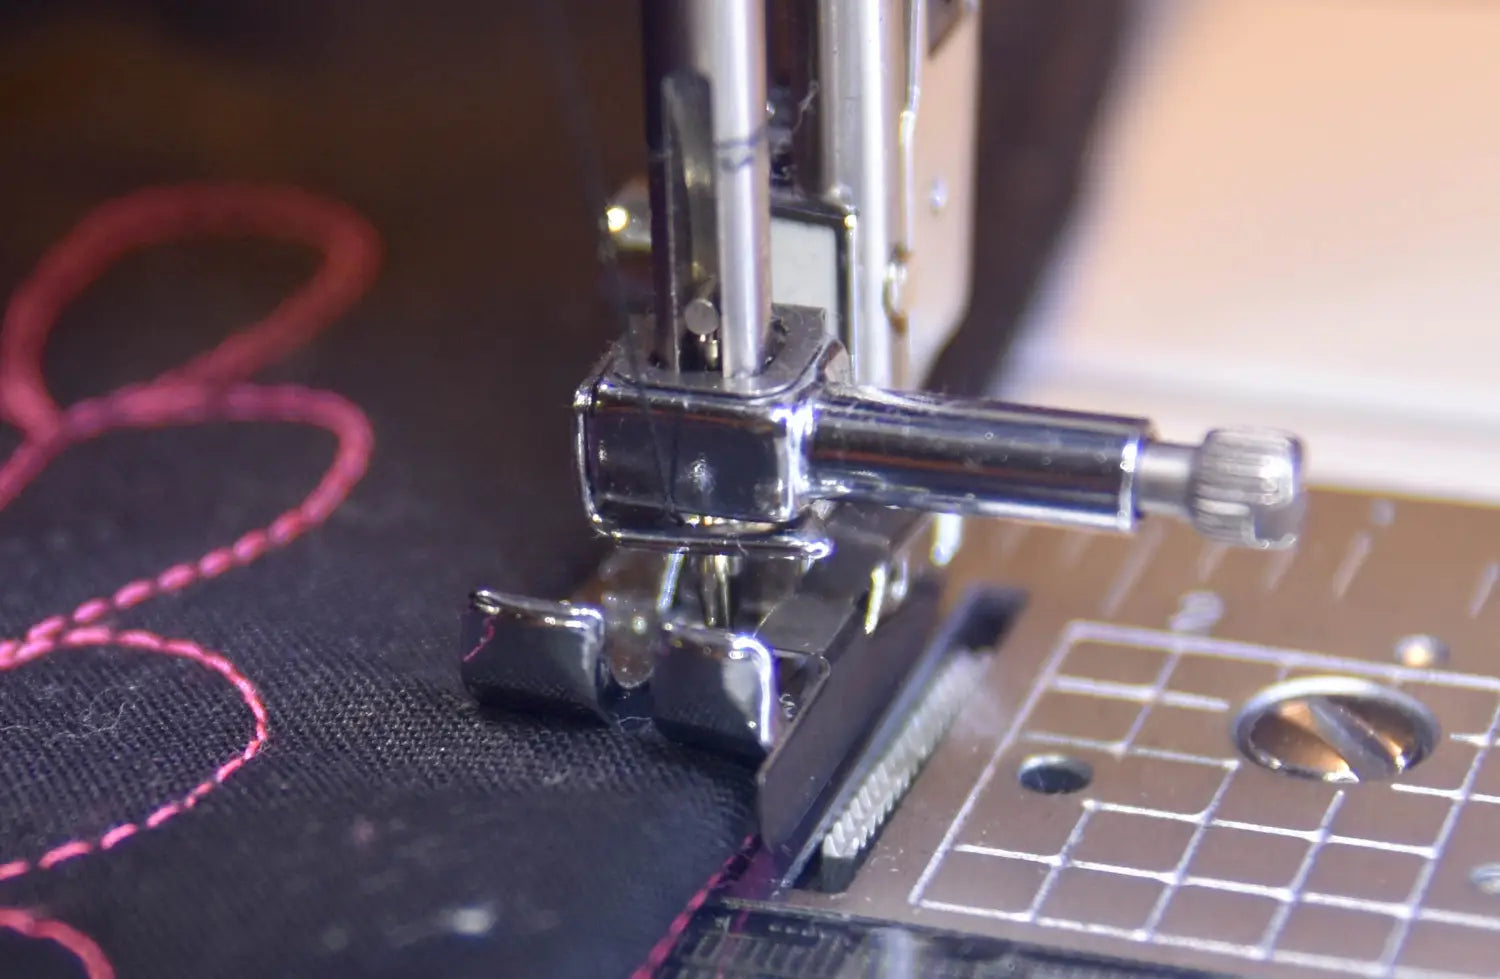
- 3. Topstitch the tote upper edge. I used my ¼” Quilting foot with guide for this step, it keeps the edge and spacing perfect.
- 4. Hand- or machine stitch the lining opening at the bottom of the bag.
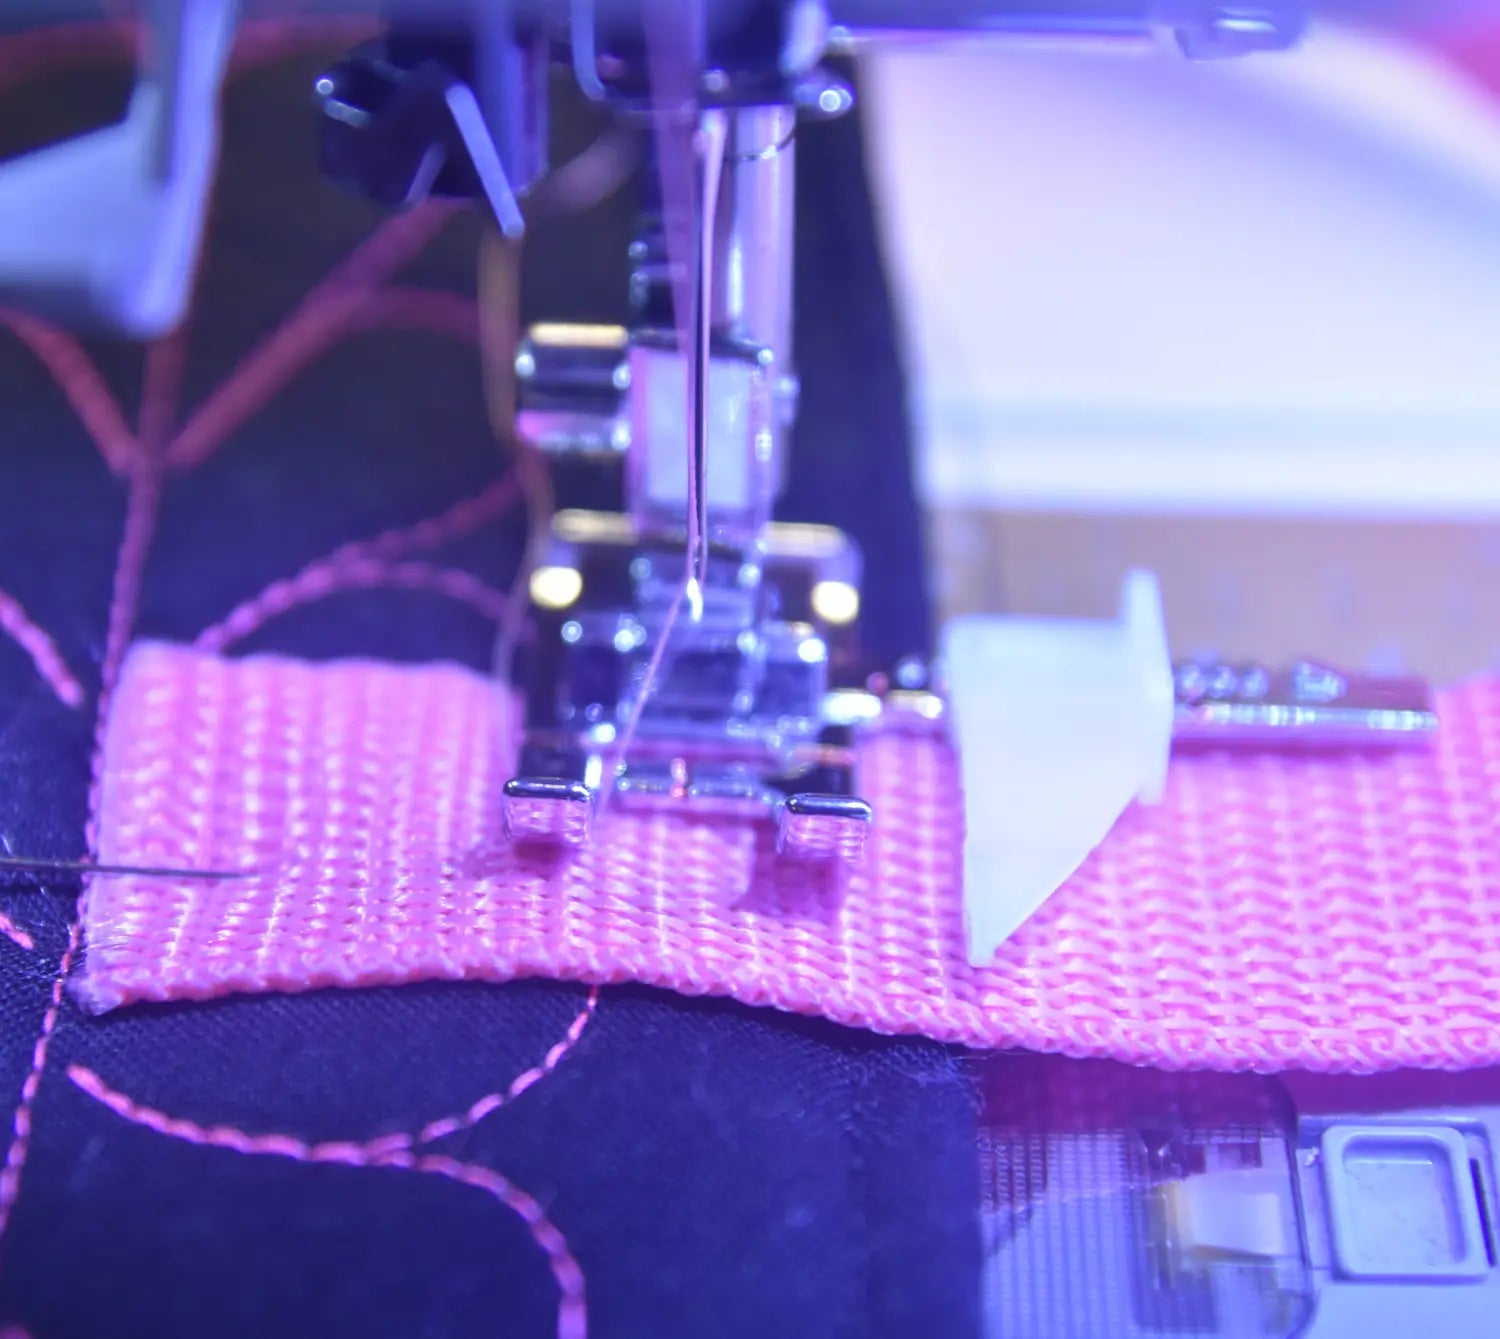
- If you haven’t added them previously, add handles to the outside of the tote.
Enjoy your tote!!


Leave a comment (all fields required)