My favorite beginner’s quilt- the Classic 9 Patch
The 9-patch is such a great quilt to start with as a beginner, but it has so many design options that it can create amazing results for experienced quilters as well and it comes together quickly.
What is a 9-patch?
The 9-Patch is one of the most easily recognized traditional blocks in quilting. A Nine Patch is made by sewing five patterned or dark pieces (patches) to four light square pieces in alternating order. These nine sewn squares make one block.
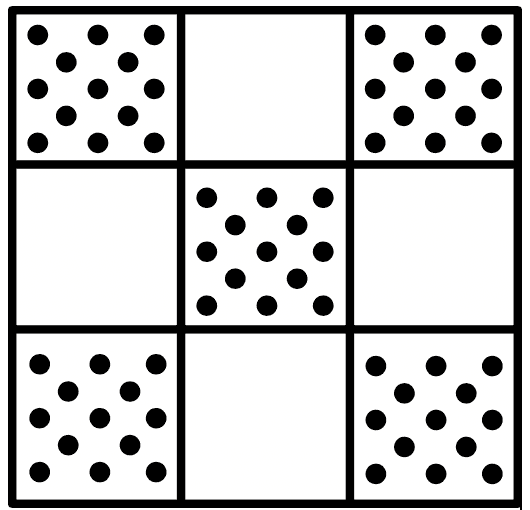
The magic really comes in when you play with light and dark and pattern and solid that can create endless effects with real impact. Whether you are a traditional or modern quilter, this simple block has a place in your projects.
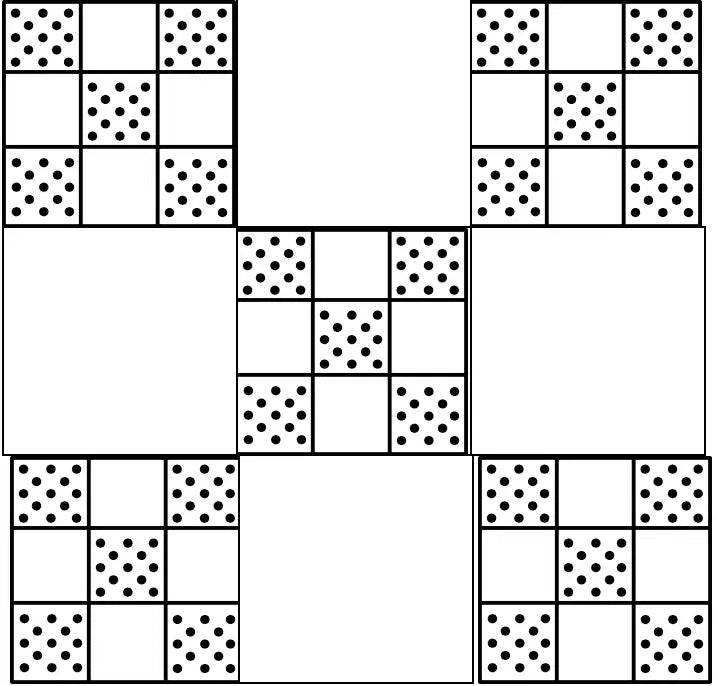
A Double 9-patch is a variation that alternates a full block solid in between each block and allows for more interesting design options. These are great patterns to play with light and dark as well as using fussy cutting to highlight favorite scenes on fabrics.
Instructions for a basic 9-patch.
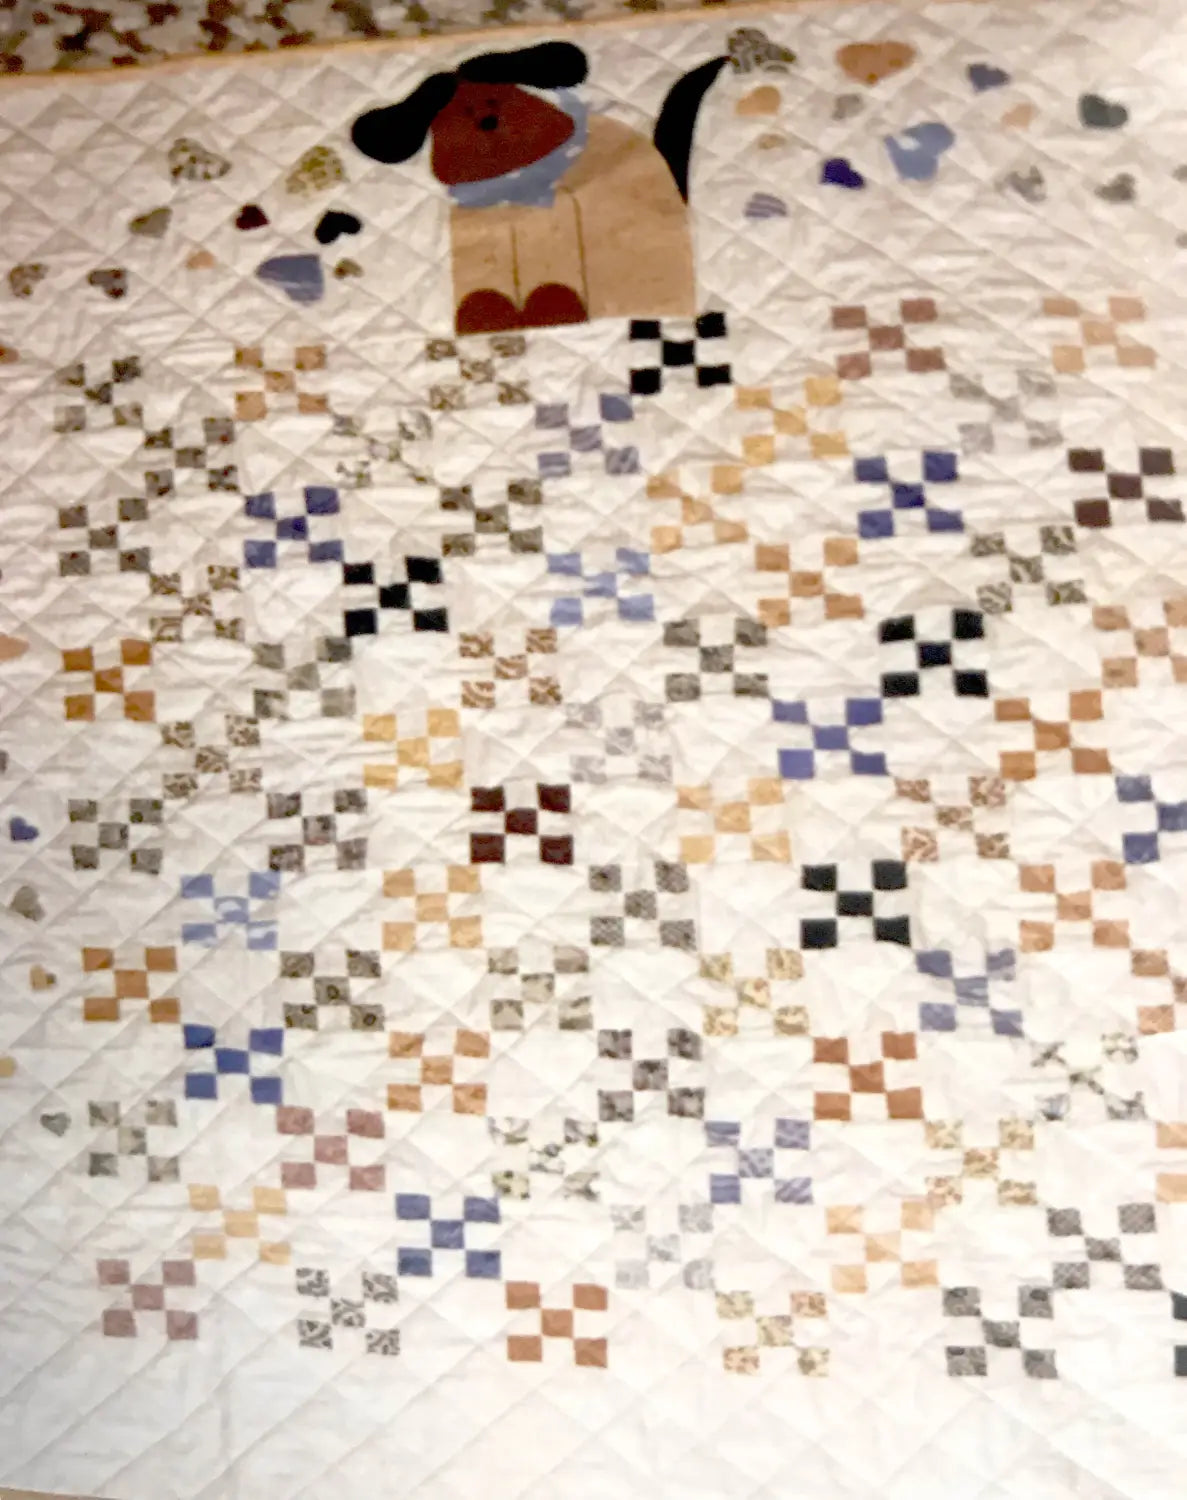
To create the checkerboard pattern you will need one dark fabric and one light fabric. I use strip piecing for my 9 patches, but you can cut individual squares or buy pre-cut squares and assemble them into a 9 patch pattern. This is a great way to use scraps. The puppy quilt below I made for a friend’s baby used a variety of fat quarters for the dark and one single neutral for the light, which creates a nice calming effect for a baby quilt.
Measurements:
Each block contains 9 pieces of even sizes. Each strip should be evenly cut and ½” added to the size you would like. For example:
If you would like your finished block size to be 9”, each square would need to be 3” x 3” to create a 9” block.
Each strip would need to be 3 ½” to give you a completed block of 9” allowed for ¼” seam allowance for each seam. The more yardage you have the longer the length of the strips can be at one time, which can speed up sewing, but if you have shorter lengths you will just need to sew more strips.
Overall Quilt Sizing- As an example a wall hanging of 45” x 45” will need 5 blocks across and 5 blocks down (9 x 5= 45) plus any border that you are adding to finish the quilt.
Tools required:
Rotary cutter and mat
Quilting ruler
Basic Cutting instructions:
Start by cutting 3 ½” strips with your rotary cutter. You will need 3 strips of dark and 3 strips of light.
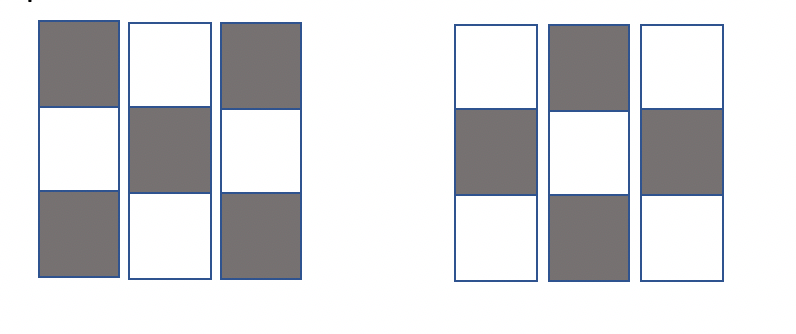
Sew the strips together as per below- 2 dark sandwiching one light (the chocolate oreo cookie) and 2 light sandwiching dark (the vanilla oreo).
Once you are complete, press the seams in one direction.
Then, cut again as per below across the oreo to make a 3 ½” stripped piece.

Then, take three pieced strips to form your blocks. Depending on your design, you can use the same block across your quilt, or alternate with light and dark variations of the checkboard pattern.
Alternating solid blocks in between can create different effects only using one type of nine patch.
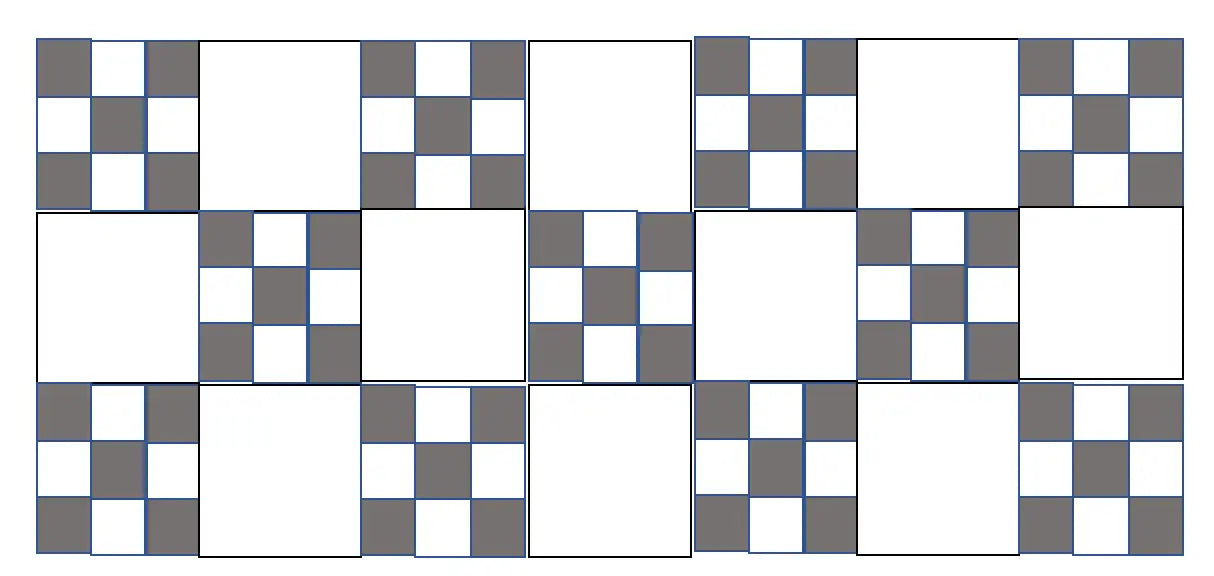
Using two different 9 patch blocks (a chocolate oreo and vanilla oreo) can make even more impact.

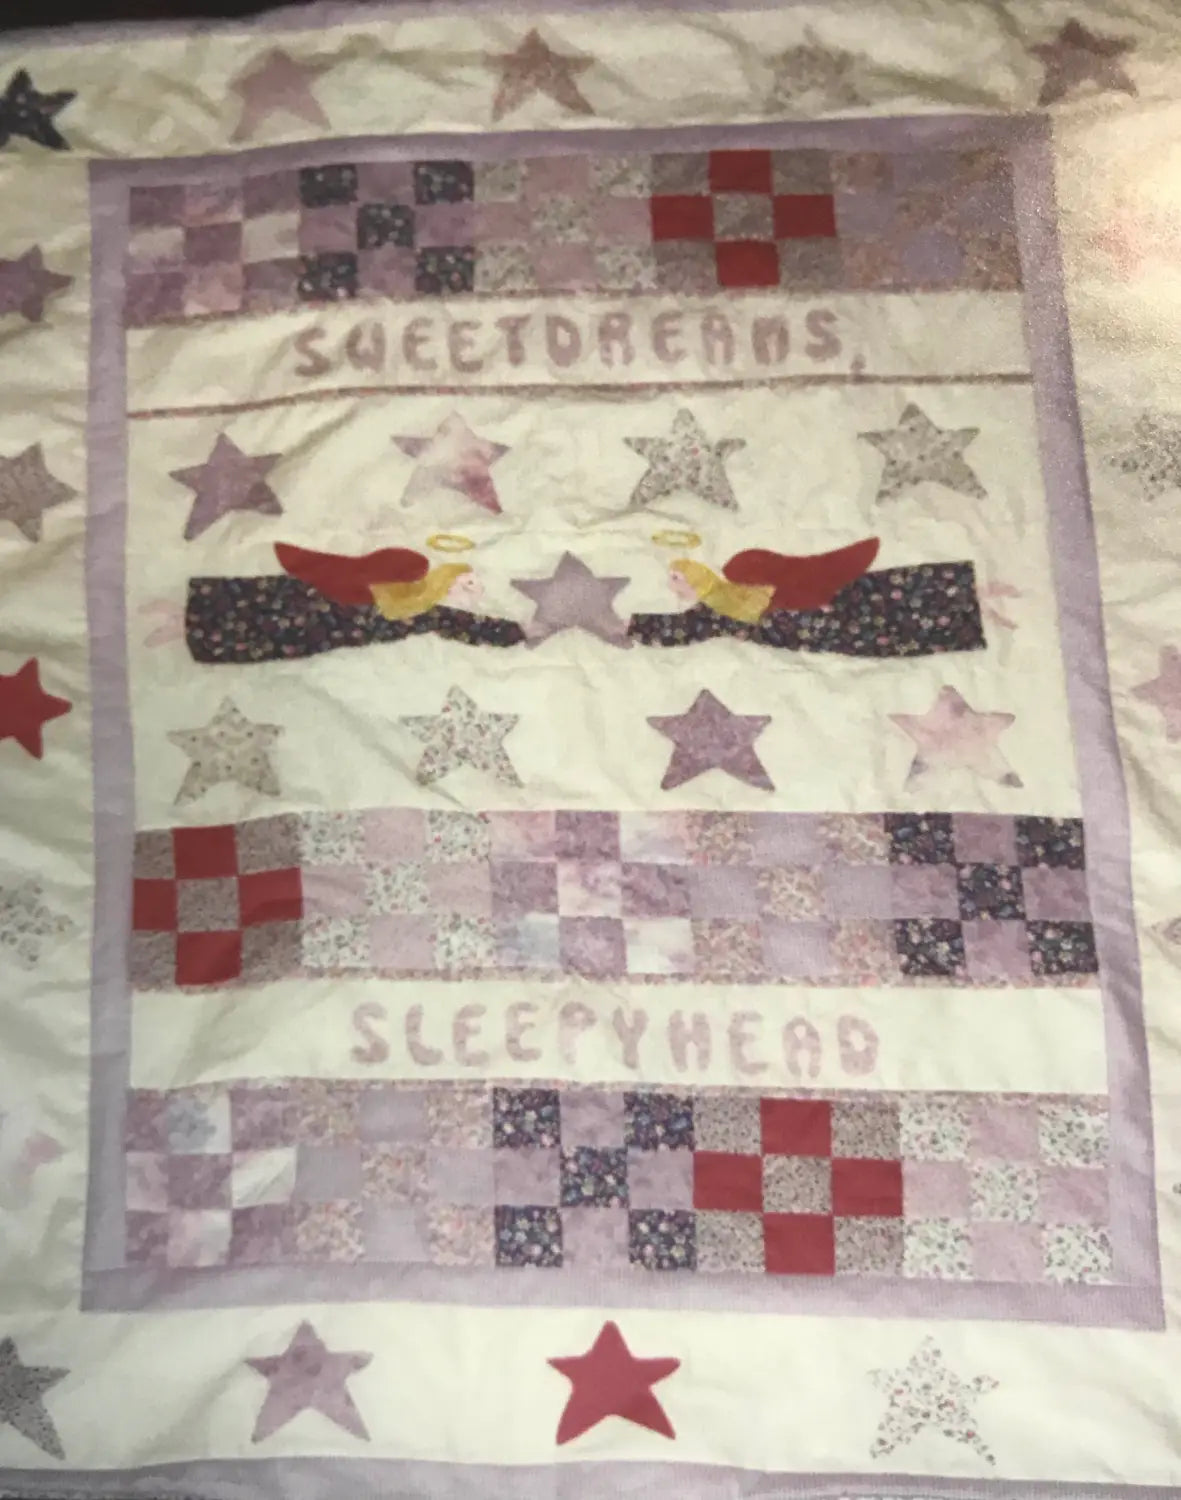
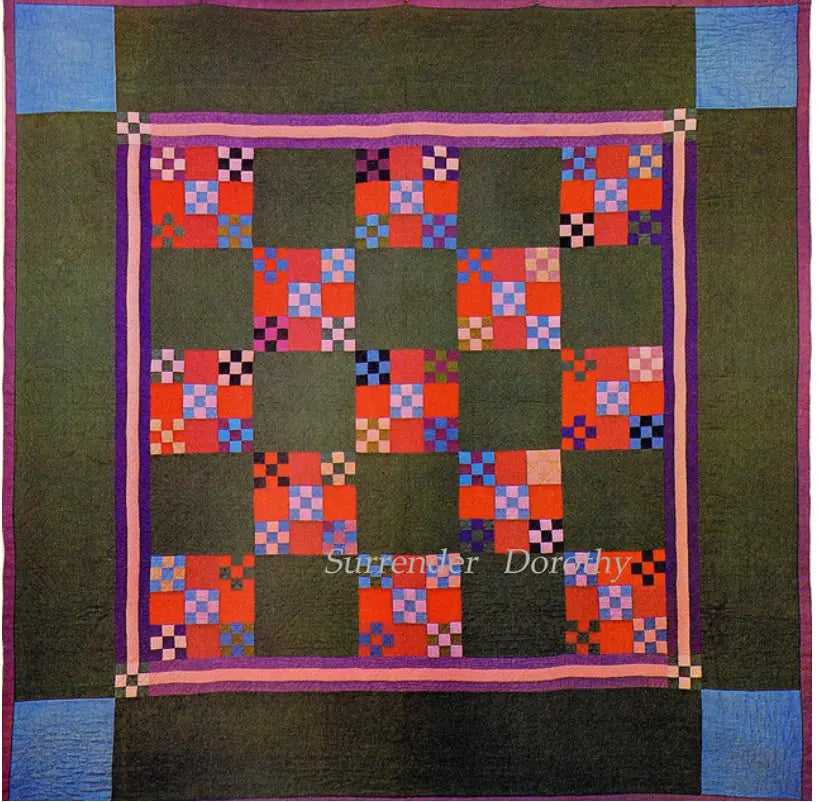
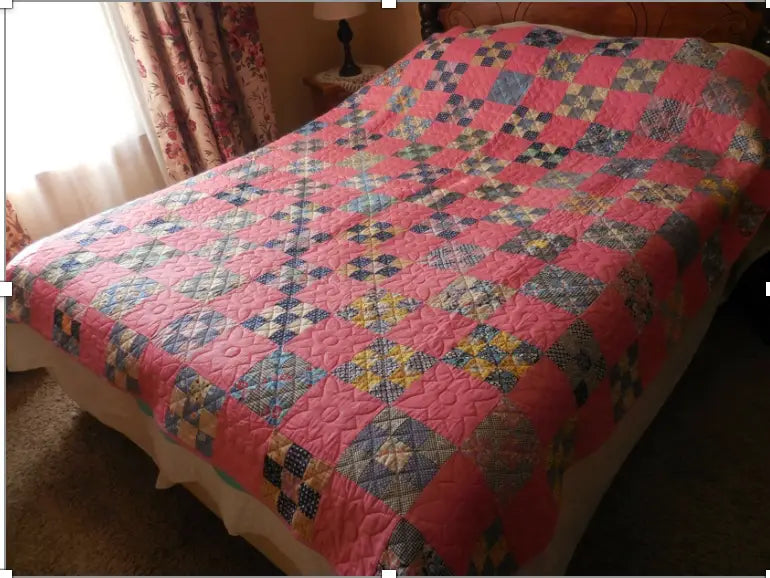
Below are some examples (Amish quilts particularly use 9 Patch blocks often) of finished quilts


Leave a comment (all fields required)