FABRIC BAG TUTORIAL
Those of us who have children who go to school know the necessity of taking a fabric bag to put on the snack, a change of clothes, the clothes for gymnastics, etc.
Let’s start …
Materials
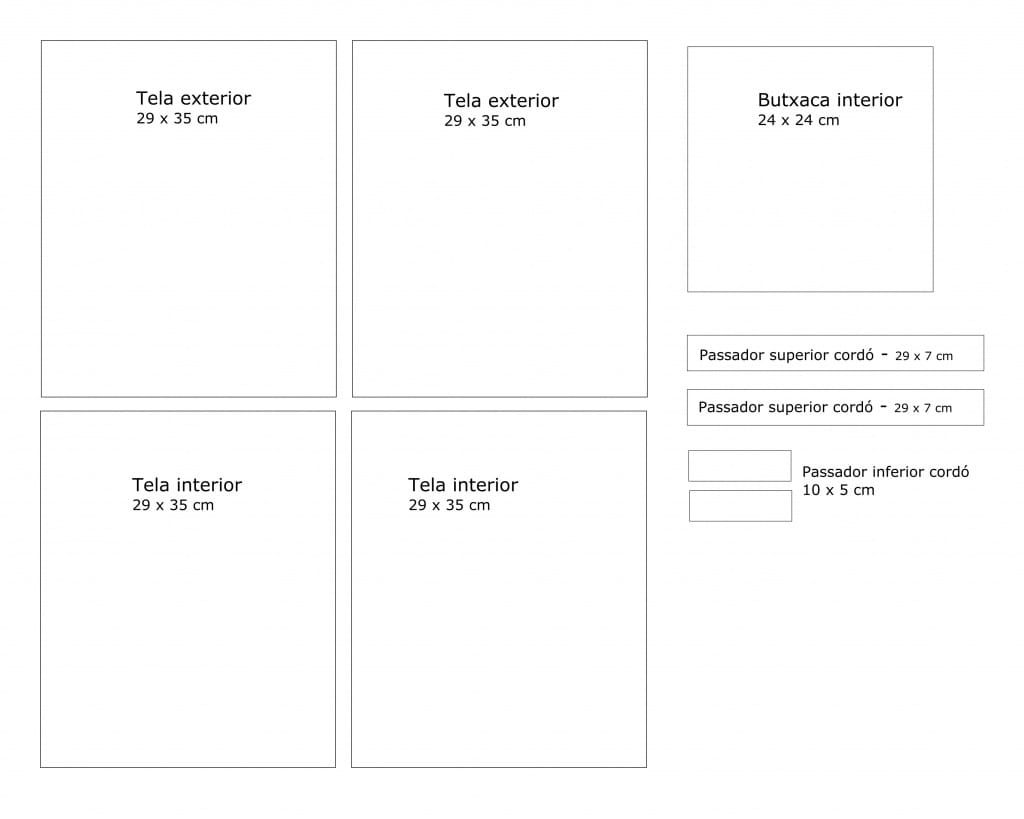
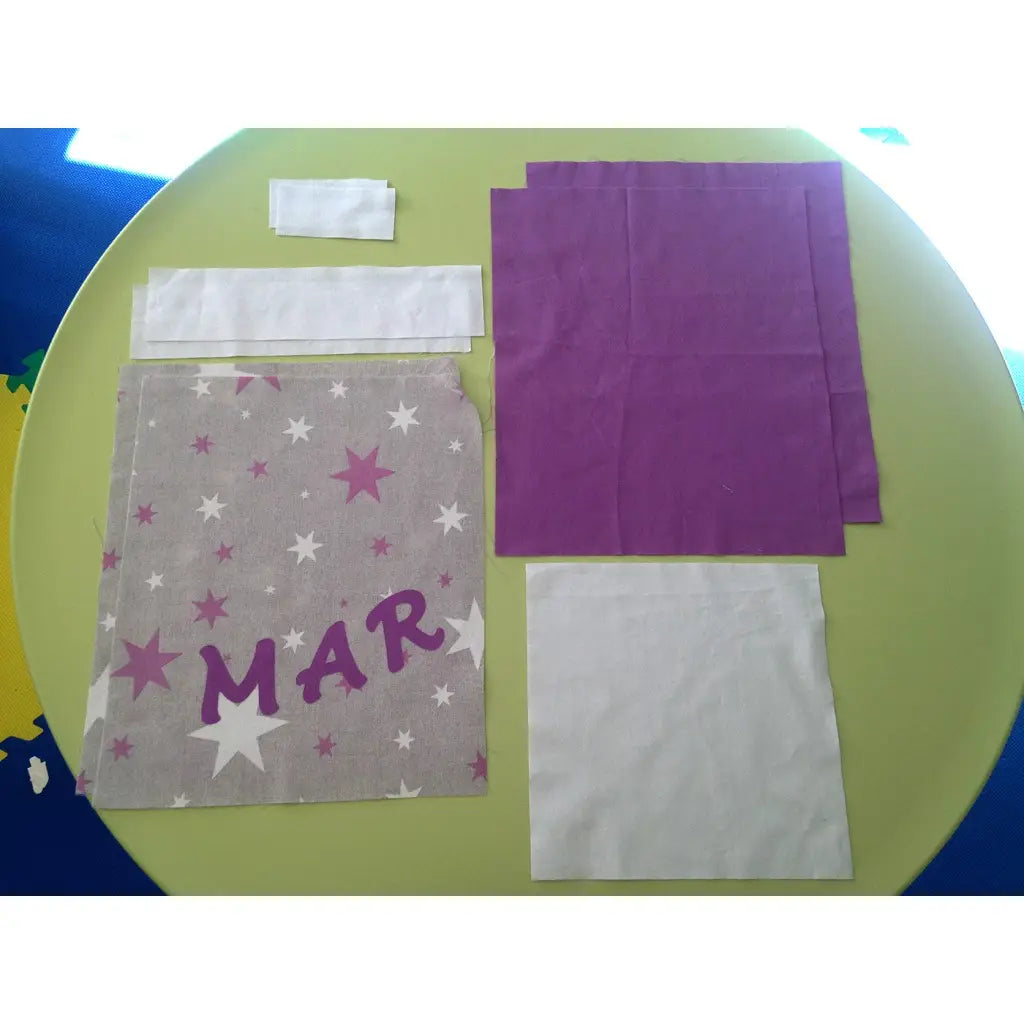
- 2 rectangles of 35 cm x 29 cm for the outer fabric. It can be canvas, cotton fabric, …
- 2 rectangles of 35 cm x 29 cm for the interior fabric. It’s best 100% cotton fabric which is thinner.
- 1 square of 24 cm x 24 cm for the inside pocket.
- 2 rectangles of 29 cm x 7 xm for the upper fabric in which the cord will slip into.
- 2 rectangles of 10 cm x 5 cm for the lower fabric in which the cord will slip into.
- 2.40 m of cotton cord.
- Scissors or rotary cutter.
- Water soluble pen or fabric marker.
- Needles and sewing needle.
- Thread.
- Sewing machine.
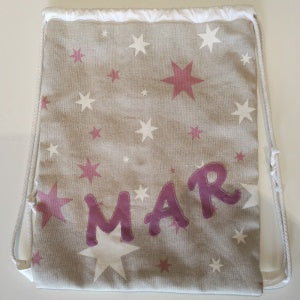

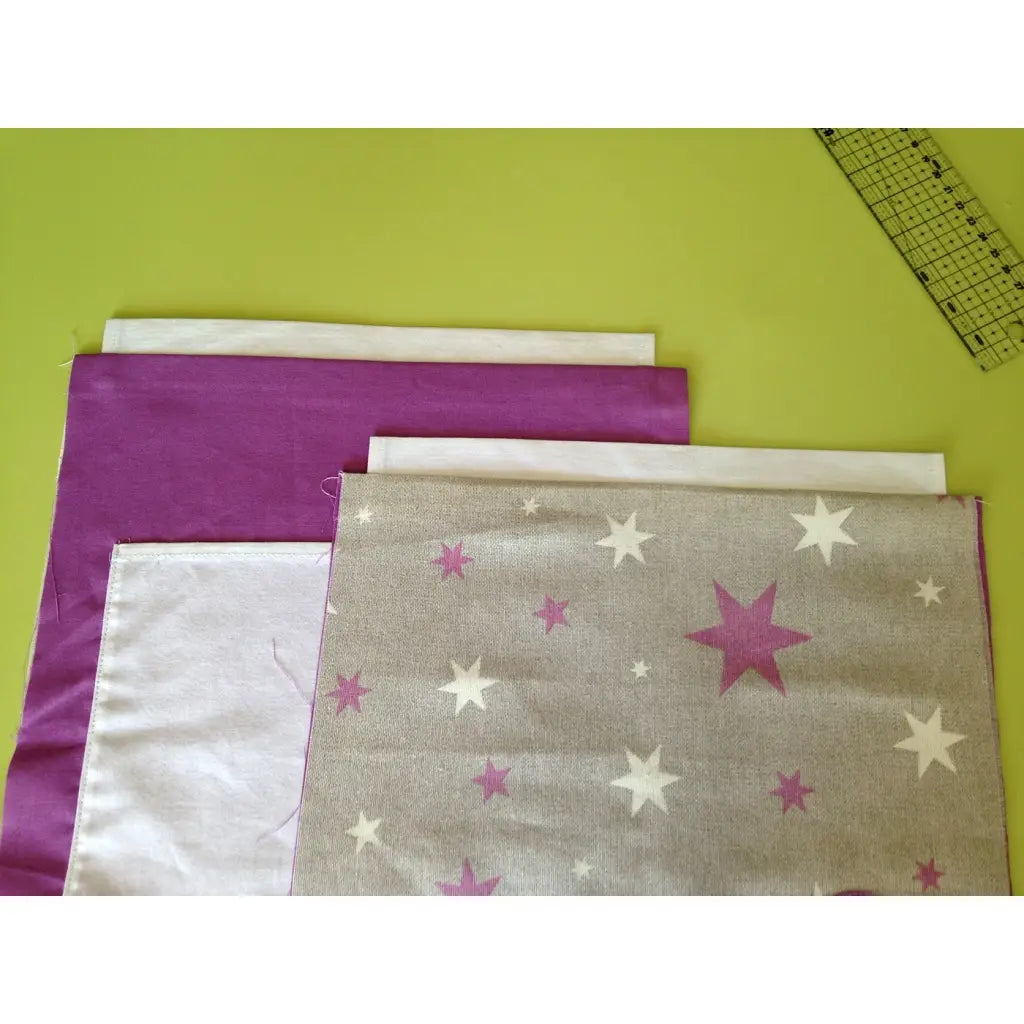
Here you can see the photos of the tutorial bag and another that I have done with other fabrics. I hope you like it!!!
Let’s start …
Materials
- 2 rectangles of 35 cm x 29 cm for the outer fabric. It can be canvas, cotton fabric, …
- 2 rectangles of 35 cm x 29 cm for the interior fabric. It’s best 100% cotton fabric which is thinner.
- 1 square of 24 cm x 24 cm for the inside pocket.
- 2 rectangles of 29 cm x 7 xm for the upper fabric in wich the cord will slip into.
- 2 rectangles of 10 cm x 5 cm for the lower fabric in wich the cord will slip into.
- 2.40 m of cotton cord.
- Scissors or rotary cutter.
- Water soluble pen or fabirc marker.
- Needles and sewing needle.
- Thread.
- Sewing machine.
The sizes of the bag can be adaptable to the needs. So you can adjust them.
You can decorate the outer fabric as you want: with an application, with different fabrics, etc. there are endless possibilities. I used a canvas with an appliqué of the name above. In order to do the application, I used a double face interfacing. I have placed it on one of the parts of the outer fabric and I made a backstitch around a few mm from the edge.
Here I leave a drawing with the pattern. IMPORTANT: it is not real-size, do not print it to cut the pattern, it’s only to see the pieces you need graphically. Because it’s a very simple pattern and sizes do not fit in an A4, I’ve put it that way.
Assembly
Assembly
1. Preparing the outer fabric.
In this case I’ve made an applicaqué with the name. Fastening the application with double face interfacing and making a backstitch a few mm from the edge or a very tight zigzag.
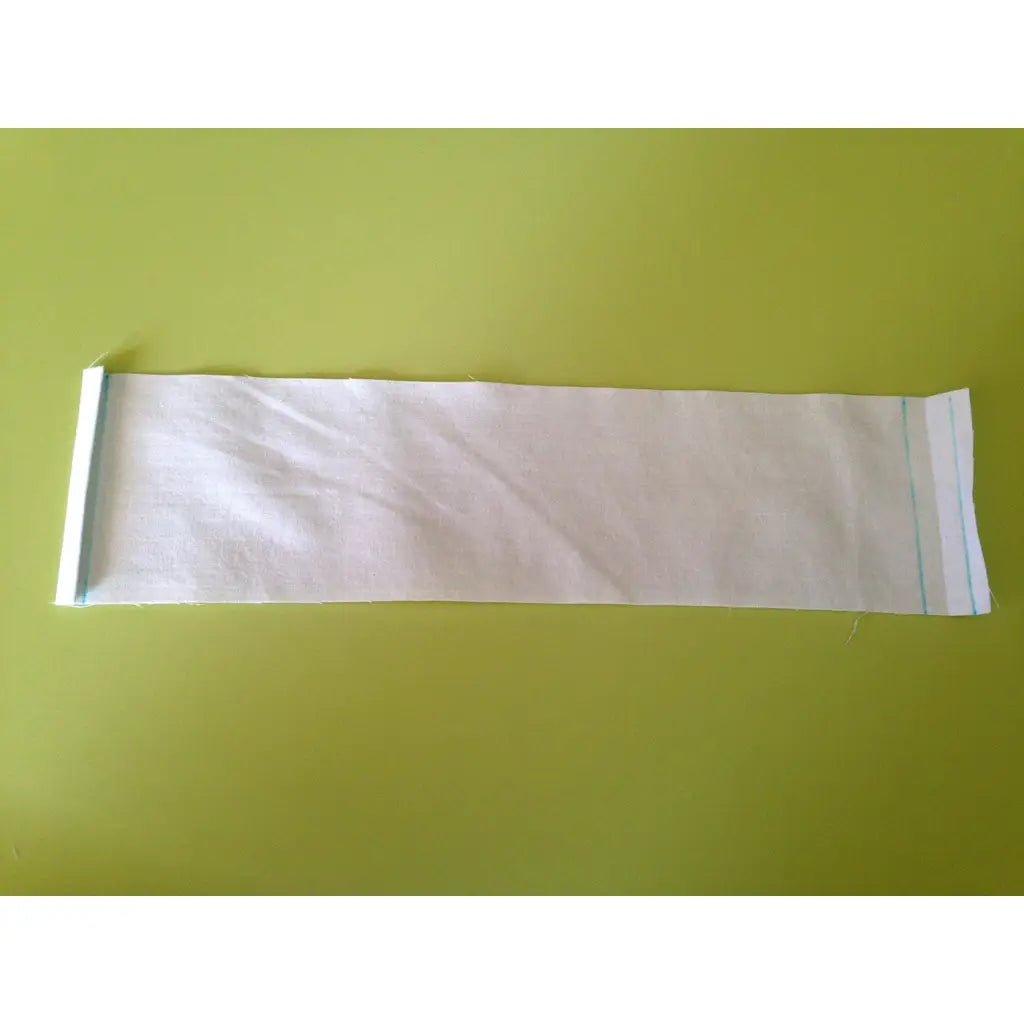
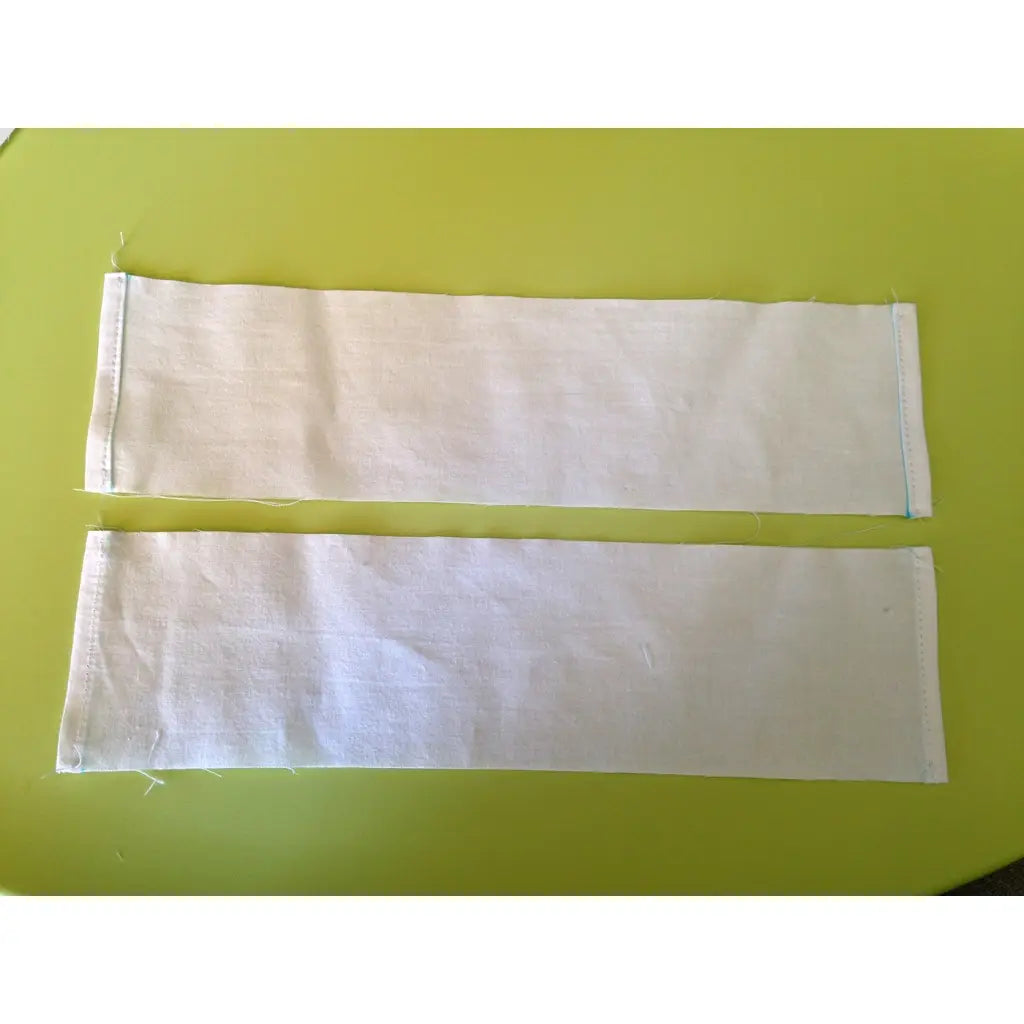
2. Making the upper upper fabric in which the cord will slip into.
We draw a line at 0.5 cm and one at 2 cm on each side of the fabric.
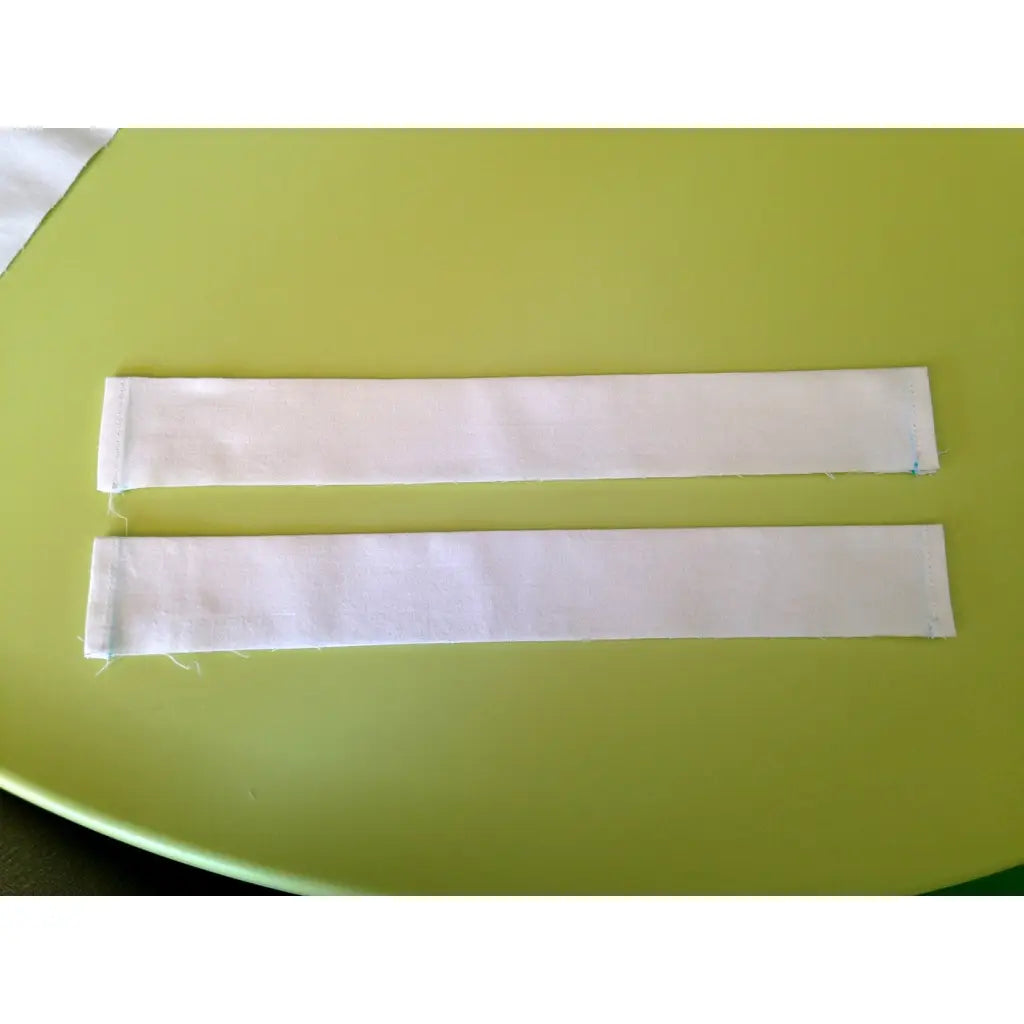
Twist 0.5 cm and then fold back up to 2 cm long and we make a backstitch at a few mm from the edge.
To iron them each in half.
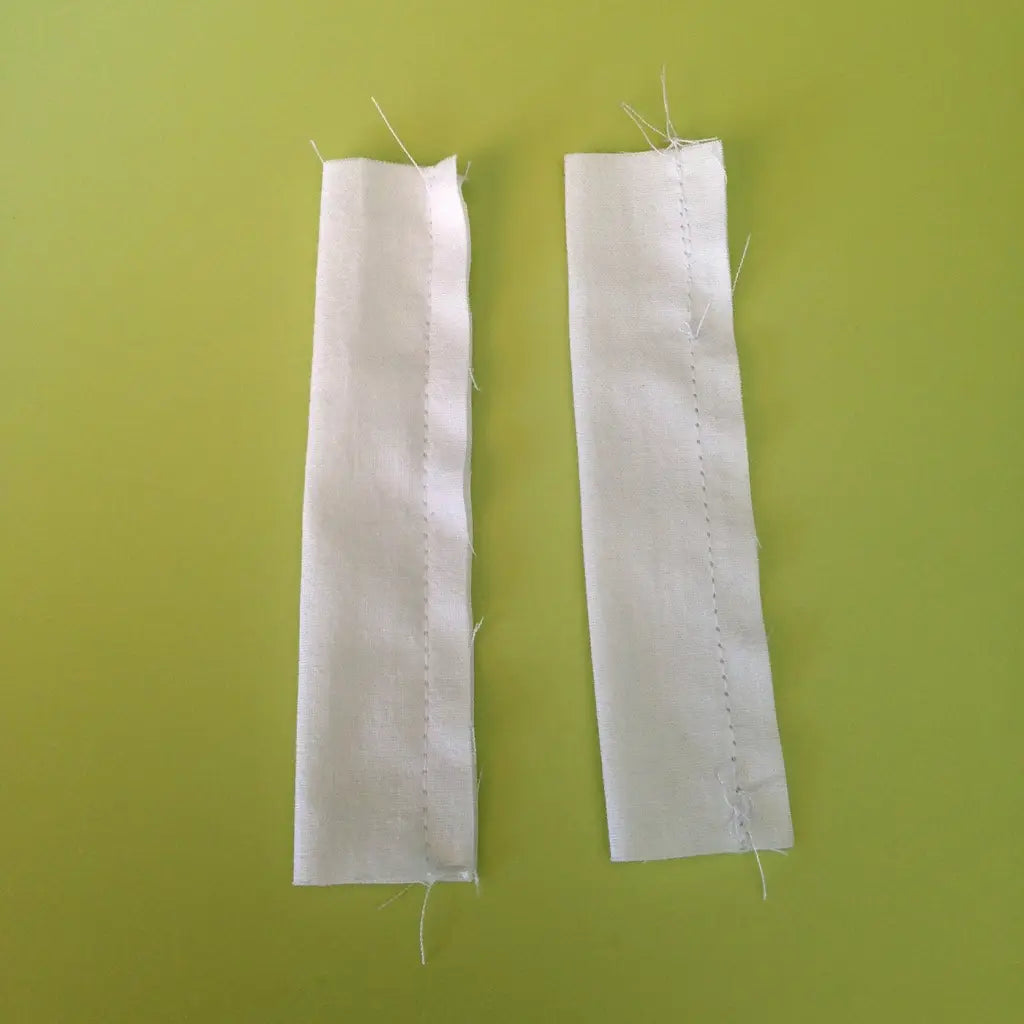
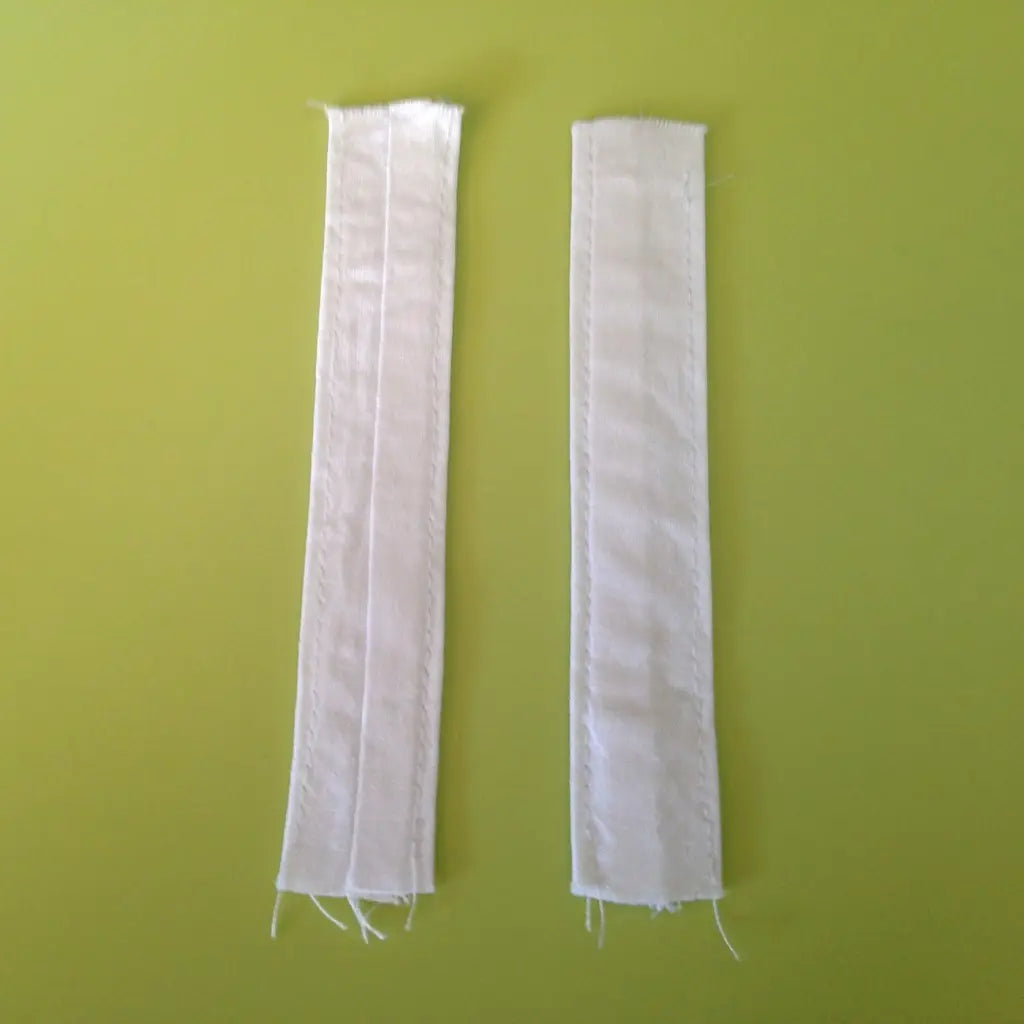
3. Making the lower fabric in which the cord will slip into.
We fold the fabric in half and we make a backstitch at about 0.5 mm from the edge.
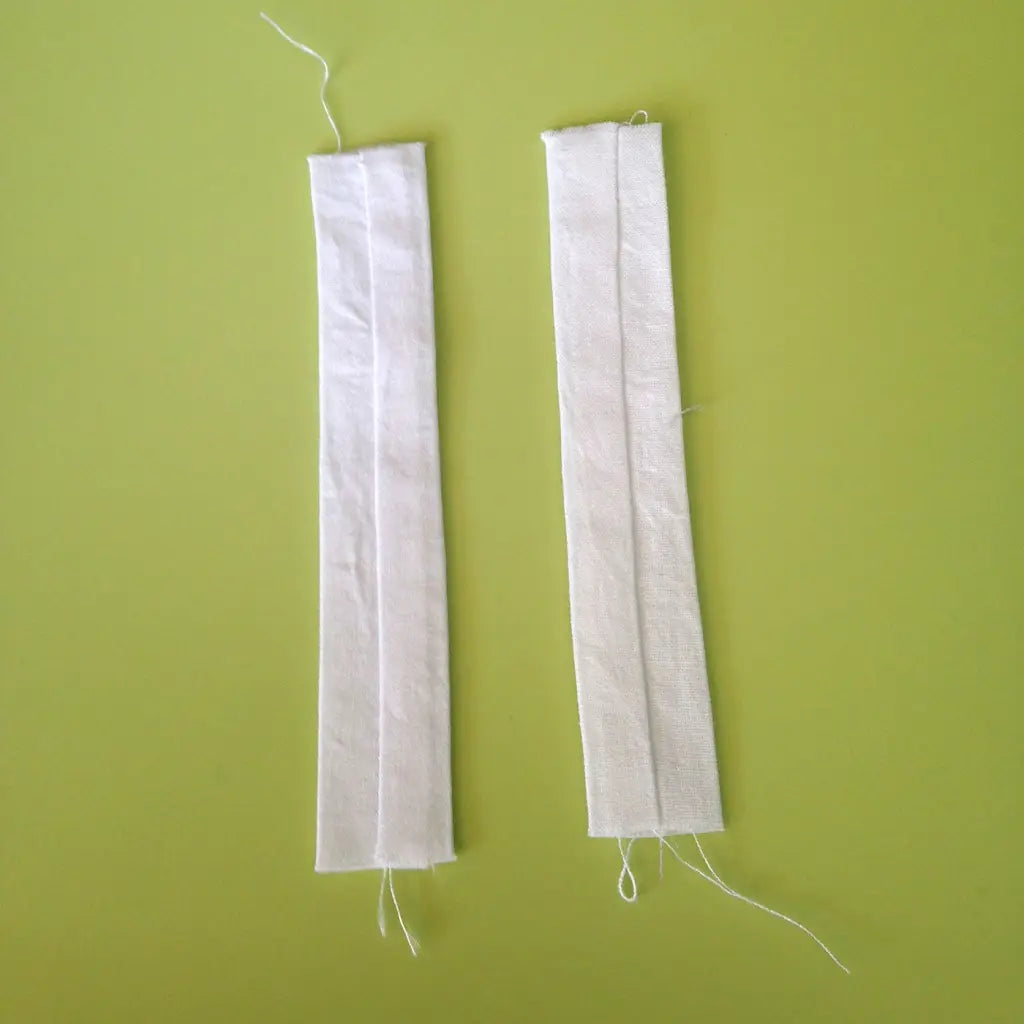
We turn around so that the backstitch is inside.
We iron with the backstitch in the middle of the back.
We sew a backstitch in each side one mm from the edge.
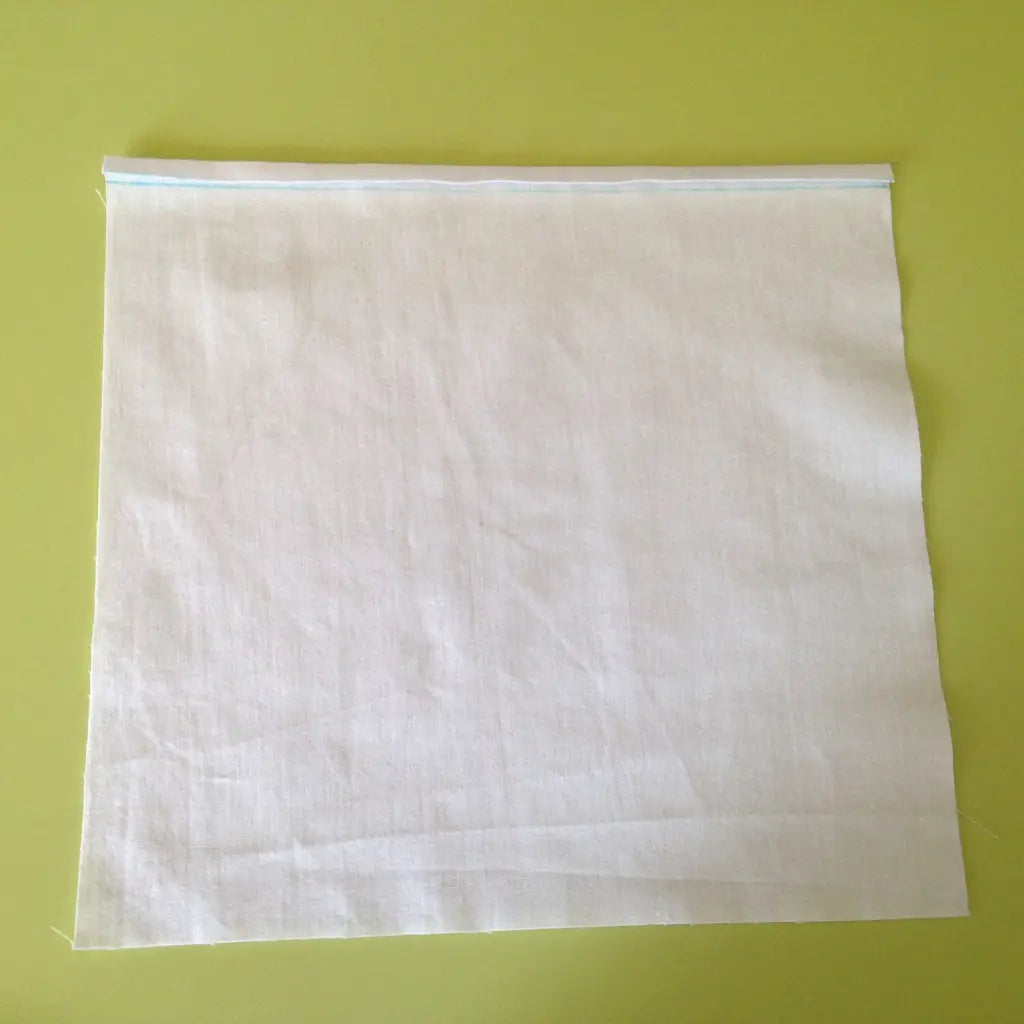
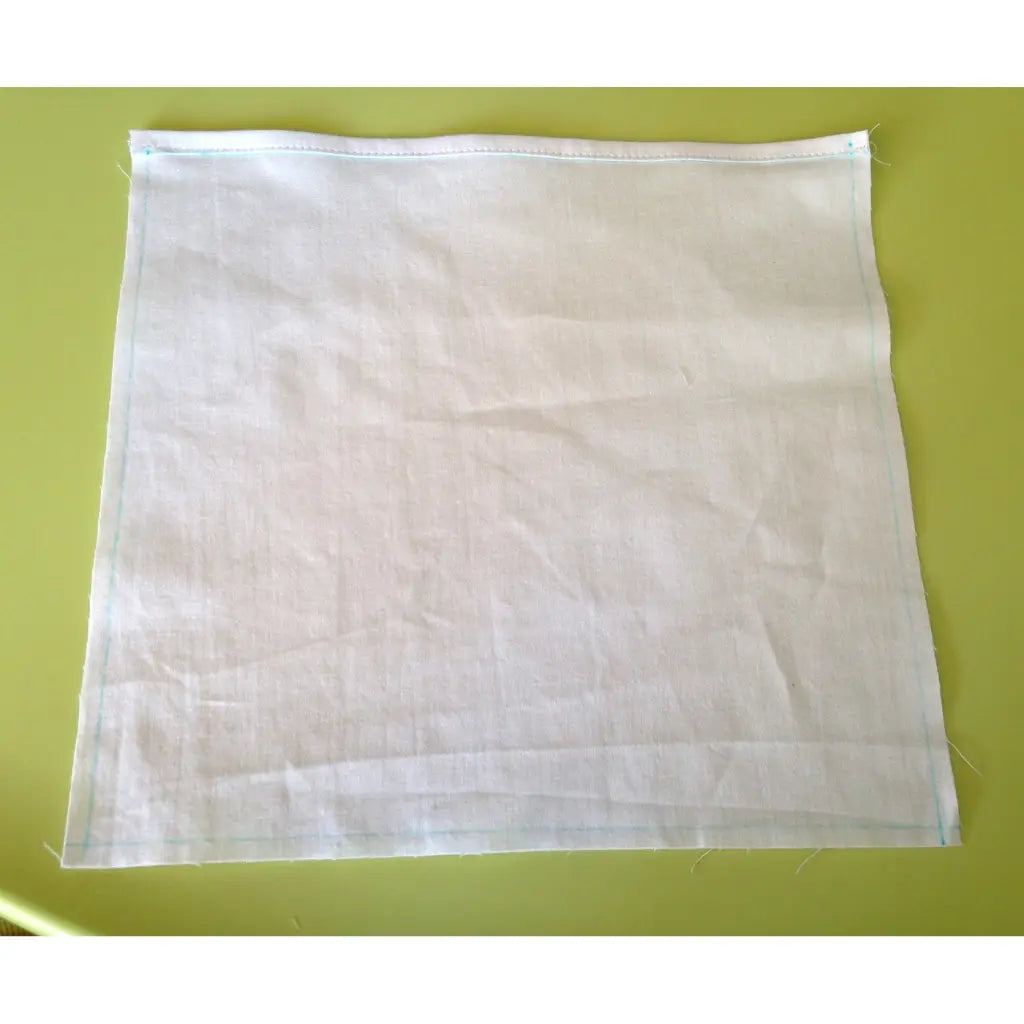
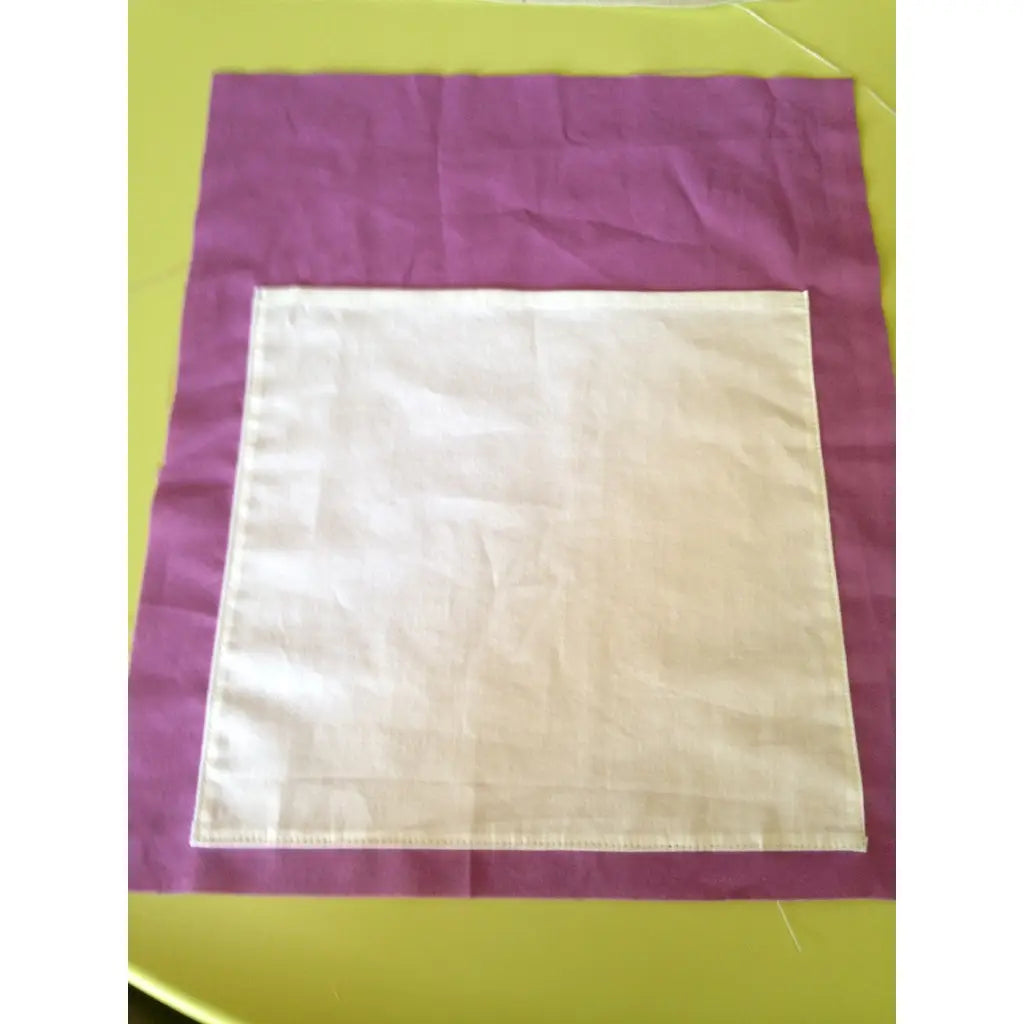
4. Putting the inner pocket.
At the top of the pocket we draw a line at 0.5 and one at 2 cm. We fold 0.5 and then fold to the 2 cm line and we make a backstitch at a few mm from the bend.
we draw a line on the other 3 sides at 0.5 cm from the edge. Bend inside and iron well.
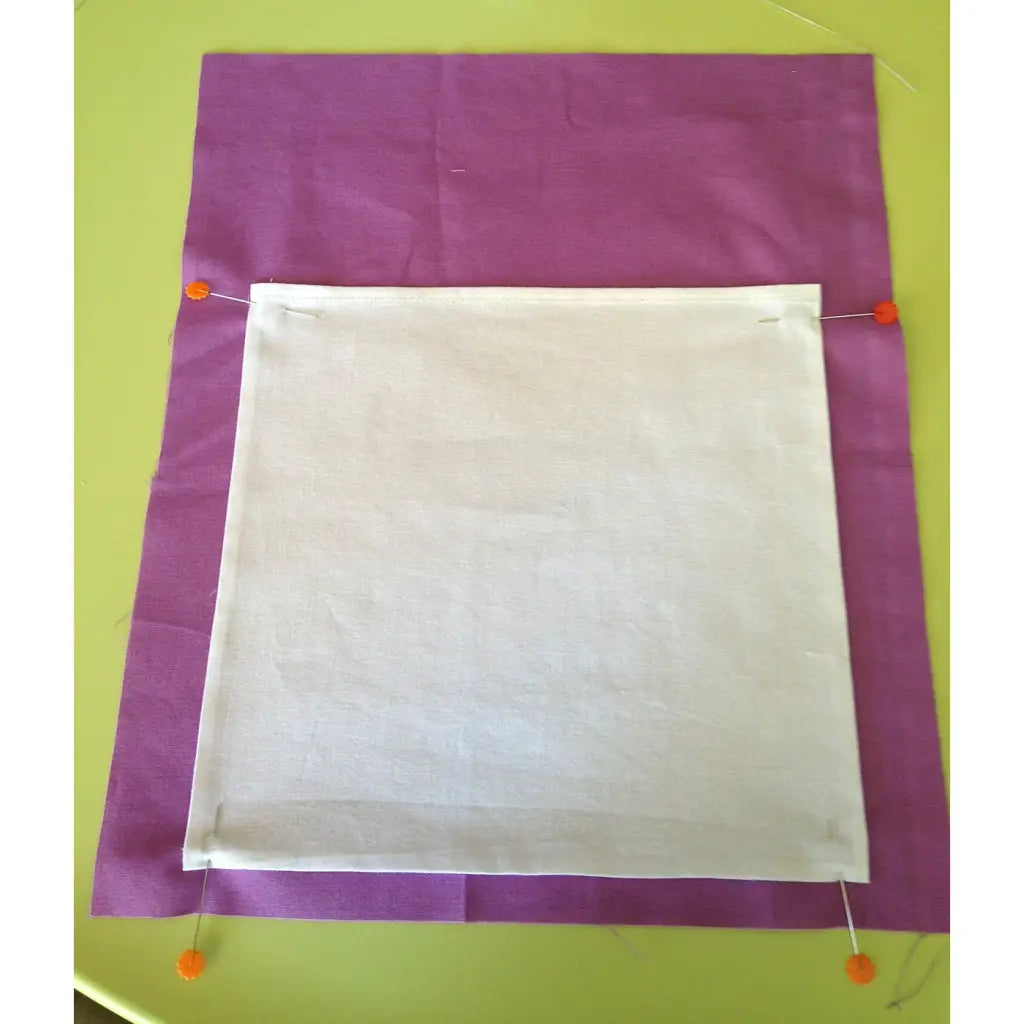
Put your pocket over the inner fabric 3 cm from the edge and 3 cm from the bottom. Or higher if you wish.
We fix with needles.
We sew a backstitch around the three sides that should remain open about 2 mm from the edge.
Think you can put a velcro so that your pocket closes well and does not hang. If you want to put it, place the velcro on the fabric of your pocket and in the inner fabric and sew each one before sewing the three other sides.
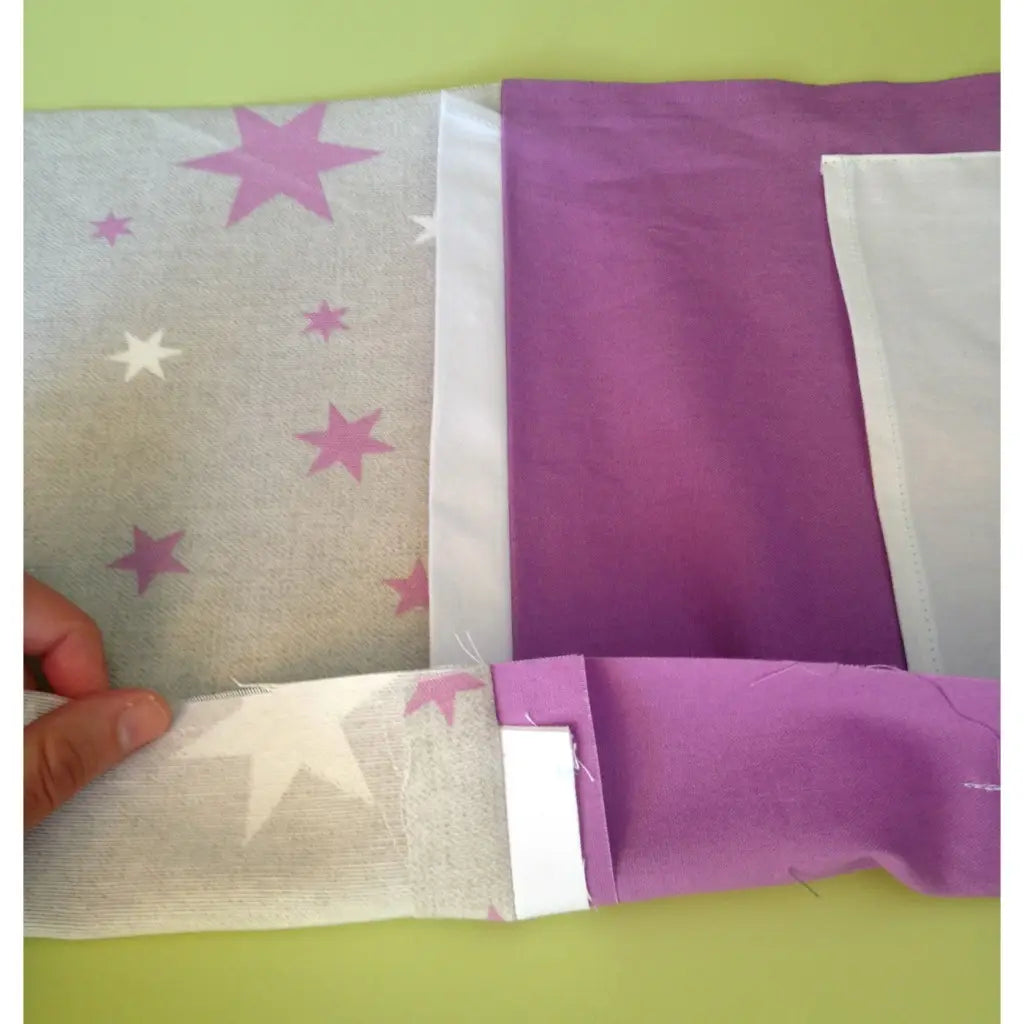
5. Putting the upper fabric in which the cord will slip into.
We do it as if it were a zipper:
Put the outer fabric with good face up.
Center the fabric in which the cord will slip into over outer fabric of the bag oriented to the valley, that is, with the opening aligned with the upper end of the outer fabric.
Put the inner cloth with the good face down.
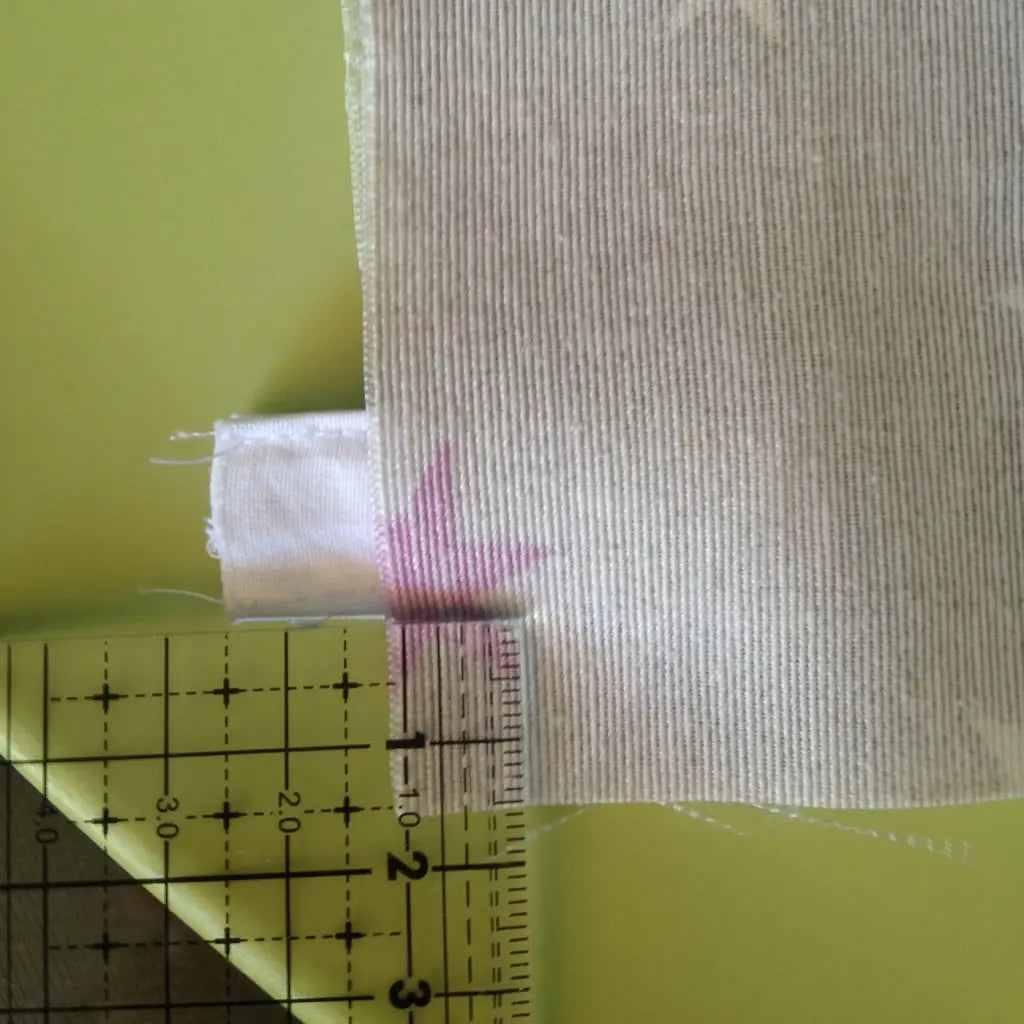
We make a backstitch on the upper side of the edge according to a distance depending on the height at which we want the fabric in which the cord will slip into. This distance will also affect the height of the bag. I did it at 1.5 cm and the fabric for the cord was left 2 cm, because in this case I wanted it narrower. But another bag I sewed it at 0.7 cm.
We iron on the right side.
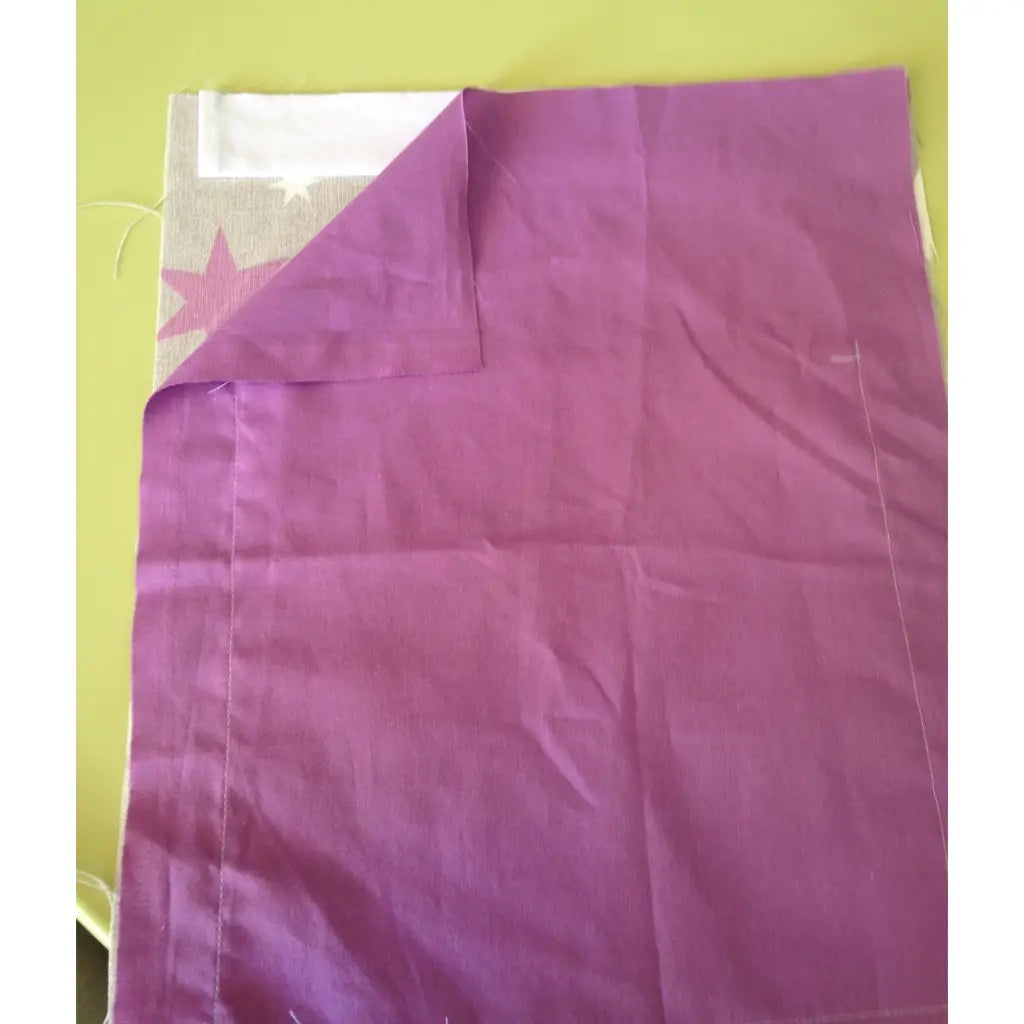

6. Assembling the bag.
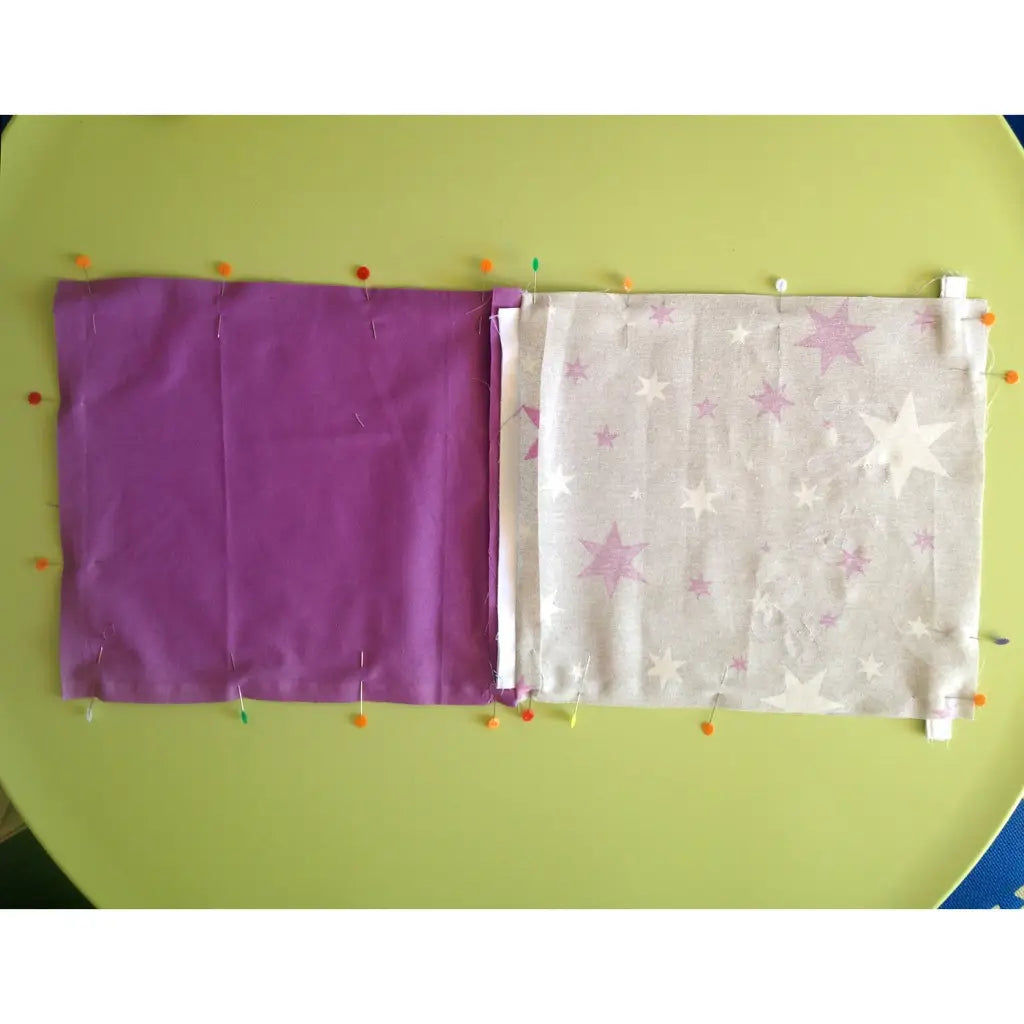
Place one of the pieces obtained in the previous opened with the good face up.
Over it, we put the other, with the good faces faced, exterior with exterior and interior with interior, and with central backstitch aligned.
Put the bottom fabric in whiich the cord will slip into: on the part that we have the outer fabrics we these ribbons, which we made in step 3, turned towards the inner part and a few centimeters below. I put, it in this version, 1.5 cm from bottom and 1.5 cm out. But these sizes can be adjusted.
Put needles all around.
We made a backstitch all around leaving a small opening (about 10 cm) on the bottom of the inner fabric to be able to turn the bag around.
The backstitch of the inner fabric can be a little further from the edge so the inner fabric doesn’t left over.
We sew a zigzag all around the bag to reinforce it, except the hole that we have left to return, to .
7. Turning around the bag and closing.
Cut out the fabric surplus from the ribbons.
We turn around the bag through the hole that we have left.
We hand sew the opening that we had left.
We iron all the bag and especially where the upper ribbons are placed.
You can make a decorative backstitch around the top on the outer fabric fabrics about some mm from the edge, but it is not necessary. I did not do it in this version.
8. Putting the cords.
Each of the laces is about 120 cm in size.
We insert one of the cords on one side of the top ribbon, we pass through the two ribbons, giving the entire turn and leaving by the same side. Then we pass through the lower ribbon on the same side and we make a knot. And we do the same with the cord on the other side.
And it’s finished!


Leave a comment (all fields required)