

This quick Jelly Roll Friendly Rail Fence pattern is a great first quilt project and can be completed quickly. This project using simple strip piecing to create a quick and easy project and is flexible to use with prints or solids.
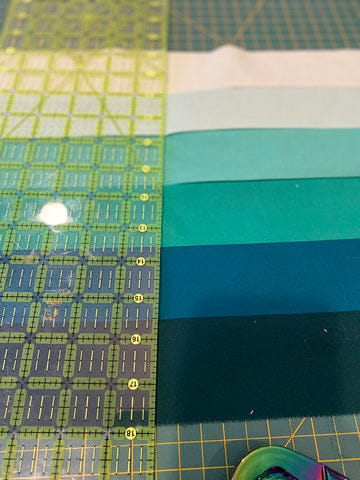
I used a Jelly Roll in this pattern. Jelly Rolls are 2.5" strips, so you can cut the strips as the width of fabric (WOF) as well. I used a gradient of 6 colors and positioned them from light to dark. I added one print in as I made a mistake (more on that later), but it was easily mixed in.
Fabric: You will need 3 strips each of 6 colors to make a 36" x 36" quilt, but here are the measurements for other sizes. The blocks are 12" x 12" finished.
| # of strips needed | 6 clrs, 3 strips each= 18 strips |
6 clrs, 6 strips each = 36 strips |
6 clrs, 14 strips each=84 strips (about 1 yd per color) |
| # blocks | 9 blocks | 18 blocks | 42 blocks |
| Finished size | 36" x 36" | 36" x 72" | 72" x 84" (Twin) |
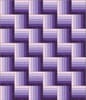
| Layout example | 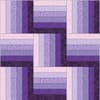 |
 |
 |
1. Start by selecting your colors. I used a gradiant of light to dark solid green seen on the right, but you can see that the left has prints that would look equally good.
If you are not using pre-cut Jelly Roll (2.5") Strips, then you can cut 2.5" strips from yardage.


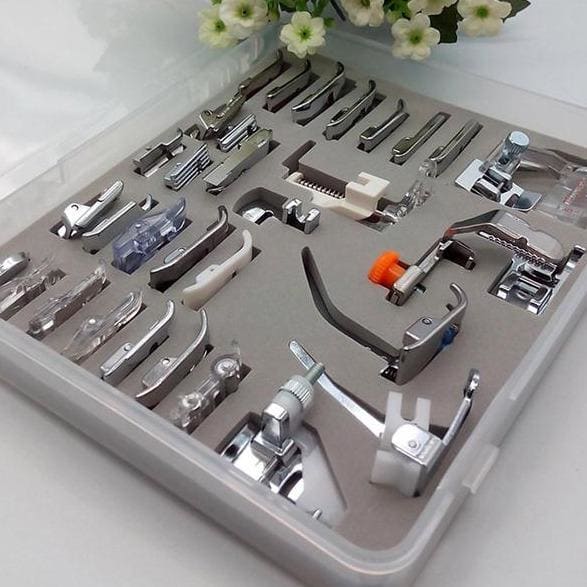
2. Sew each strip set together using a 1/4" seam allowance in the correct order. (I used a 1/4" presser foot to make it easier) One strip set will produce 3 finished blocks. Now, I realized as I was creating my final strip set that one of my colors had a small stain, so swapped it out for a print with the same color value.
Note: My jelly rolls were "pinked" at the edges when I bought them, this is not necessary but fine and will depend on the brand.
3. Press your seam allowances. I pressed my seam allowances open first and then to one side. I pressed to the dark side for each of these. I used my Wool Press'n Lock tiles to line up several tiles so I could easily press the long seams.

4. Cut your strip set into 3 parts, 12.5" wide. I squared up my edges first so I started with a clean edge to start my cutting.


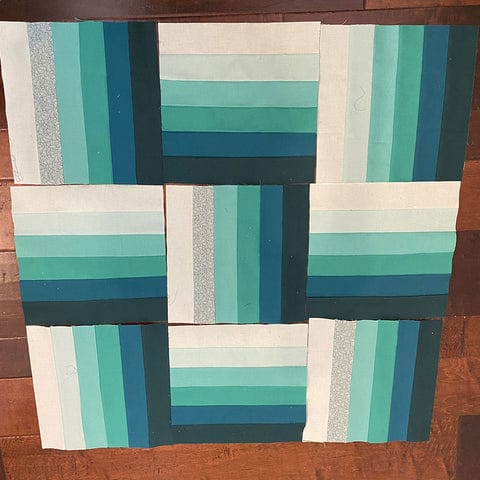
5. The addition of the print to 3 of the blocks, doesn't seem to take away from the overall effect. I laid out the quilt in a 3 x 3 configuration until I was pleased with it. I alternated where the dark edge was (right, bottom, right) then (bottom, right, bottom) to form the "rail fence" effect.
6. Next I sewed the rows of blocks together.

7. Press the seams of the rows in order to make nesting the seam allowances. However, if you would rather press them open, that will also work.
Row 1: towards the middle block
Row 2: towards the outer blocks
Row 3: towards the middle blocks
8. Match the seams together and sew the rows together again using a 1/4" seam allowance (I used a 1/4" presser foot to make it easier). I pinned my rows at the seams to help keep them aligned.

9. Press the seams open and press the quilt front and back. You are done with your quilt top. Feel free to add borders to make this quilt larger as you see fit! This is a great play mat size or wall hanging.

10. Quilt and bind.
You can find our tutorial on basic machine quilting here:
https://sewingbysarah.com/blogs/tutorials/quilting-101-machine-quilting-with-your-walking-foot
You can find our tutorial on binding here:
https://sewingbysarah.com/blogs/tutorials/quilting-101-how-to-bind-your-quilt-by-machine


RobinDiMarino
June 01, 2023
Is there a way I can print this out? I don’t want to loose it I’ve been searching forever for the right pattern for my sons quilt. He’d love the illusion