If you want to quilt on your domestic sewing machine, using a walking foot is one of the best ways to start. A walking foot is specially designed to help move multiple layers of fabric smoothly through your sewing machine, so you get great results. When quilting, this means that your top and backing fabrics move along at the same pace, producing a stunning quilt.
To set up your machine, you first need to attach your walking foot. Of course, follow the directions that came with your machine or your foot, but one thing that is common for most walking feet it that they have a special arm that needs to be set on the bar just above your needle.
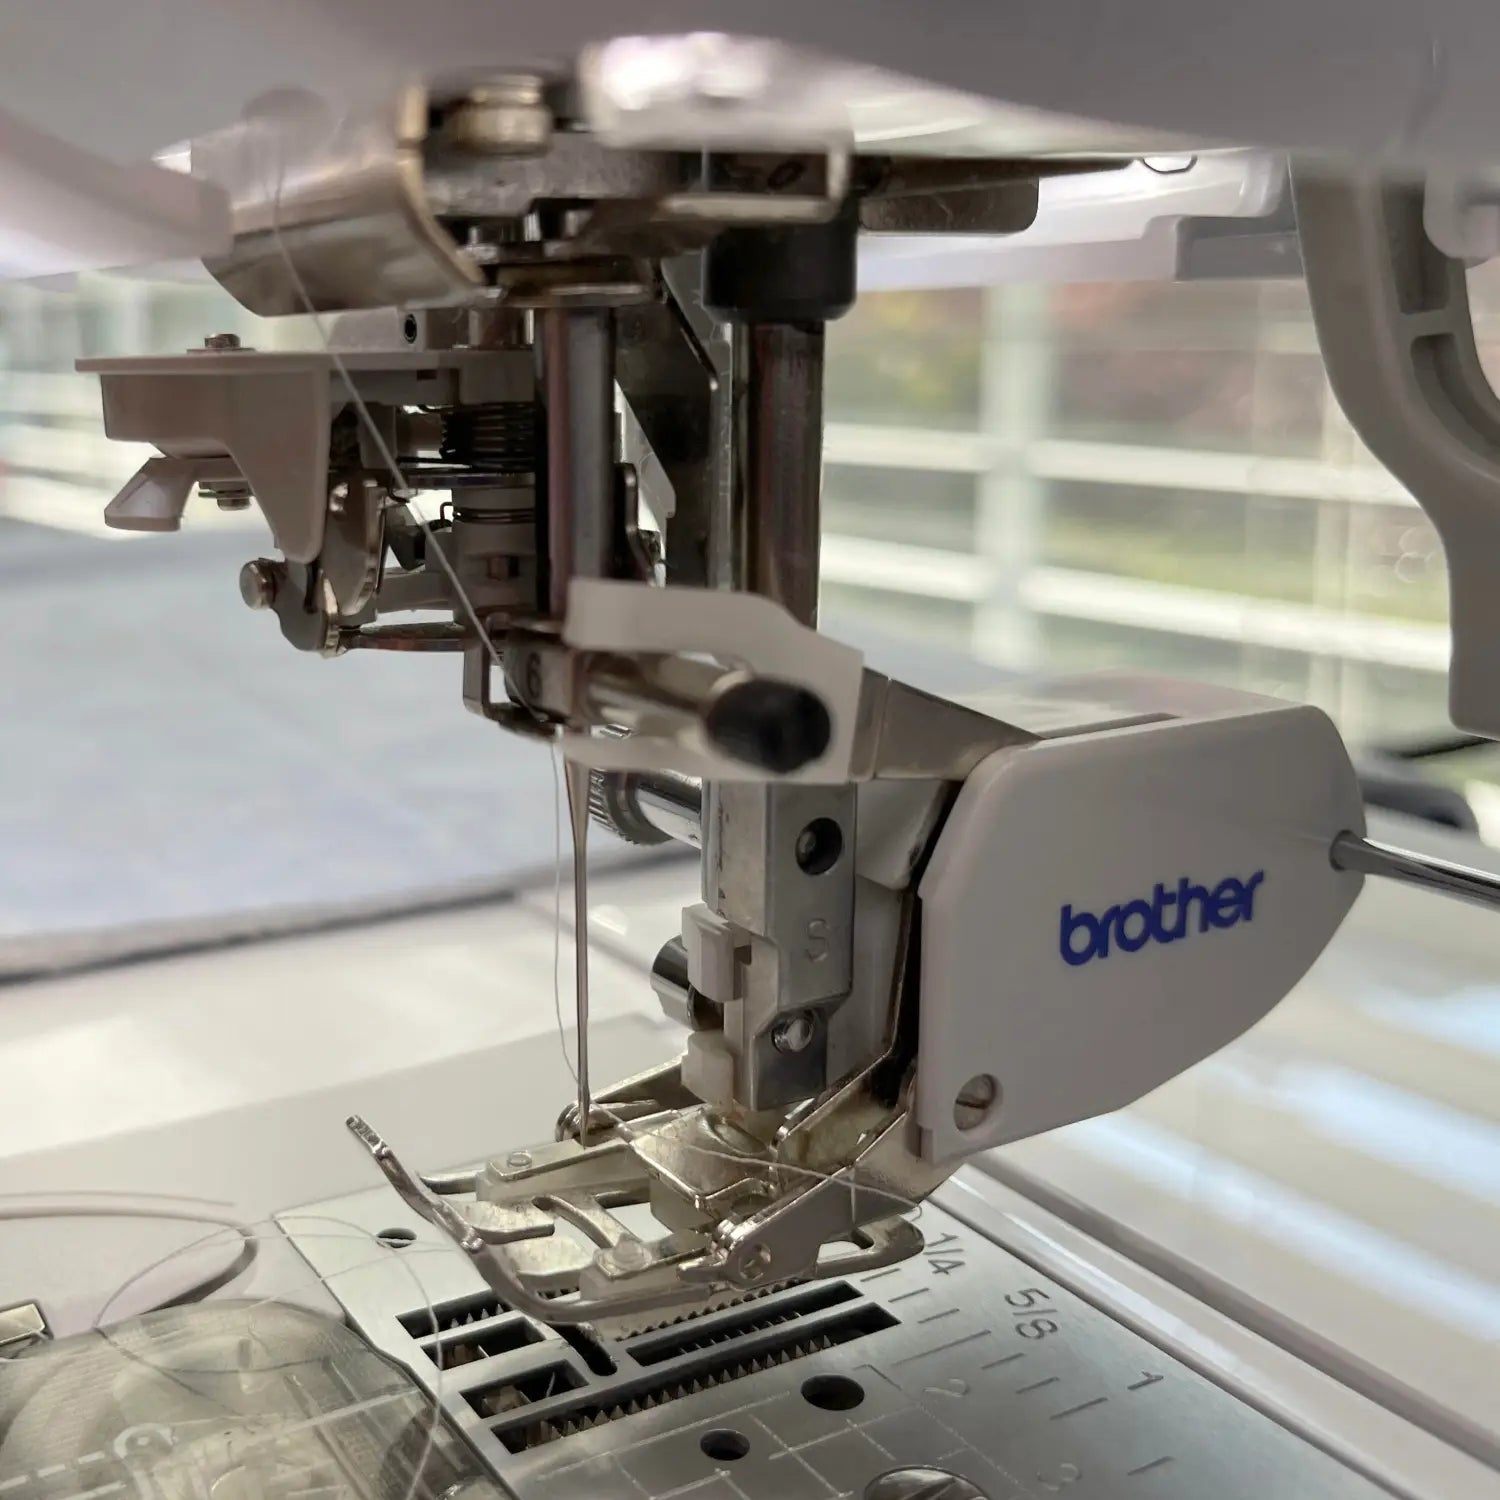
If your foot has this arm, make sure it is set in place as shown in the picture, because this arm is essential to making the top fabric move in tandem with the bottom fabric.
Once your foot is attached, you will want to also lengthen your stitch. I prefer a stitch length of 3.0mm.
If your machine has a speed setting, you should turn it down to about half speed. Always go slow when using a walking a foot.
Starting in the middle of your quilt, use the walking foot to quilt a straight line from one side to the other.
If your walking foot comes with a guide (ours does), now is a good time to attach the guide.
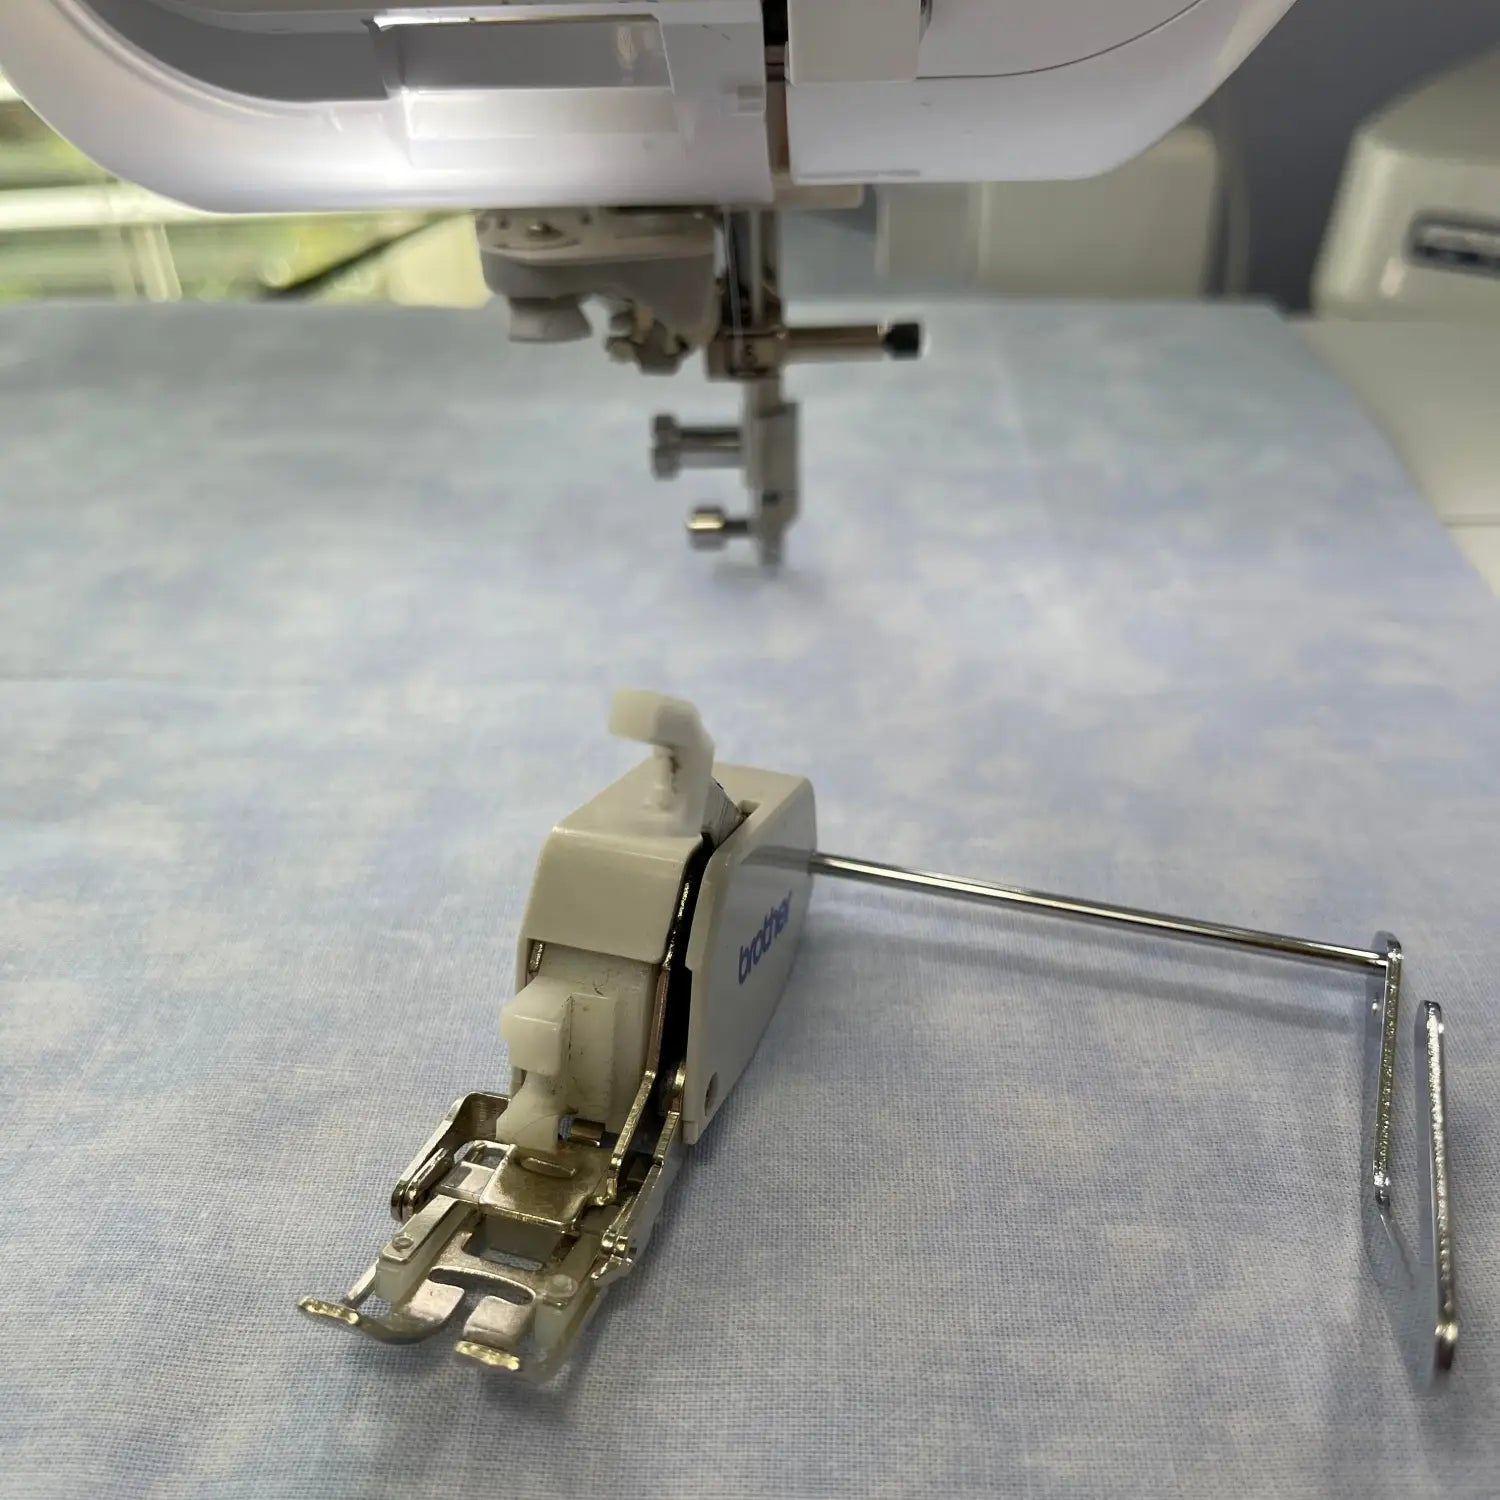
The distance your guide is from the needle determines how far apart your lines will be. Set the guide at your desired distance to achieve the line spacing you desire. Then, by keeping the guide on the line you already stitched, stitch a new line next to the old line, from one side of the quilt to the other.
Repeat the same process on the other side of the original line.
Continue the same process using the two lines you just stitched and using the guide to add lines. Continue adding lines in the same manner until you the reach the edges of the quilt.
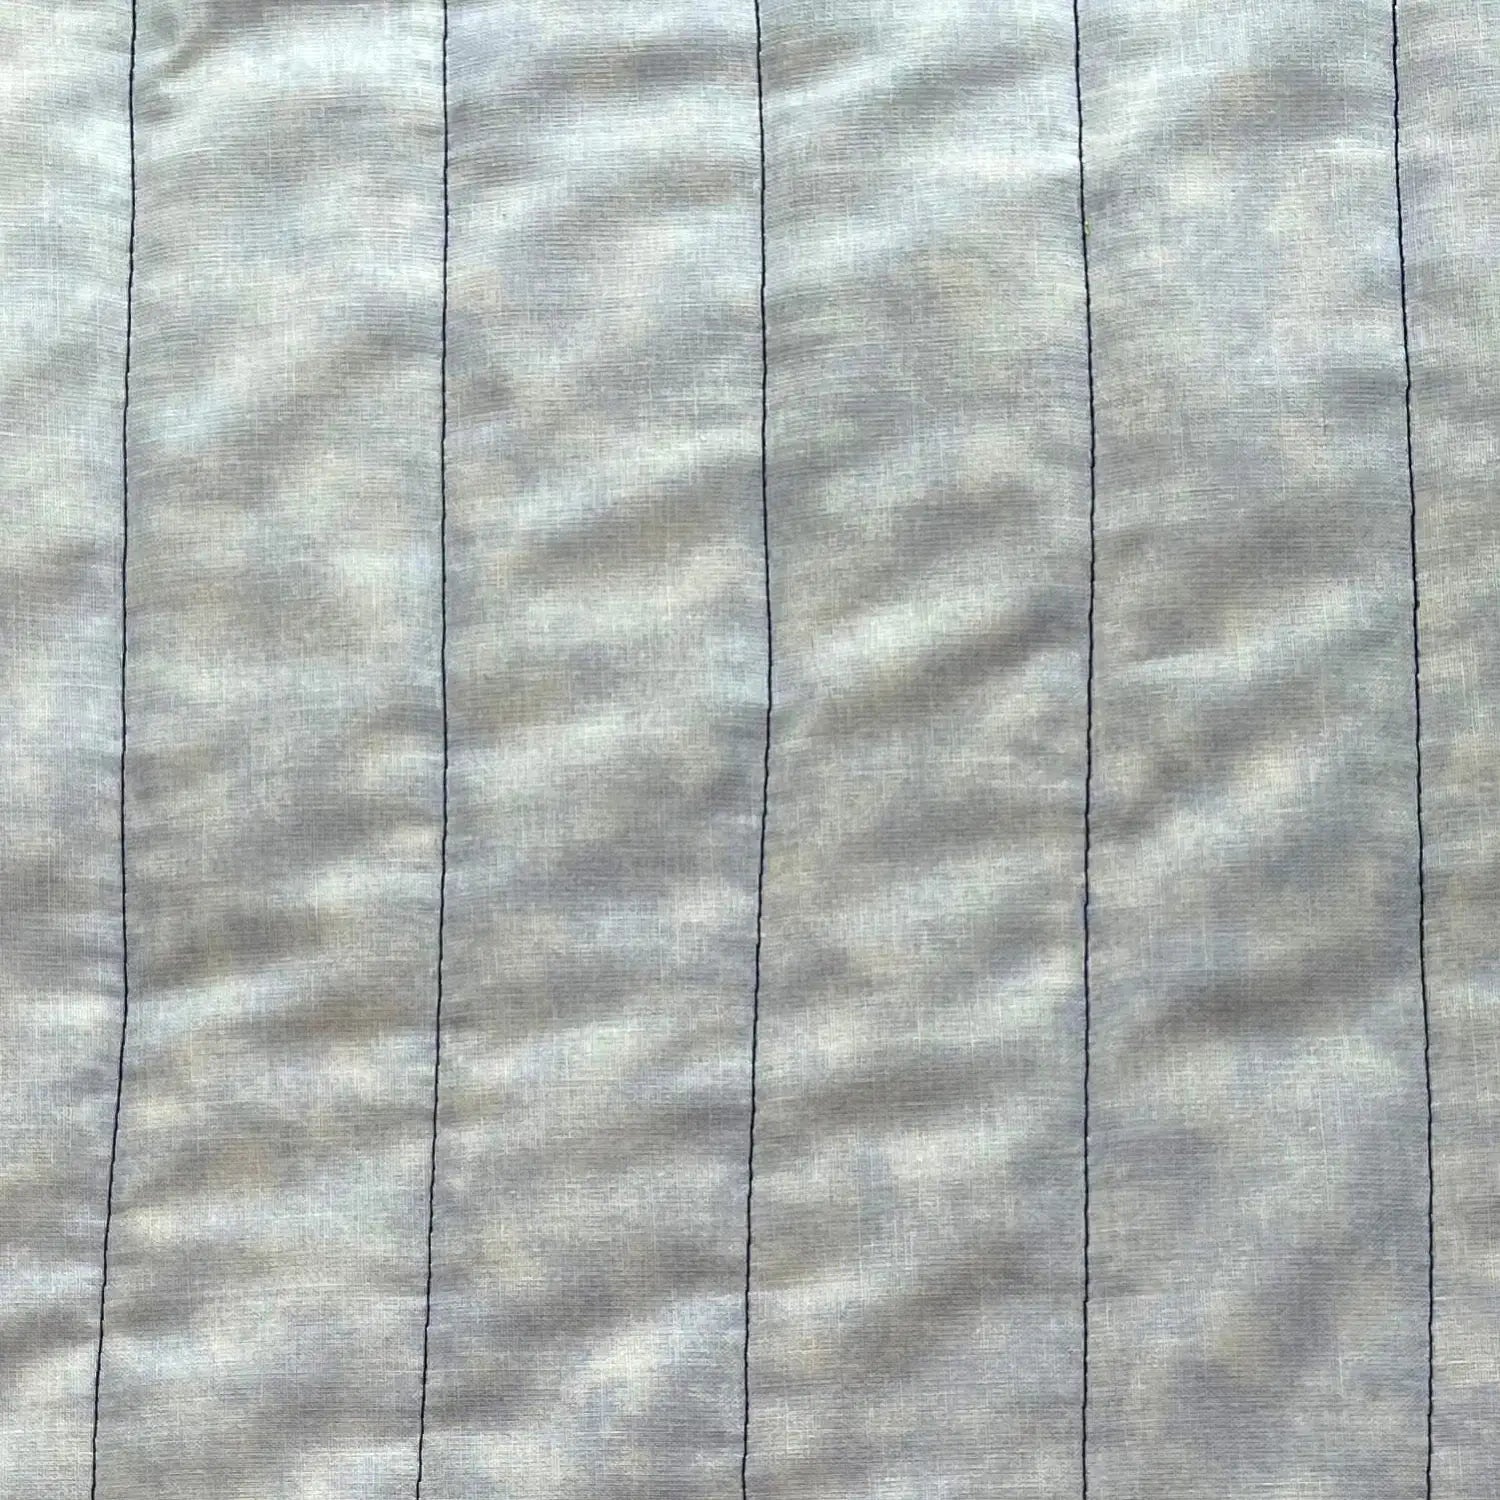
Here is a video of the process of quilting with a walking foot:
While the walking foot is great for doing a simple straight line design, there is a lot more you can do with it. Stay tuned for another post with additional designs you can quilt with the amazing walking foot!
Our walking foot can also be found in our Ultimate Quilting Presser Foot Set.
Stay in touch and Show us what you've made: Instagram: @sewingbysarahstore Facebook VIP Group: https://www.facebook.com/groups/sbsvip
Ruth
April 27, 2024
Great information for me as a beginner quilter. Thank you.