Have you ever wanted to add bias tape that is the ordinary kind you buy in the store? We have a simple tutorial for making your own bias tape that will allow you to quickly customize your next project with custom trim that perfectly coordinates with your sewing or quilting project.
For such a skinny strip of fabric, bias tape or bias binding plays an outsized role in quilting and garment sewing. Just about every project you can think of uses bias tape or binding, which is why it’s easy enough to just buy a package of pre-made bias tape.
But let’s be honest. You’ve just put considerable time and effort into your project. You’ve painstakingly chosen your fabrics and threads, so why go with off-the-shelf, pre-made bias tape? You can easily make your own, with a simple bias tape maker, and attach it even more easily, with our bias tape presser foot.
Here's a quick video overview of the process and then let's get started:
First, let’s talk about how to make bias strips. And the key word here is ‘bias.’ You will want to cut your strips on the bias so they have stretch and can easily be manipulated around corners and curves.
Make fabric strips:
- Cut your fabric so that it is a big square.
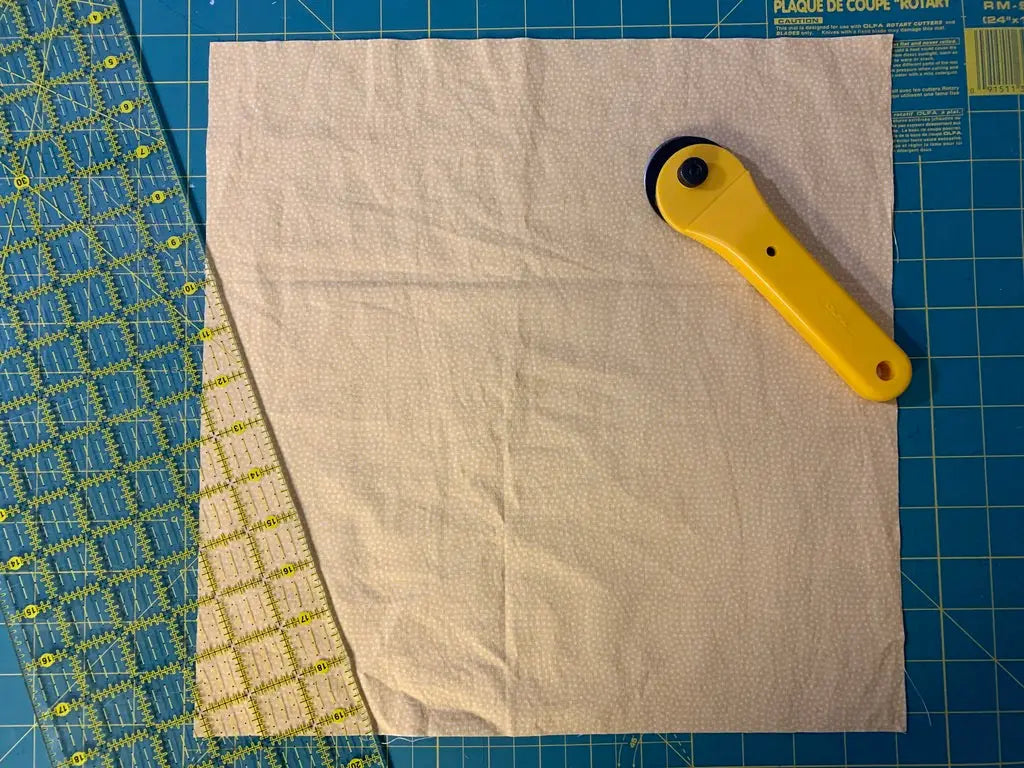
-
Fold your fabric in half diagonally, and cut in the fold so that you get 2 big triangles.
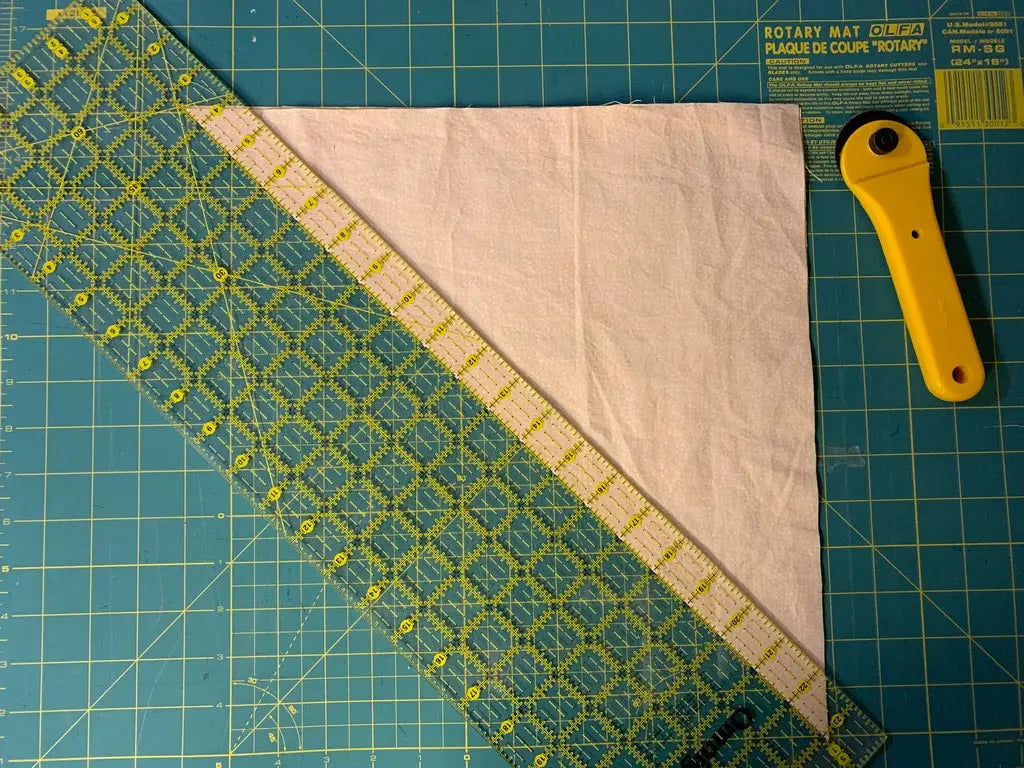
- Take your rotary cutter, ruler, and mat, and start cutting strips-- cut right through the 2 triangles

- Stop cutting when the lengths get too small
How wide should your bias strips be? It depends on how wide you need your bias tape to be.
| Width double fold bias tape | Width single fold bias tape | Width strips ** | Bias tape maker number | Bias tape maker color |
| 1/8" | 1/4" | 3/8" | 6MM or 1/4" | Green |
| 1/4" | 1/2" | 7/8" | 12mm or 1/2" | Yellow |
| 3/8" | 3/4" | 1 3/8" | 18mm or 3/4" | Red |
| 1/2" | 1" | 1 7/8" | 25mm or 1" | Blue |
Sew the fabric strips:
- Place your strips at a 90° angle, right sides together. Let each strip overhang the other about a 1/4”.
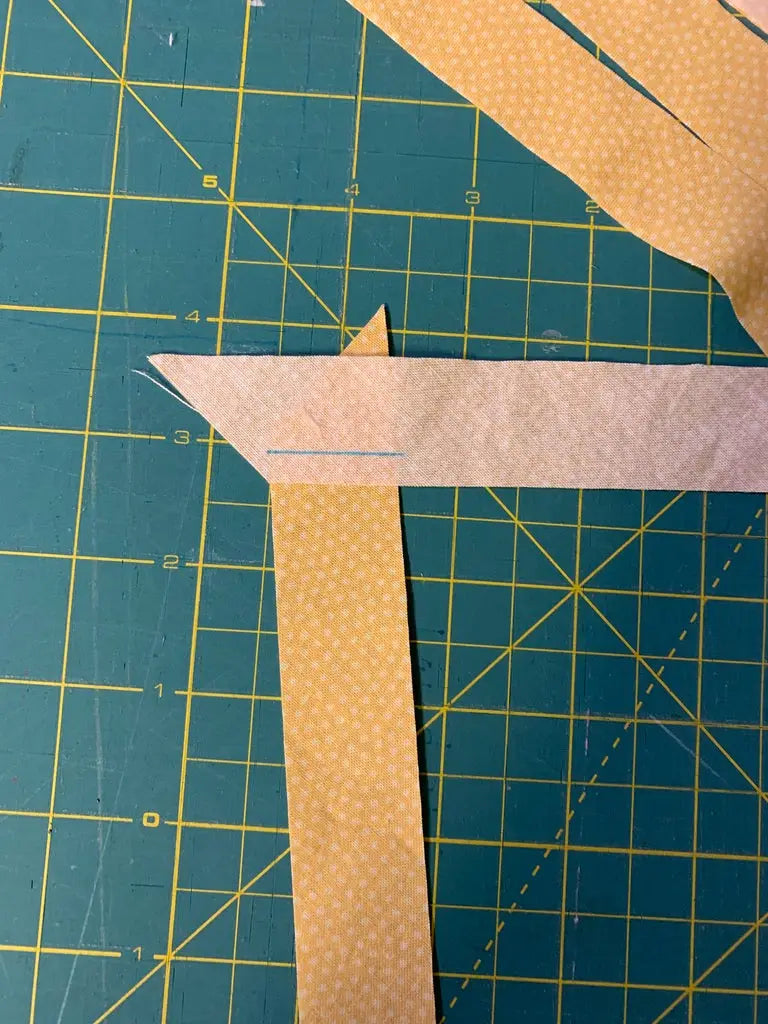
- Stitch with a ¼” seam allowance.
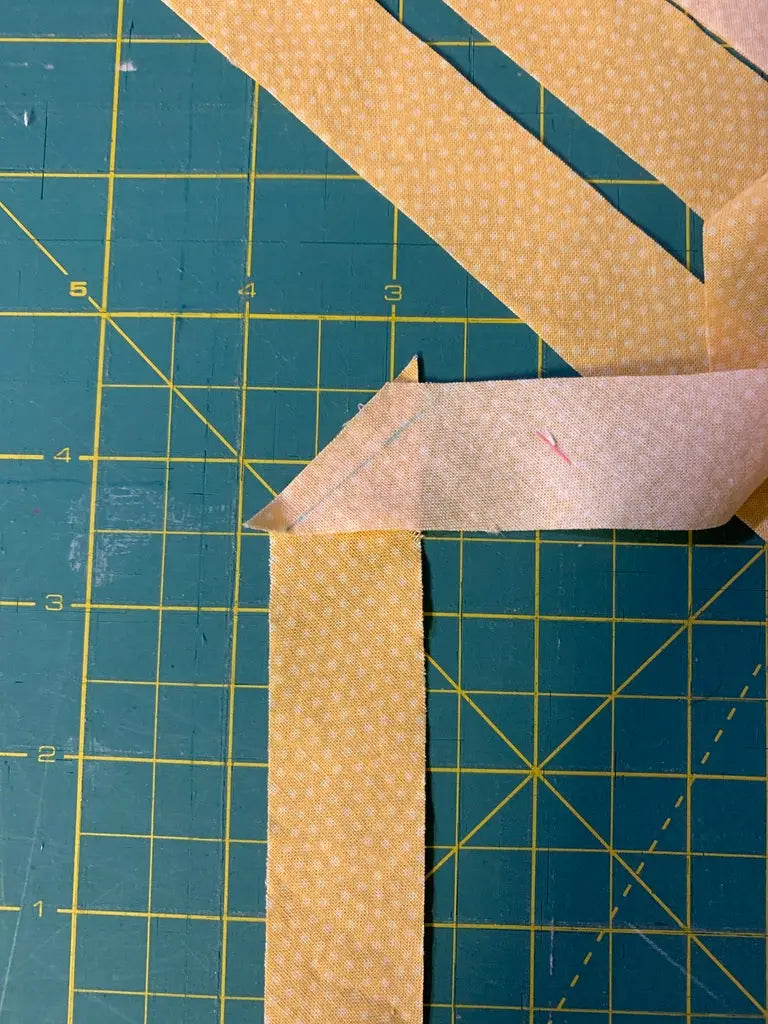
- Trim the overhang when you press the seam open.
Make the bias tape
- Get your bias tape maker (depending on the width you need).
-
Put the point of the strip into the wide end of the tape maker. You can use an awl to pull the fabric through if necessary.
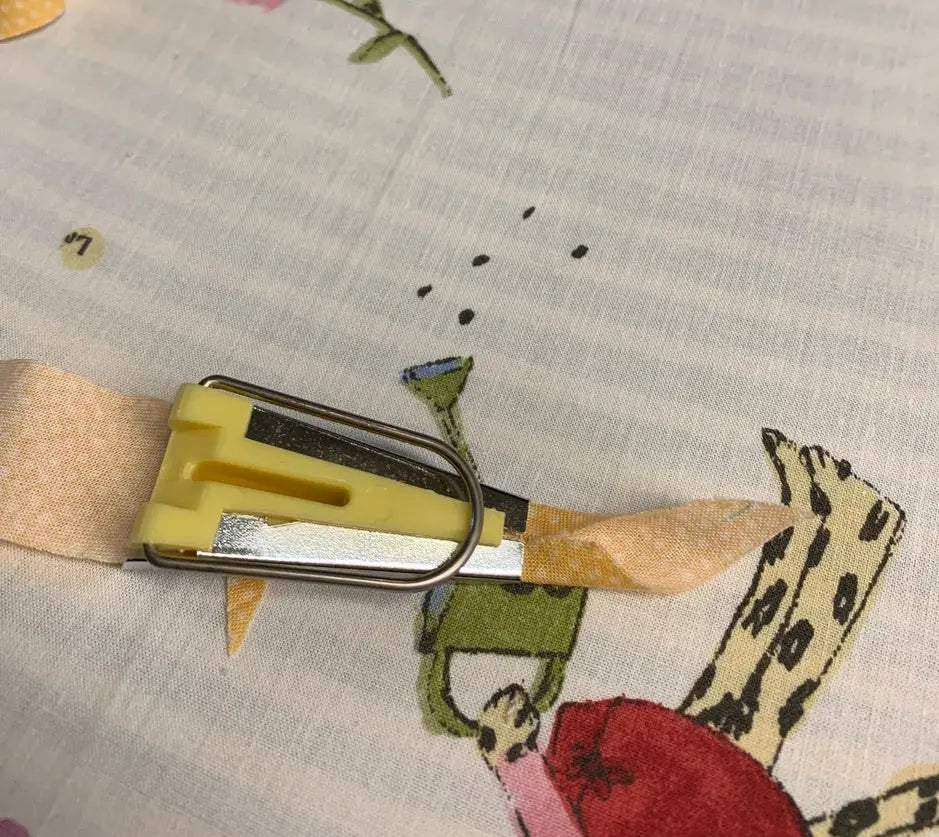
- Pin the end of the strip that’s come through the narrow end of the bias tape maker to your ironing board.
- Pull the lever on tape maker and press the folds with your hot iron. Keep your iron close to the tape maker, and just continue ironing. Continue to pull and iron even at the seams.
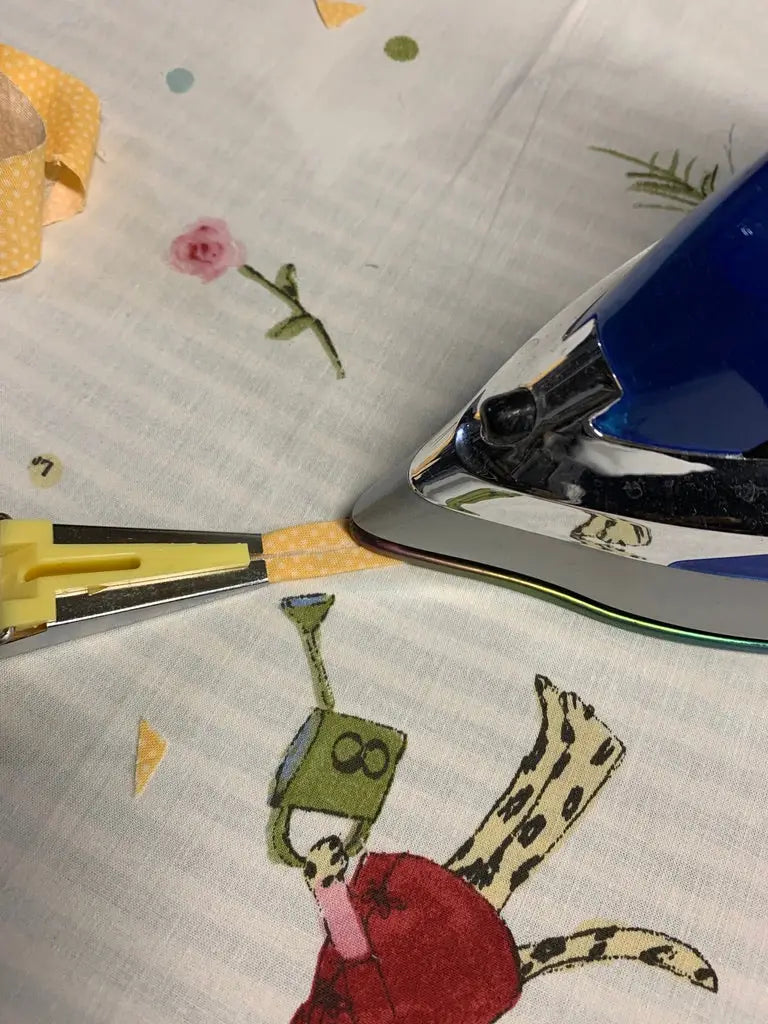
This is a single fold bias tape. Fold this in half for double fold bias tape.
Organize your bias tape
- Wrap your tape around an empty paper towel cardboard tube or piece of cardboard.
Using the Bias Tape Presser Foot (this works well for apparel and non bulky projects, for quilts use a walking foot to attach your bias tape)
- Snap the presser foot to your sewing machine
- Adjust the guide of the foot (or the binding channel) to fit the width of your binding with the screw to the front right of the foot.
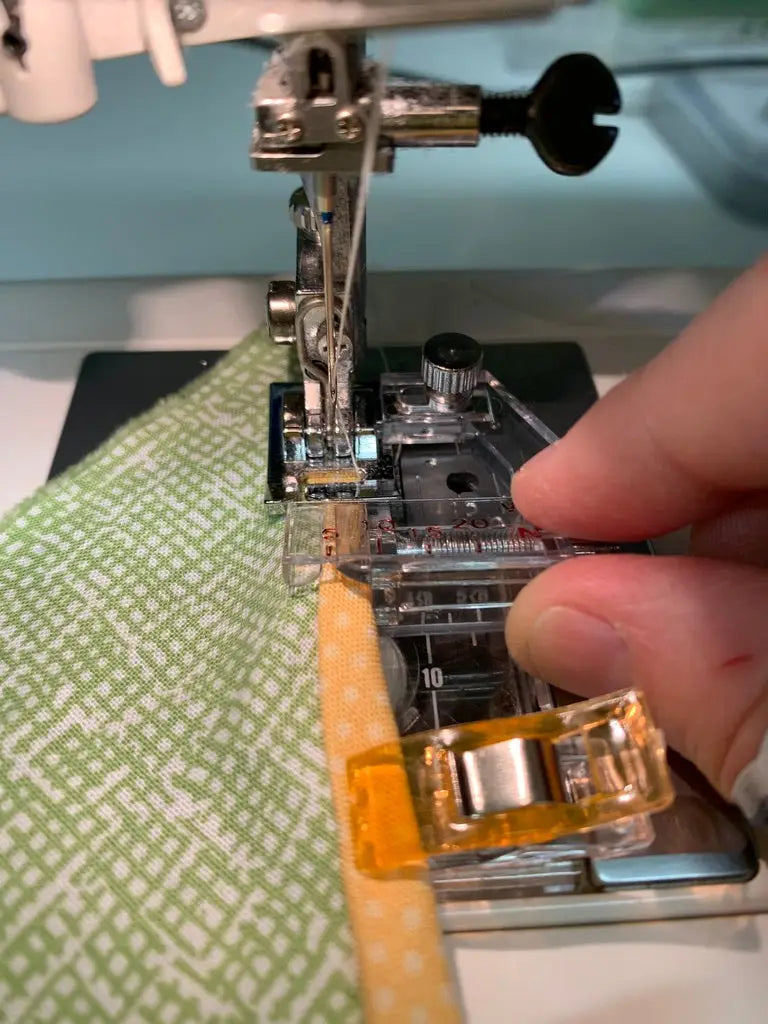
- Snip your binding to a point and slide the two halves of the bias binding into the top and bottom of the channel with the fold to the right. Your fabric is sandwiched between the top and bottom part of the bias binding.
- Now gently feed the bias binding through and under the metal portion of the foot.
- You are now ready to insert the main body of fabric that is being bound. Slip it between the two edges of the binding into the center groove of the plastic portion of the presser foot. You should now have a bias binding sandwich. You can pin the rest of the bias tape to the fabric.
- Once in place, check that the needle lines up where you want. If you need to adjust, you can either use the left or right needle positions, or you can adjust the smaller screw at the back of the foot which will allow the whole plastic portion, and the fabric it now holds, to move to the correct position. Make sure you tighten this screw back up again or the results won't be pleasant!
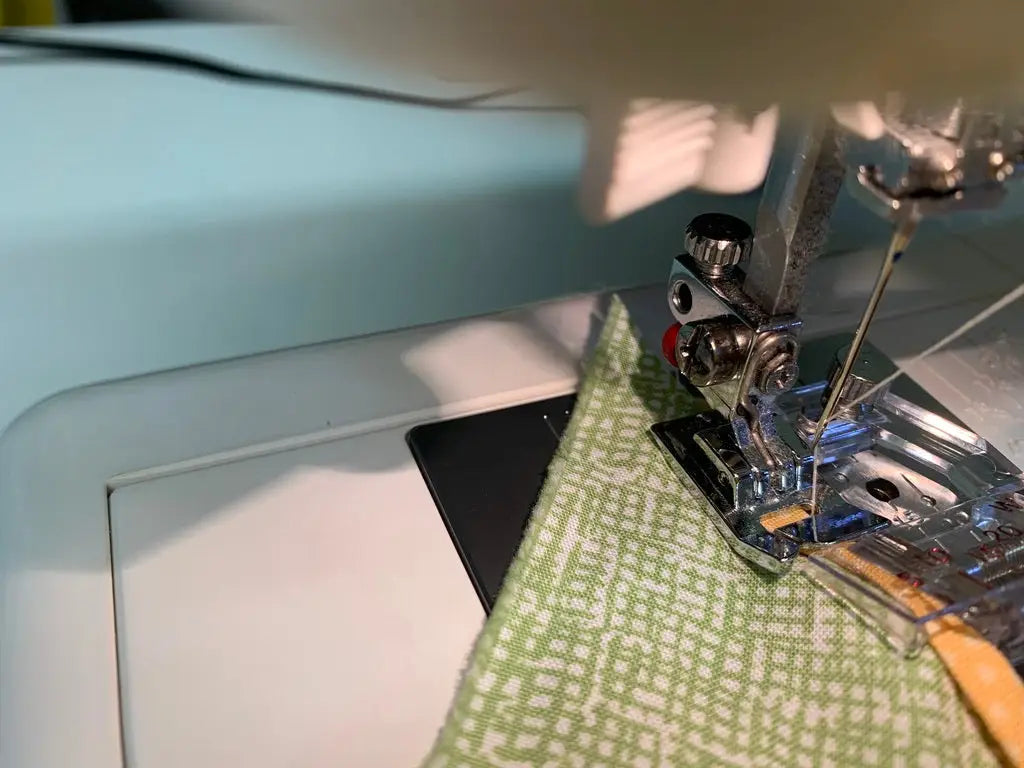
- You can now sew away, making sure the binding and fabric feed together through the presser foot.

- Once you have completed your binding, you will need to snip away any excess binding and pull the work to the back of your sewing machine to remove it without damaging your work.
Stay in touch and Show us what you've made:
Instagram: @sewingbysarahstore
Facebook VIP Group: https://www.facebook.com/groups/sbsvip
Download your FREE Presser Foot Quick Guide Here:


Leave a comment (all fields required)