Having the right tool for the job makes it easier. Whether it's painting trim, making a cake or in this case, making custom napkins for your next gathering. The rolled hem foot, makes this job, so much faster. You can whip out 12 custom napkins to spruce up your next gathering. In this blog post we will show you how to use the rolled hem foot.
First, cut squares 1/2" larger than the finished size of your napkins. I cut mine 18.5" to get a finished 18 x 18 napkin.
I prefer not to press my hems first, as I like the quickest method, but a crisper finish can be achieved by pressing 1/8" to the wrong side of the fabric, but I skipped this step and let the foot do the work.
Starting is the hardest part, so go slow.
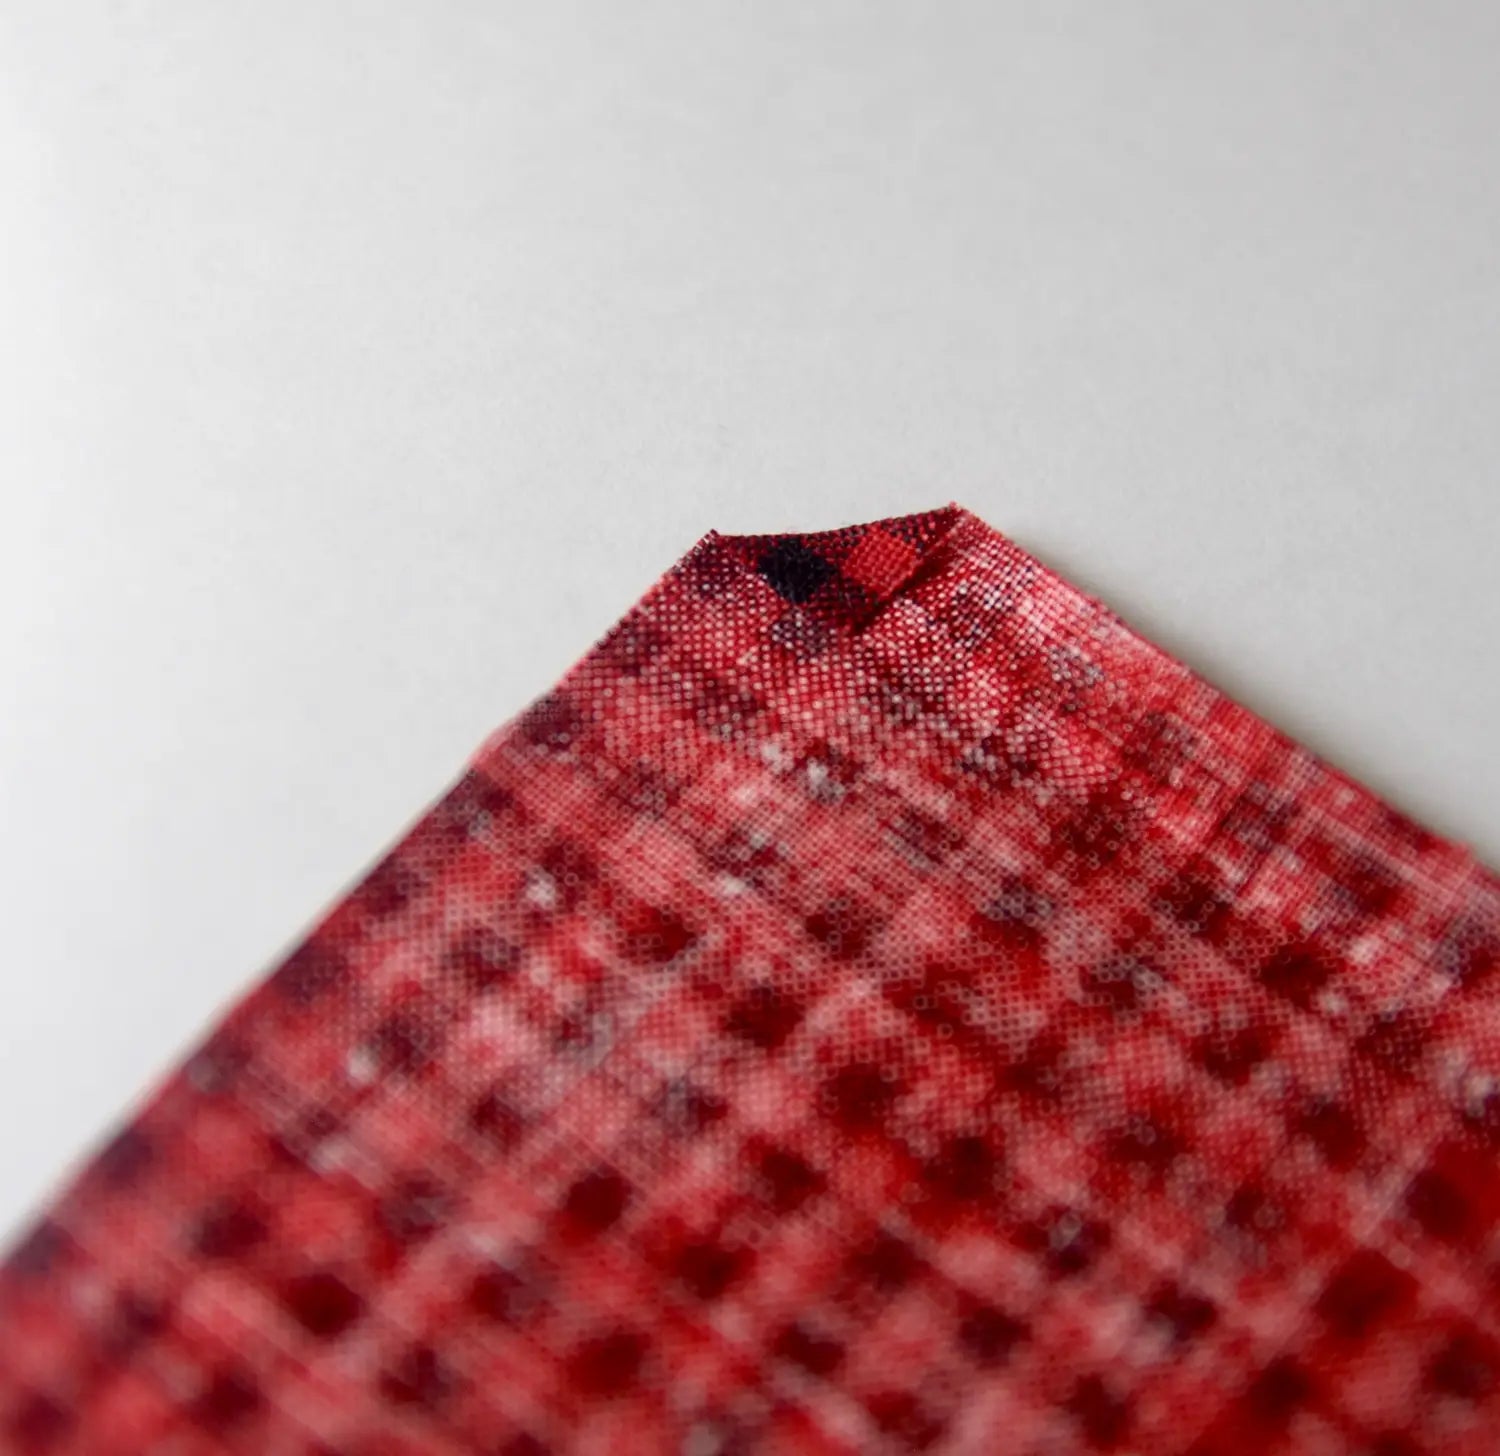
Before you get started sewing, fold each corner over 1/4" toward the wrong side of the fabric at a 90 degree angle as pictured below. Use a touch of lapel stick or glue stick to hold it in place. This helps keep the corners neat, pressing does not seem to hold it long enough while sewing.
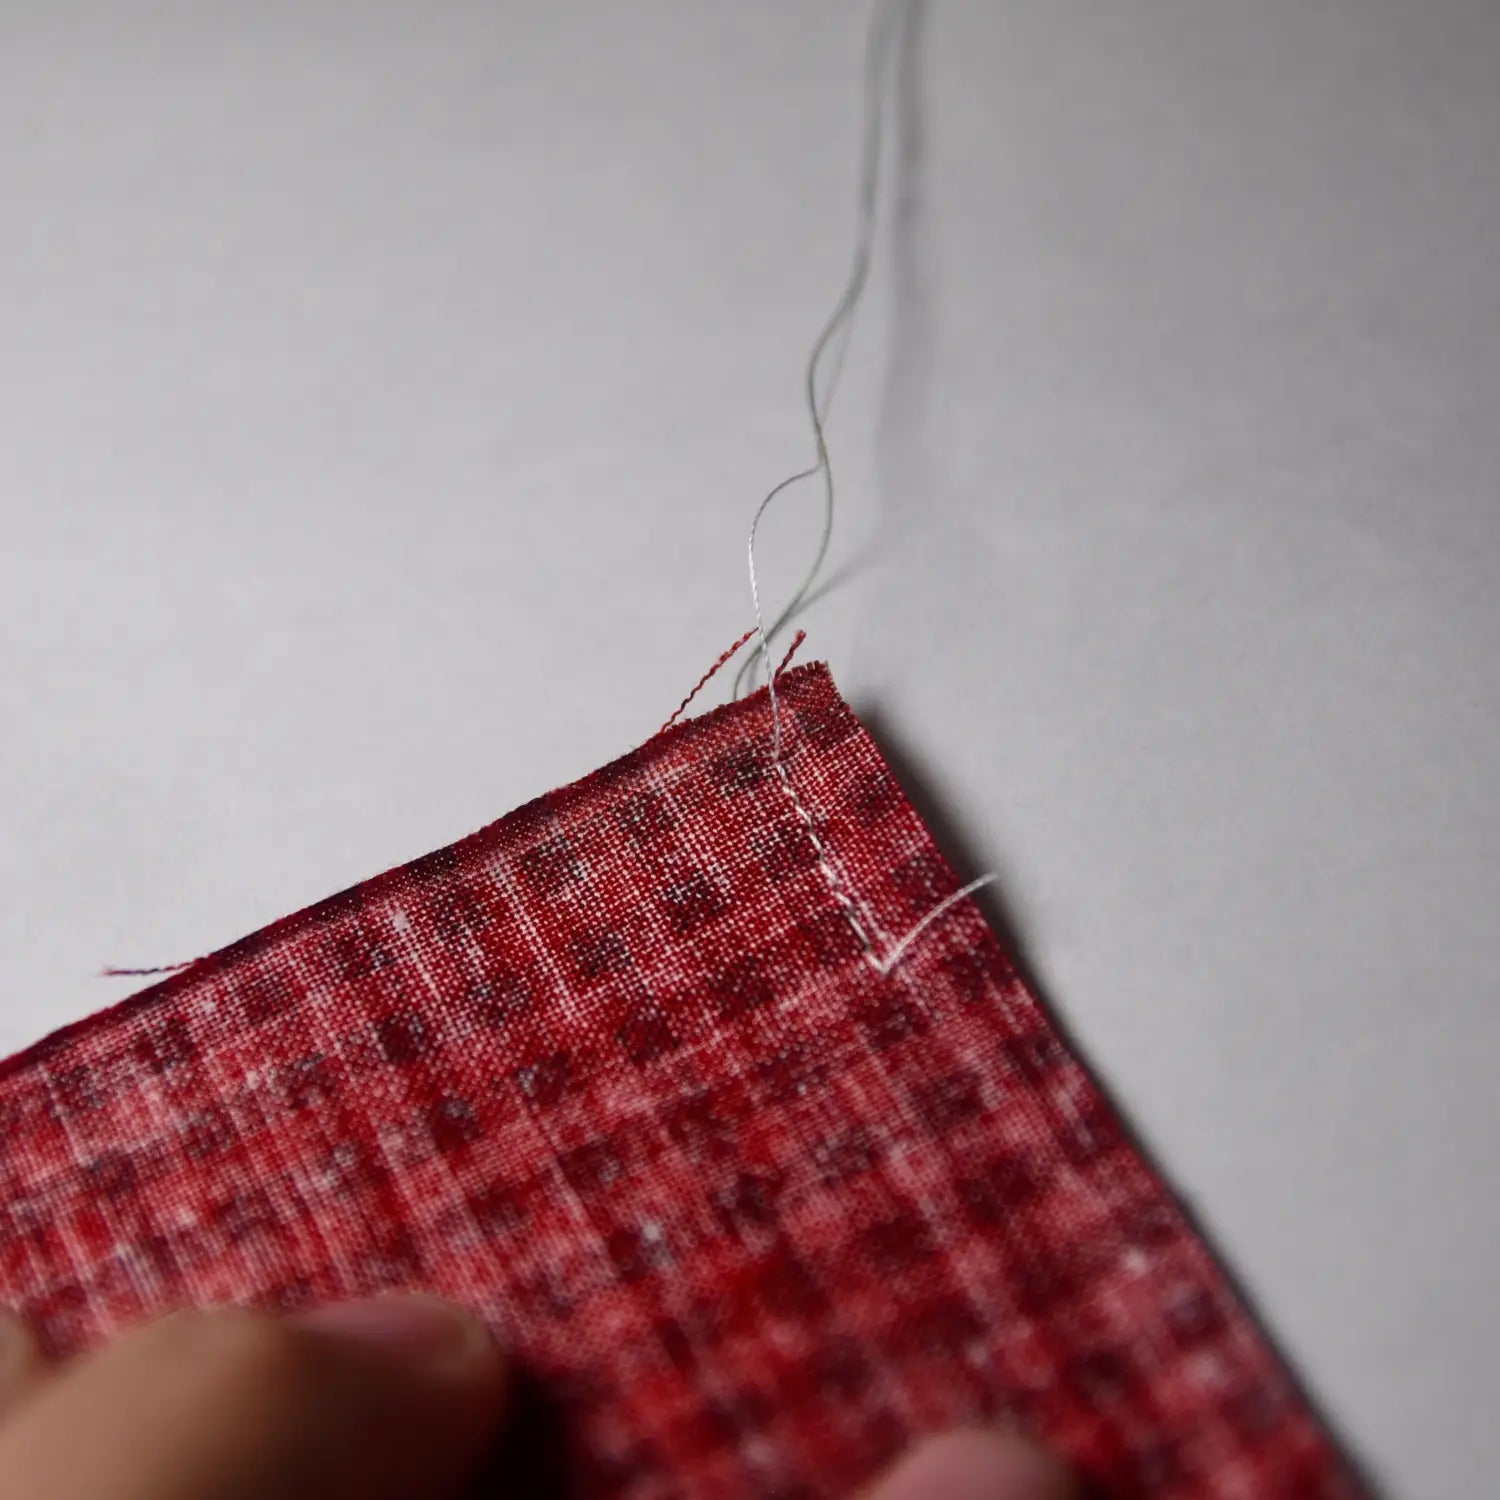
Next, create a long tail of top and bobbin thread for yourself by sewing just an inch using a 1/4" seam allowance, no need to turn you are just creating a tail of thread to use.
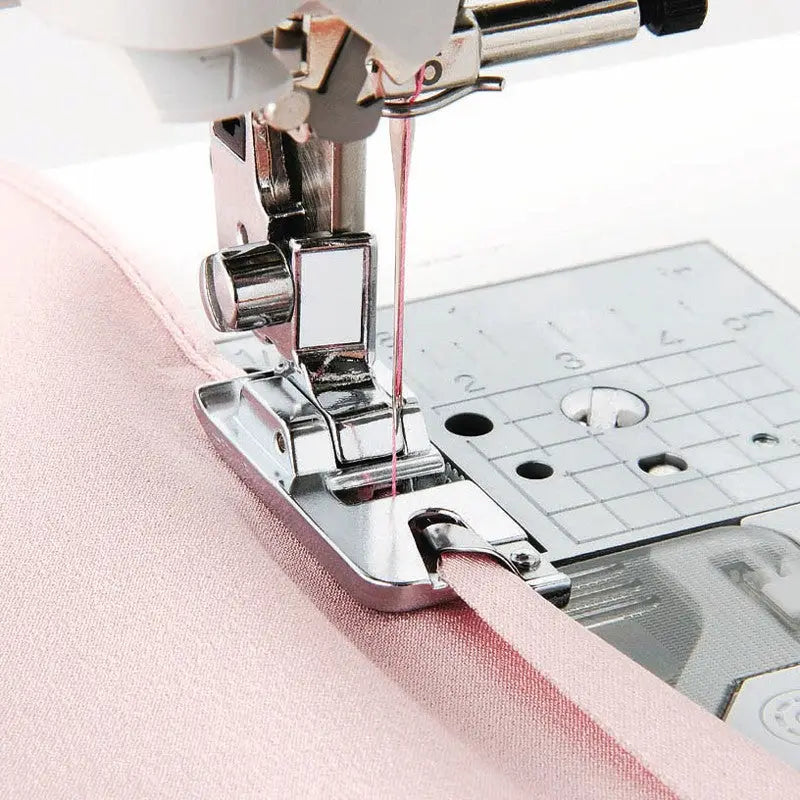
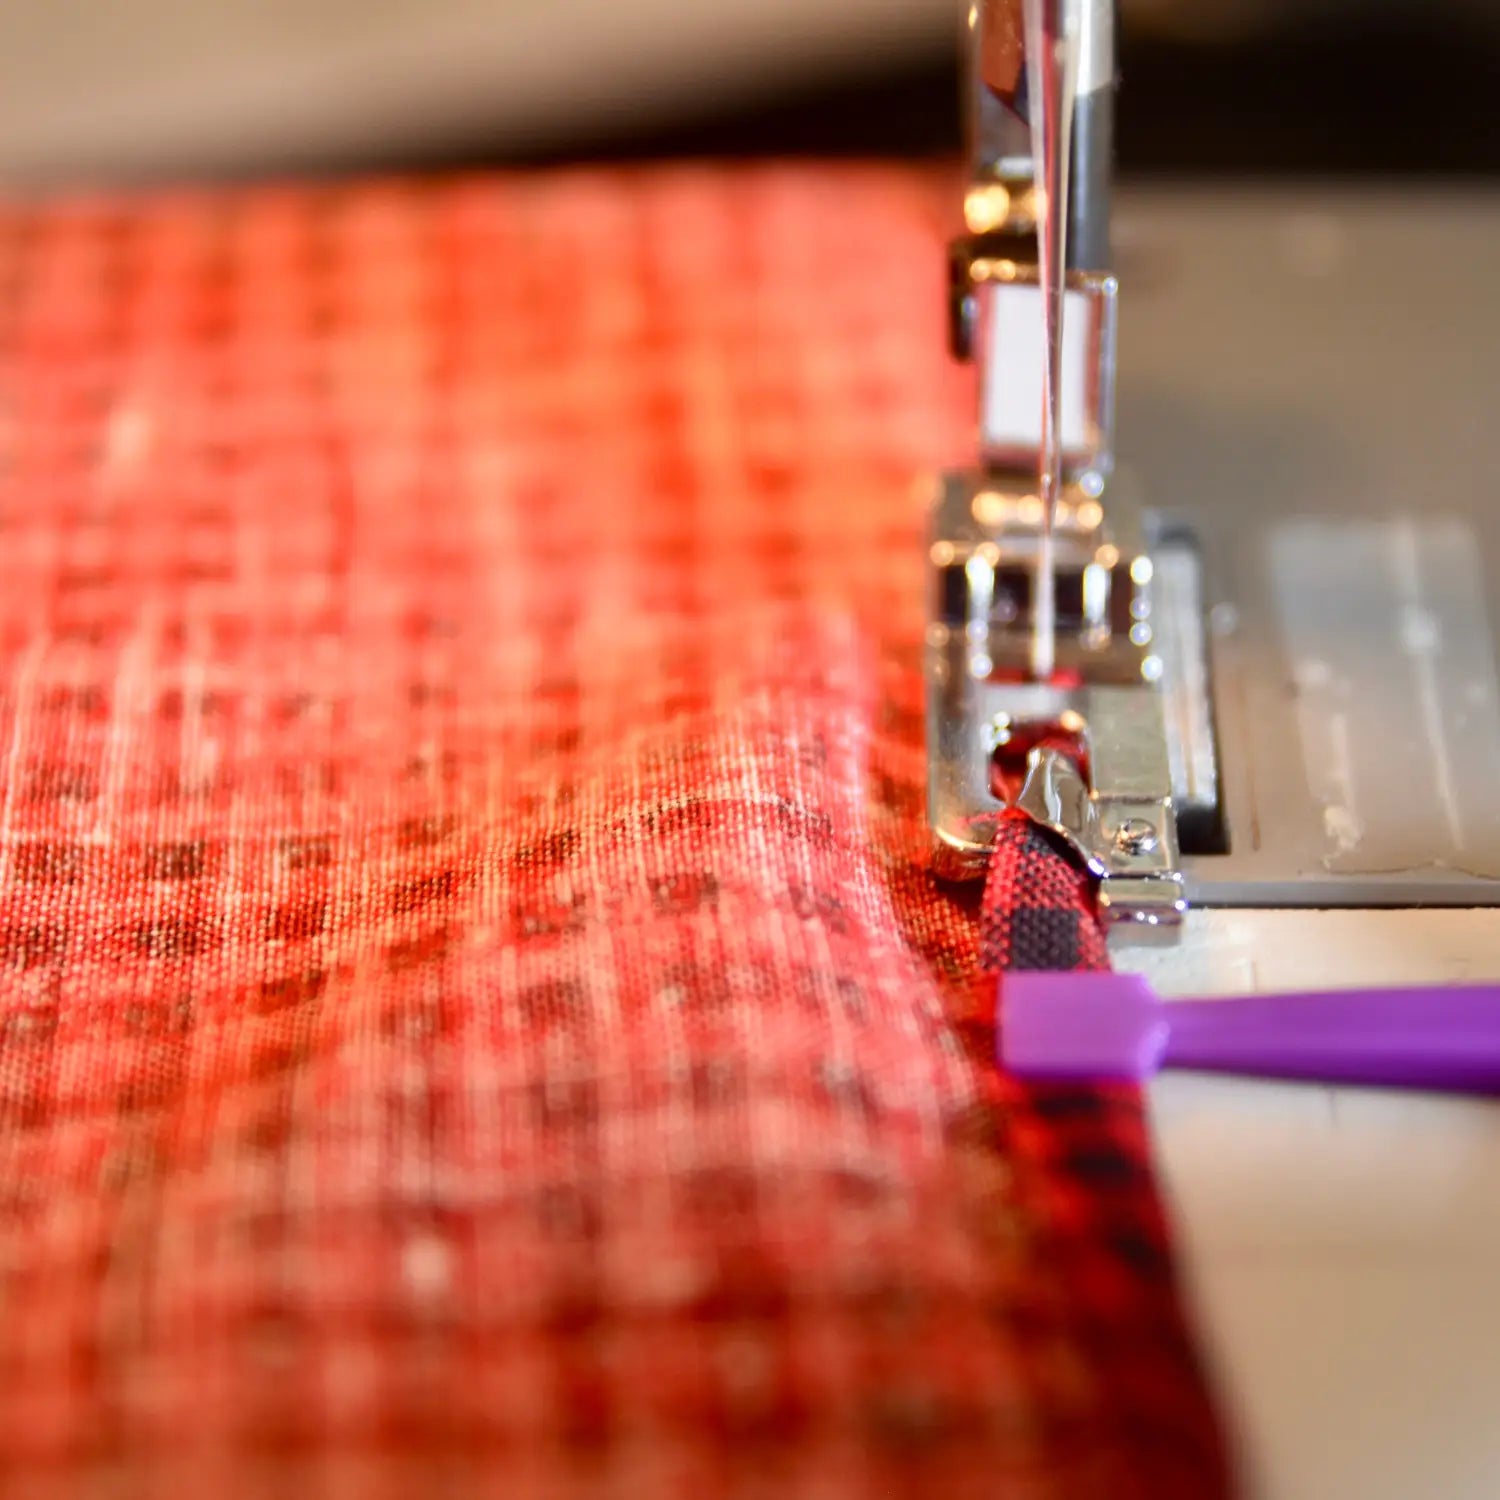
Place fabric under presser foot and feed fabric into twisted scroll. I find it easier to use a "purple thing" or "awl" to help feet the fabric into the foot. Lower foot.
Pull the thread tails from behind with your left hand and slowly begin to sew. SLOW the first inch to insure it's feeding and not bunching in the back. Use the thread tails from behind to guide you. Once past the first inch, you should be good to speed up! You can continue to guide the fabric in with your hands or the purple thing (or a pin)
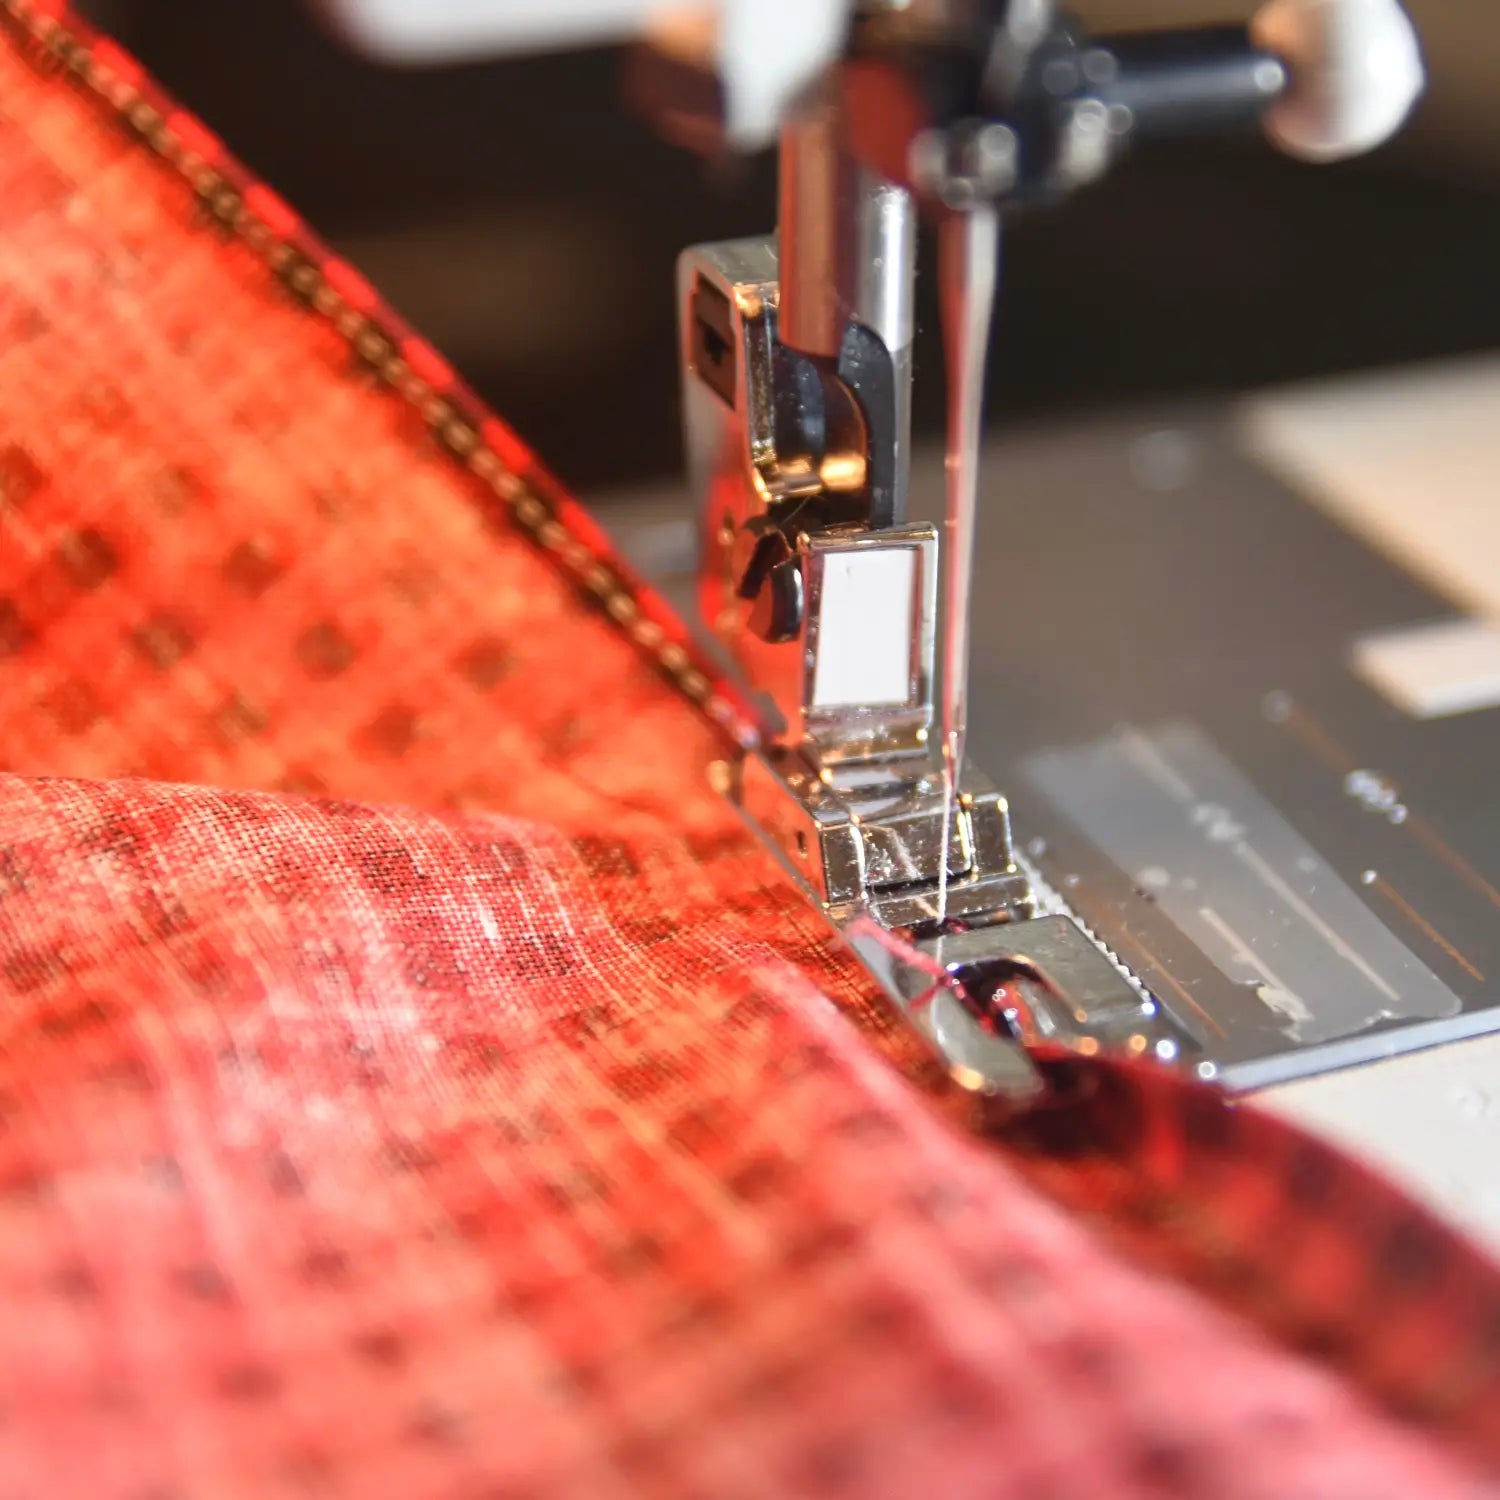
You can see the stitching on the back of this photograph as it exits.
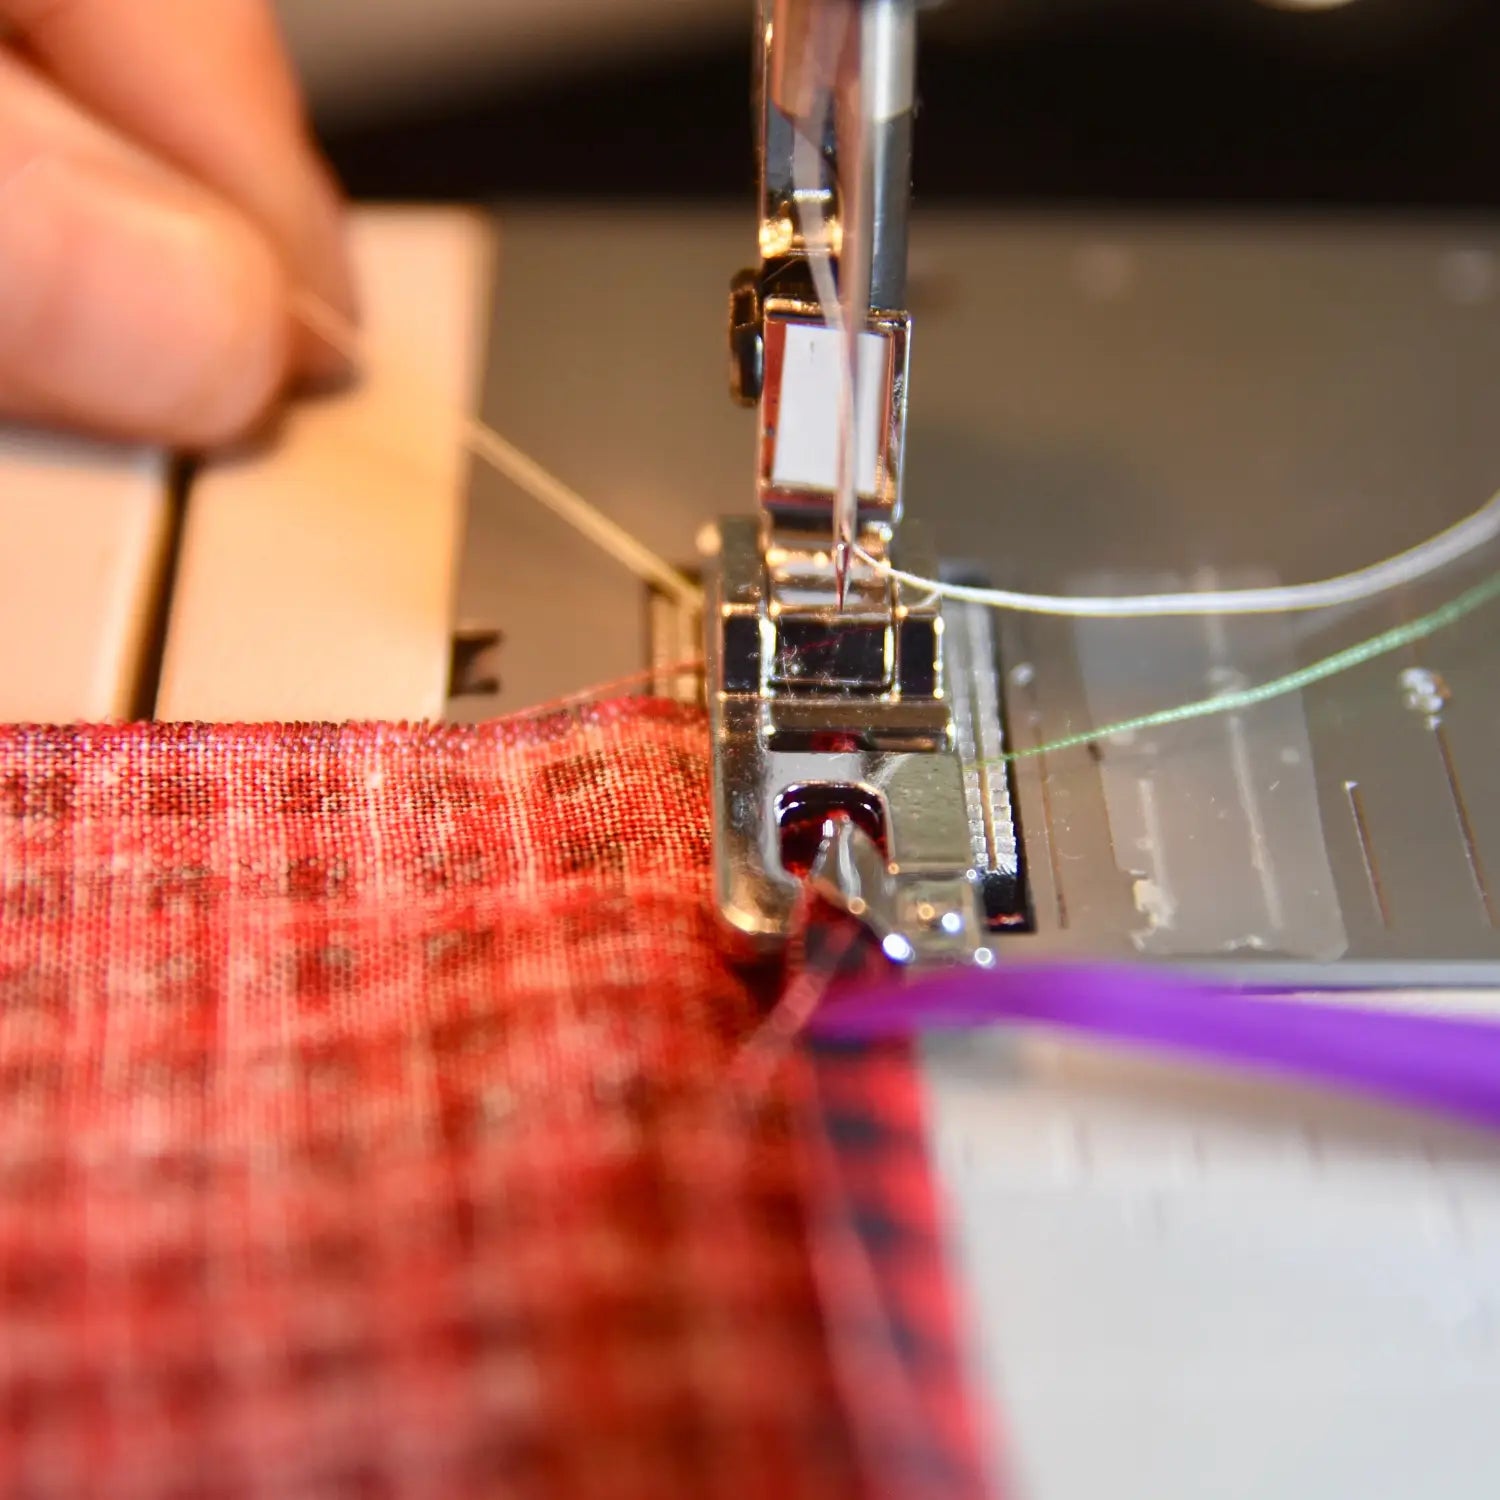
Continue stitching to edge, gently guiding the fabric with your right hand; leaving a long thread tail. When you turn the corner, that tail thread can be used for your next side. Here's a quick video:
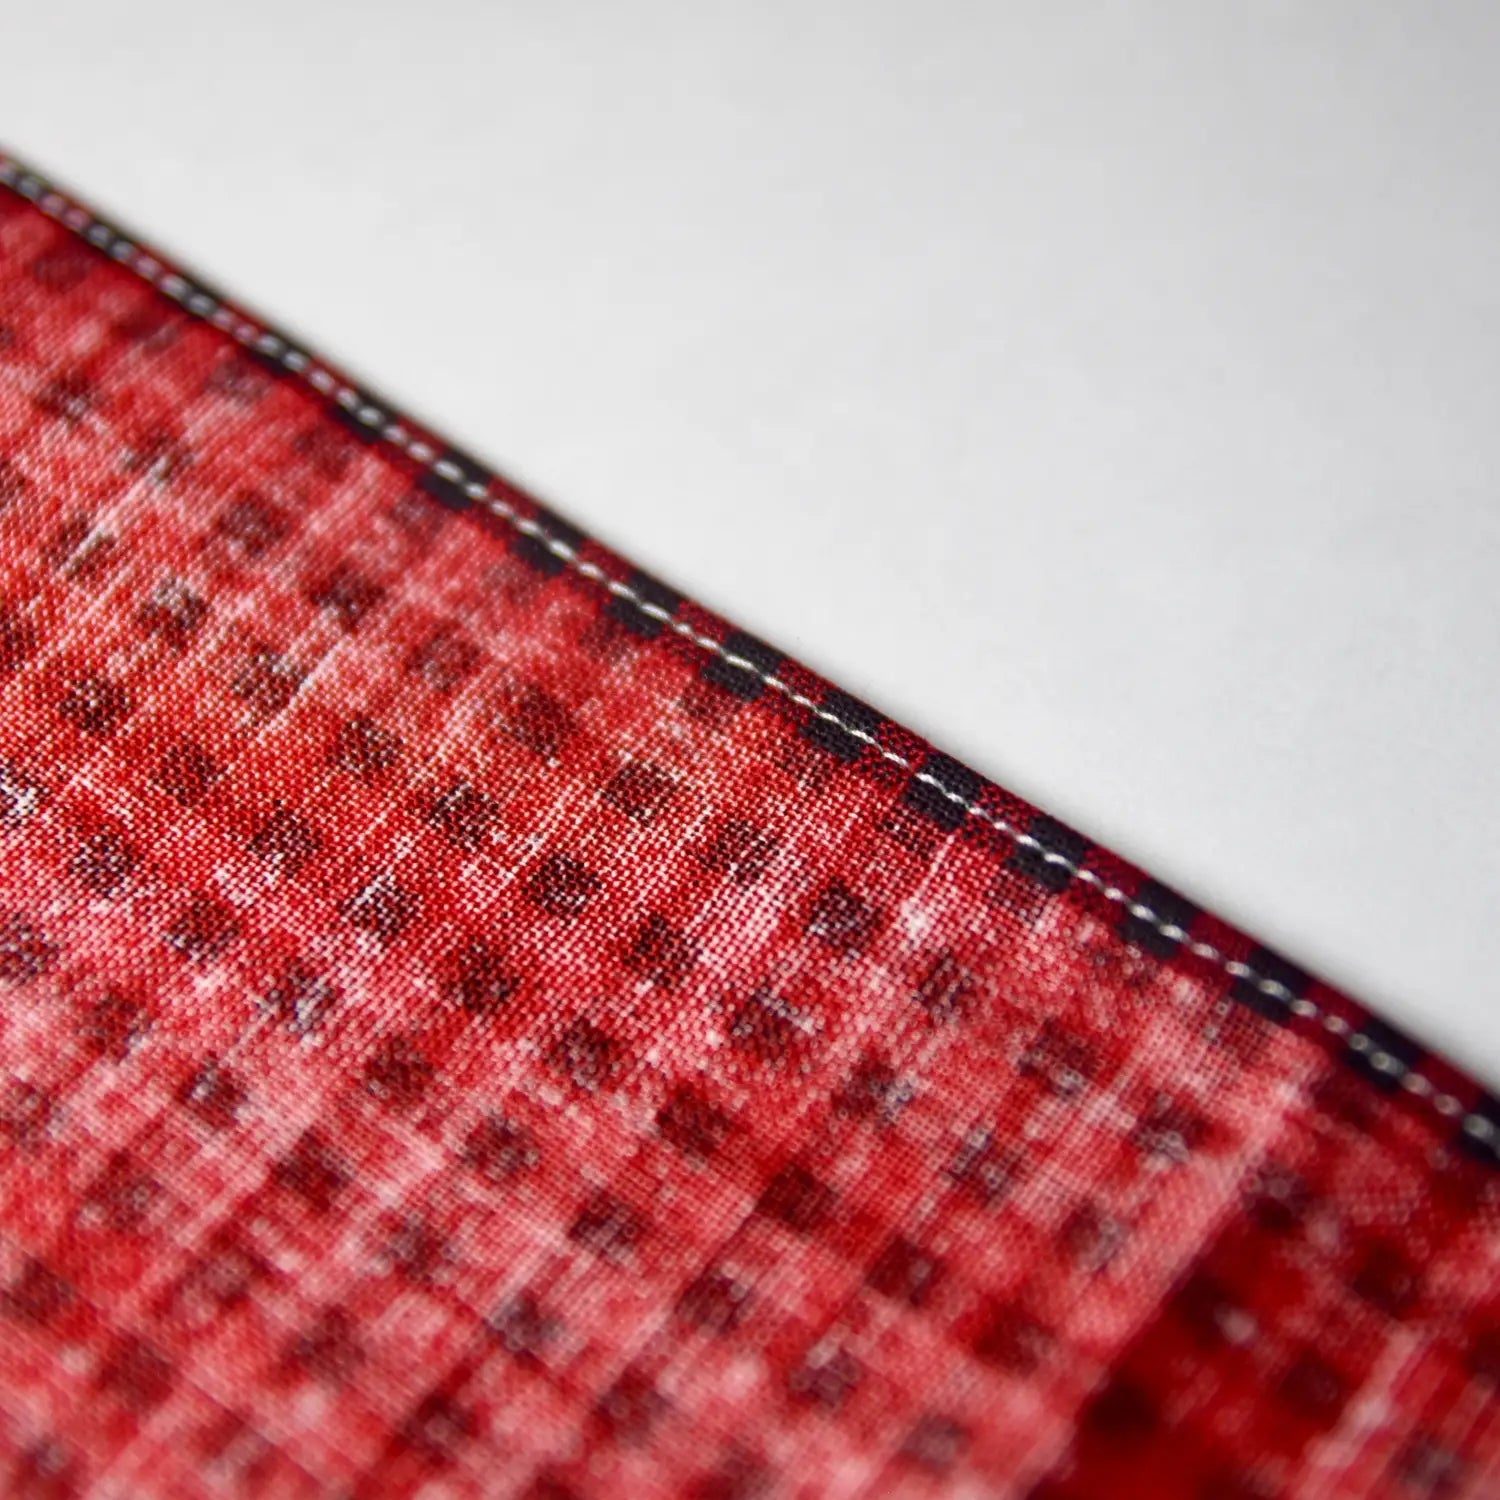
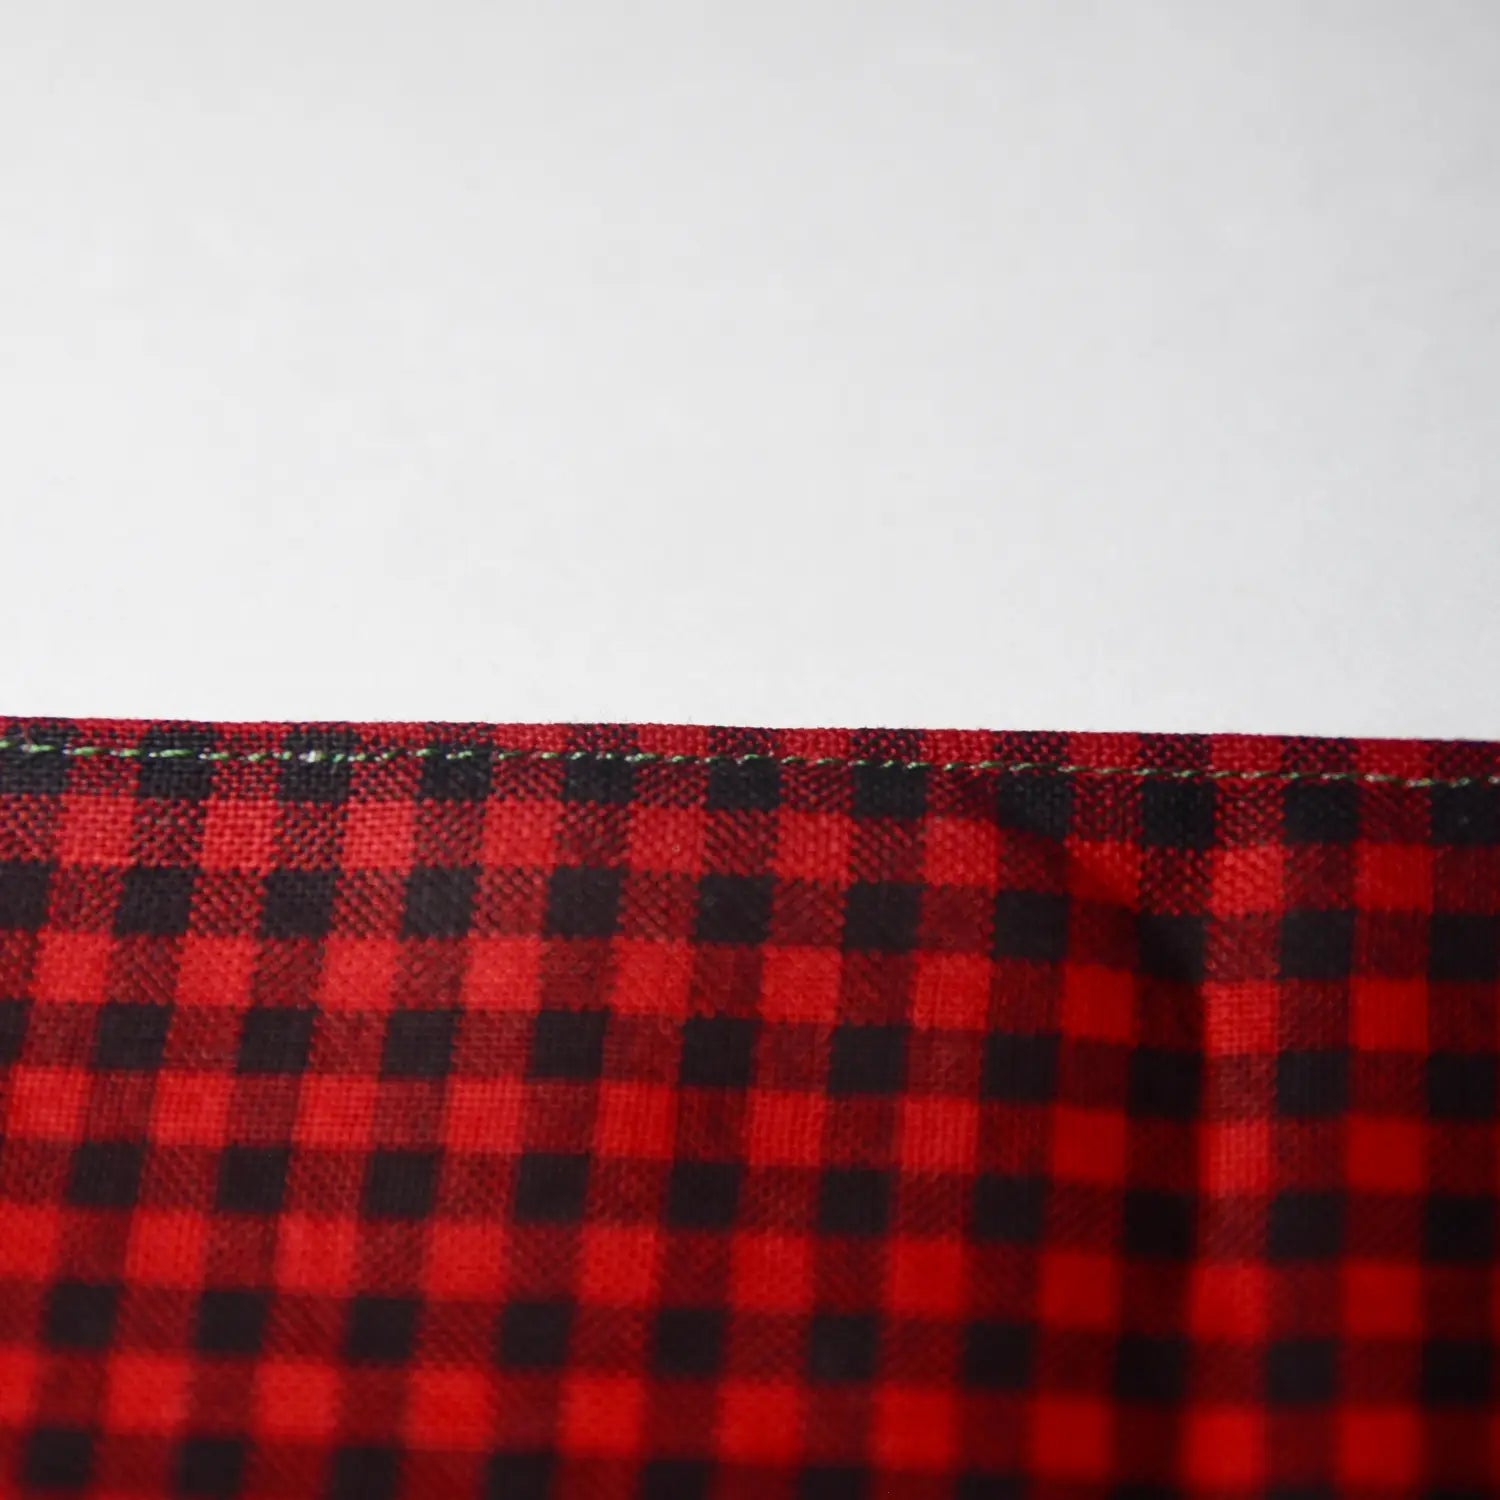
Here are the results (i used contrasting thread for this demonstration to make the photos easier)
Time for a tea party!!

Stay in touch and Show us what you've made:
Instagram: @sewingbysarahstore
Facebook VIP Group: https://www.facebook.com/groups/sbsvip


Leave a comment (all fields required)