How you ever wanted to know how to add a zipper to a project? Are you scared of sewing in zippers? This tutorial will walk you through an easy method to get over your fear of installing zippers. This tutorial features the Adjustable Zipper foot from our 32 piece presser foot set (seen below)
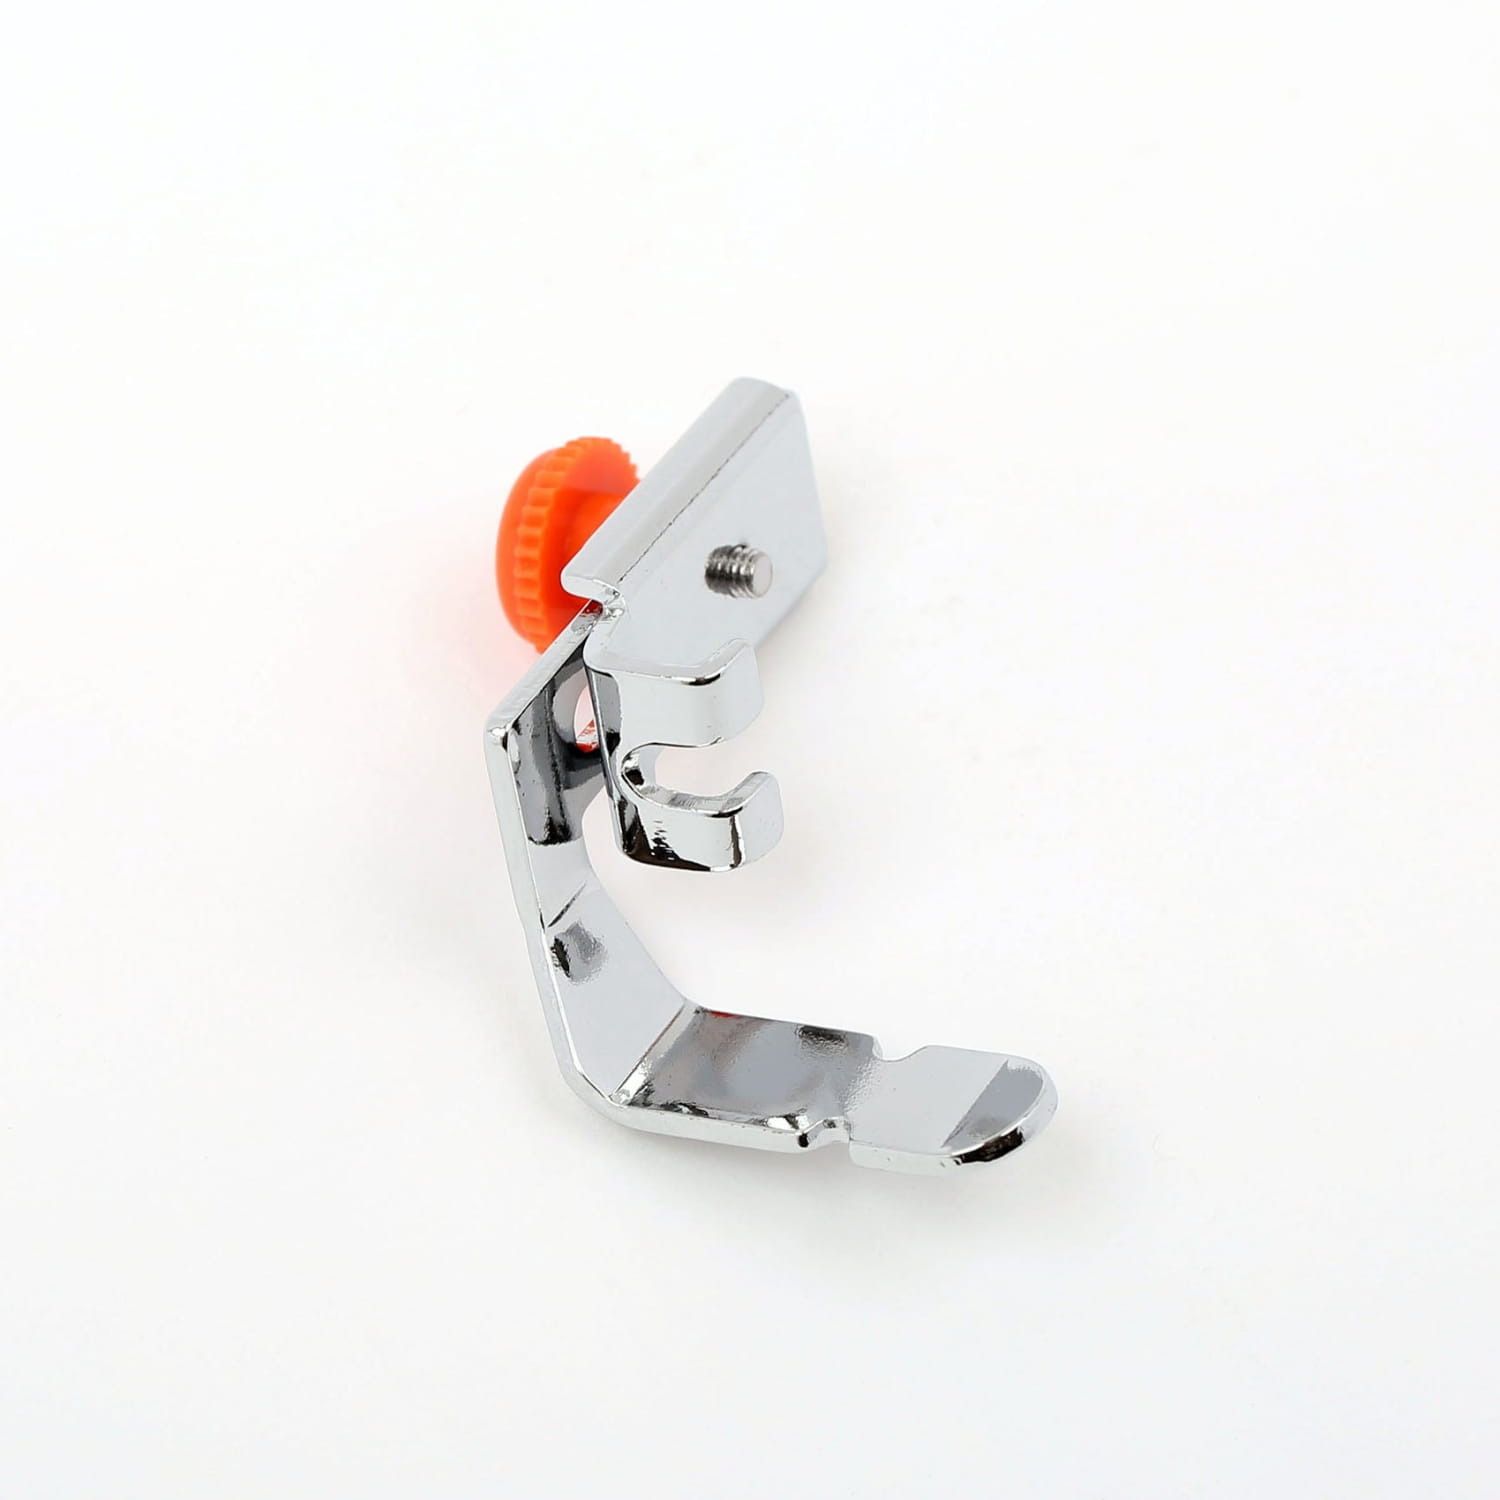
For years I avoided zippers like the plague--if a project called for zippers I quickly passed it over. It all seemed so fiddly. But then a project (with a zipper!) just spoke to me, so I gave in and googled and googled and googled. Turns out it's not that tough, but you need the right tools. And the Adjustable Zipper Foot in our 32 piece set is the. right. tool.
There are several types of zippers, and the Adjustable Zipper Foot works with them all (except the invisible zipper, which I'll cover in a separate post). What's special about our Adjustable Zipper Foot is that it easily accommodates stitching to both the right and left of the zipper AND the foot itself is the same width as the zipper tape, so you get that perfect inset every. single. time.
To demonstrate the Adjustable Zipper Foot, I whipped up a cute little coin purse from a vintage quilt remnant. This is very simple entry into sewing in a zipper--once you've tried, you'll wonder why you hesitated before.
Quilt Remnant Zippered Coin Purse
Supplies:
- quilt remnant 8" x 5"
- 7" plastic coil zipper (yes, that's longer than you need, but you'll see how it works out)
- Clever Clips
- scissors
- thread snips
- matching thread
- sewing machine
- Adjustable Zipper Foot (found in our 32 Piece Set)
Instructions
1. Replace the foot on your machine with your Adjustable Zipper Foot. This foot is in two pieces, and the orange screw faces away from you. Adjust the slider so that the sewing needle stitches to the foot's left.
VIDEO: Intro Attaching Zipper Foot
VIDEO: Instruction 1 Adjusting Zipper Foot
2. Place the quilt remnant right side up, and the zipper right side down (with the zipper pull on your left). Place under the zipper foot. Sew the length of the zipper.
VIDEO Instruction 2A Adjusting Foot Before Sewing
VIDEO: Instruction 2B Sewing Side 1:
VIDEO: Instruction 2C Assessing
Now let's look at our results and assess whether the first side was sewn in properly before we move on.
3. Fold the raw edge of the zipper/quilt under and topstitch. You will need to shift the zipper foot so that your needle sews to the right of the foot.
4. Repeat for the other side (side 2) of the zipper.
5. Turn your coin purse inside out, and open the zip halfway.
(VIDEO: Instruction 5A PreppingtoSewSides)
Replace the zipper foot with your regular sewing foot and stitch both short ends closed, going right over the zipper. Trim the seams, cutting the zipper tape too.
(VIDEO: Instruction 5 SewingSides)
6. Turn your coin purse inside out, squaring out the corners.
VOILA! You've just made the first (of many, many, many) cute coin purses.
You can see the full playlist of these videos here if you'd rather play them all at once.
https://www.youtube.com/playlist?list=PLxg1YpUz9KWzCQihhM2JqL-ax_CK9Qs5I
Stay in touch and Show us what you've made:
Instagram: @sewingbysarahstore
Facebook VIP Group: https://www.facebook.com/groups/sbsvip
Download your FREE Presser Foot Quick Guide Here:


Leave a comment (all fields required)