This quick and easy sewing tutorial gives you a great, personalized gift for someone you love- our beautiful french seamed pillowcases. These pillowcases are easily customized to suit the taste of the recipient and are a quick way to pull together a useful but beautiful handmade gift.
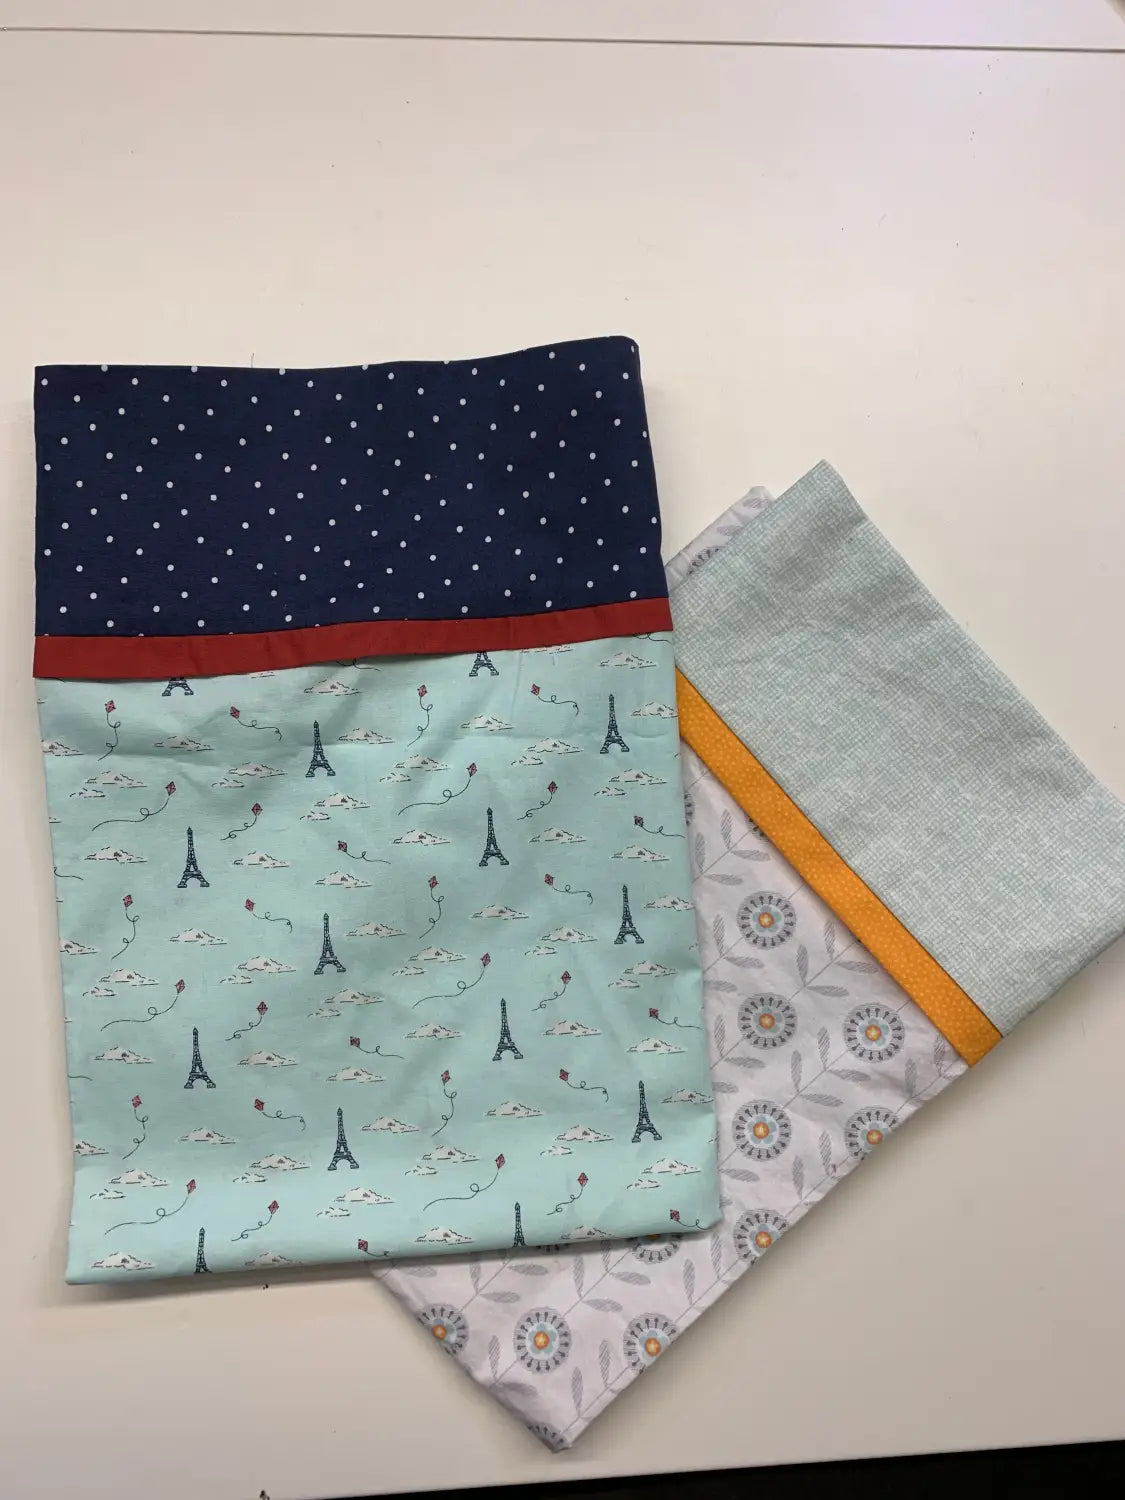
I like to have a few "whip 'em up" gifts in my wheelhouse, especially those that use supplies I have on hand and can be completed, start to finish, in about an hour. This pillowcase is just that. And while in this tutorial I'm using quilting cotton, you can easily make these up in lovely linens (or dare I dream, a Liberty print?) for adults. There are plenty of options for personalizing, and best yet, the pillowcase itself can do double duty, and actually wrap a larger gift, say a quilt for a grandchild.
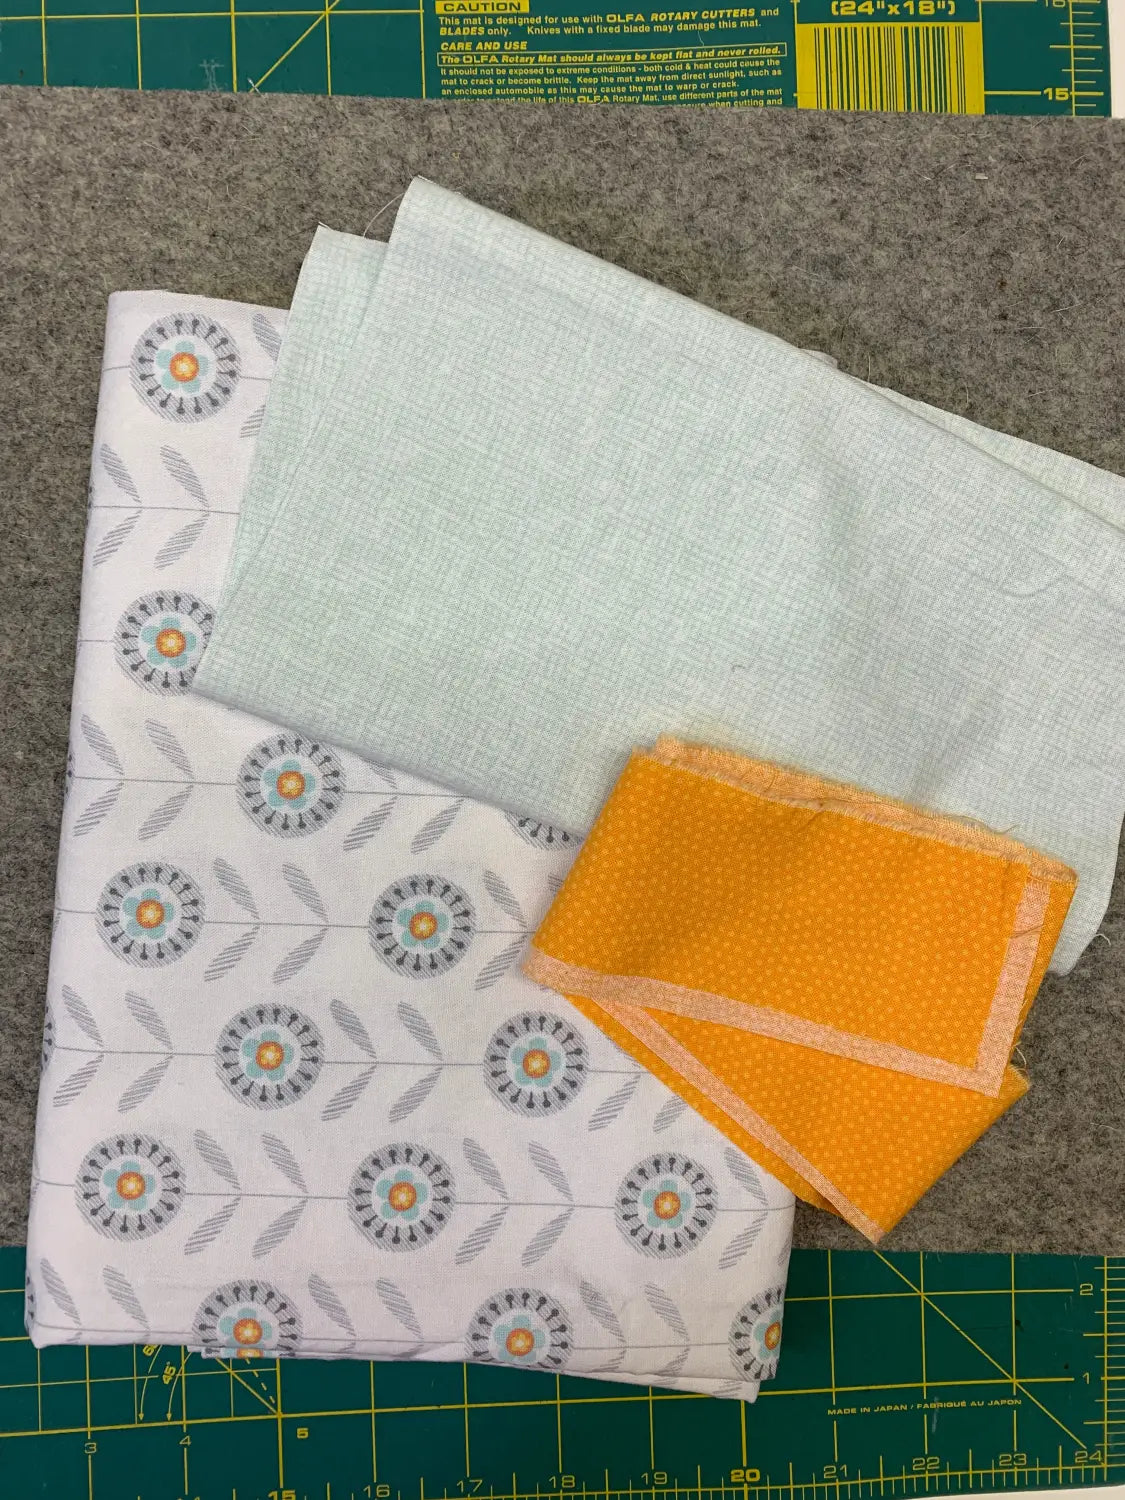
Here's what you need:
- 1 fabric 27" x 40" for the pillowcase body
- 1 fabric 9" x 40" for the pillowcase cuff
- 1 fabric 2" x 40" for the trim (this piece is optional)
- matching thread
- 1/4" foot for your sewing machine
- wool pressing mat or ironing board and your iron
- scissors
- snips
- Clever Clips
- corner turner
Let's start!
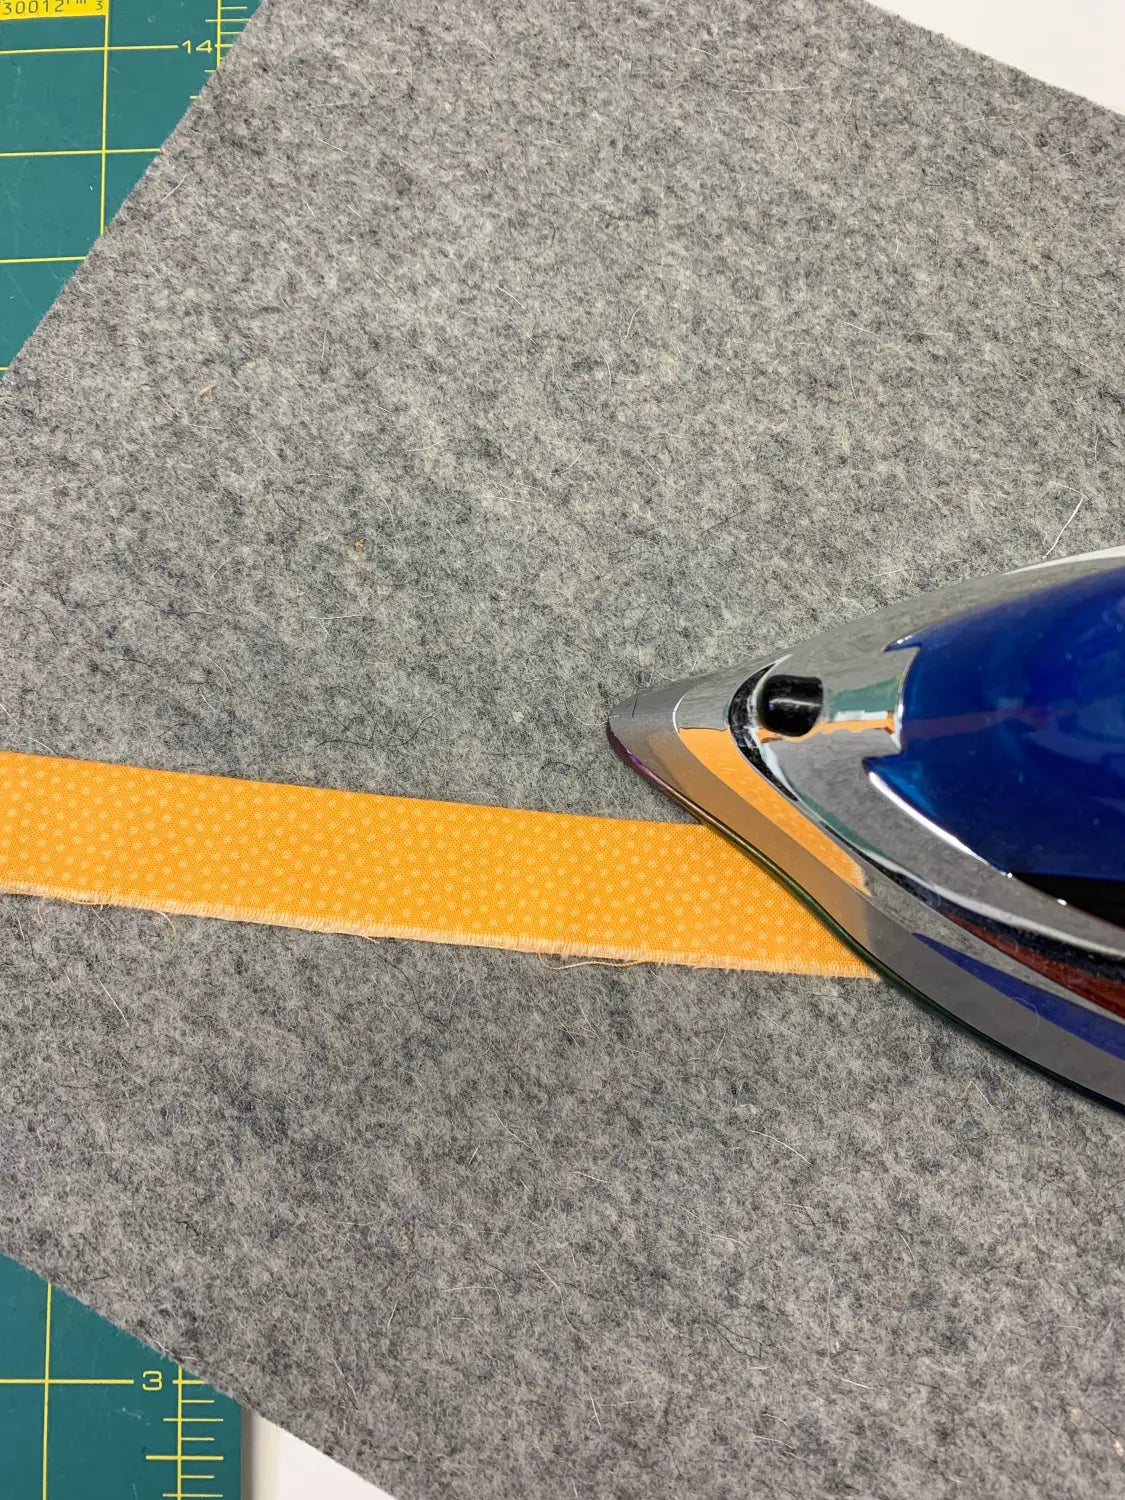
1. After trimming all your fabrics to size, fold the trim piece in half and press.
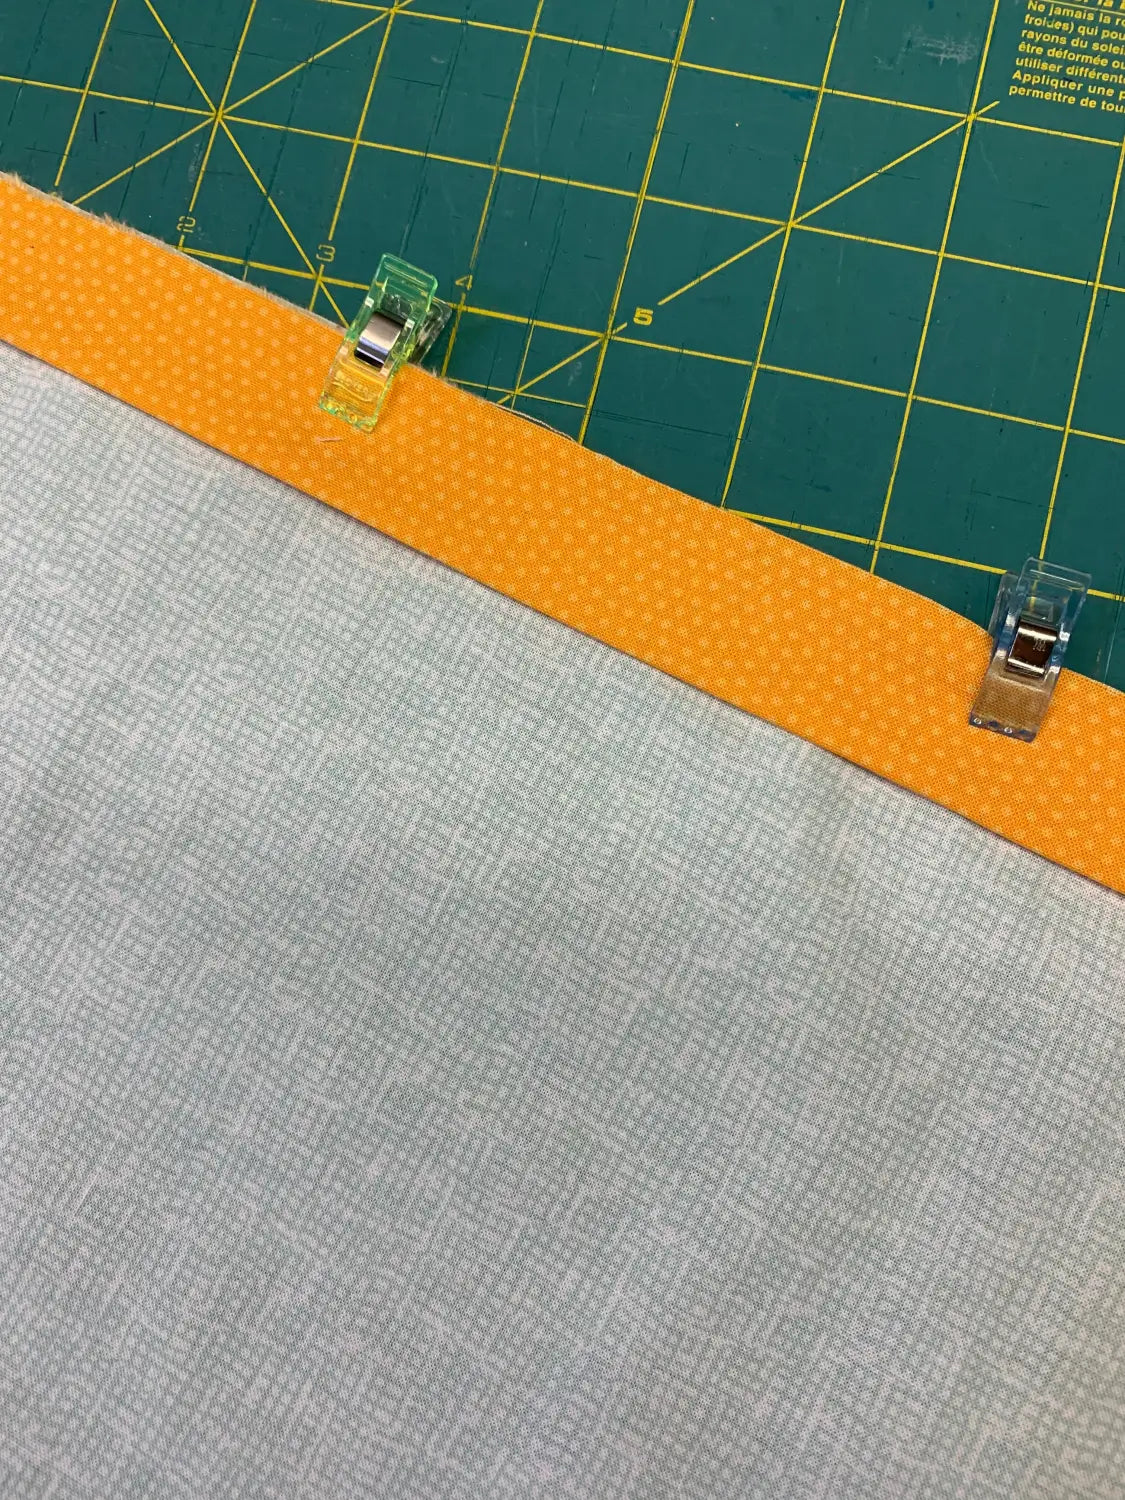
2. Place the cuff fabric right side up, and the folded trim piece on top of that, with the long open side facing the top. Clip the fabric together and sew at 1/4" seam allowance along the long side.
3. Lay the cuff with the attached trim right side up on your work surface. Place the pillowcase body on top of the cuff, right sides together. Clip the pieces together, and sew at 1/4" seam allowance, along the same seam line you just stitched.
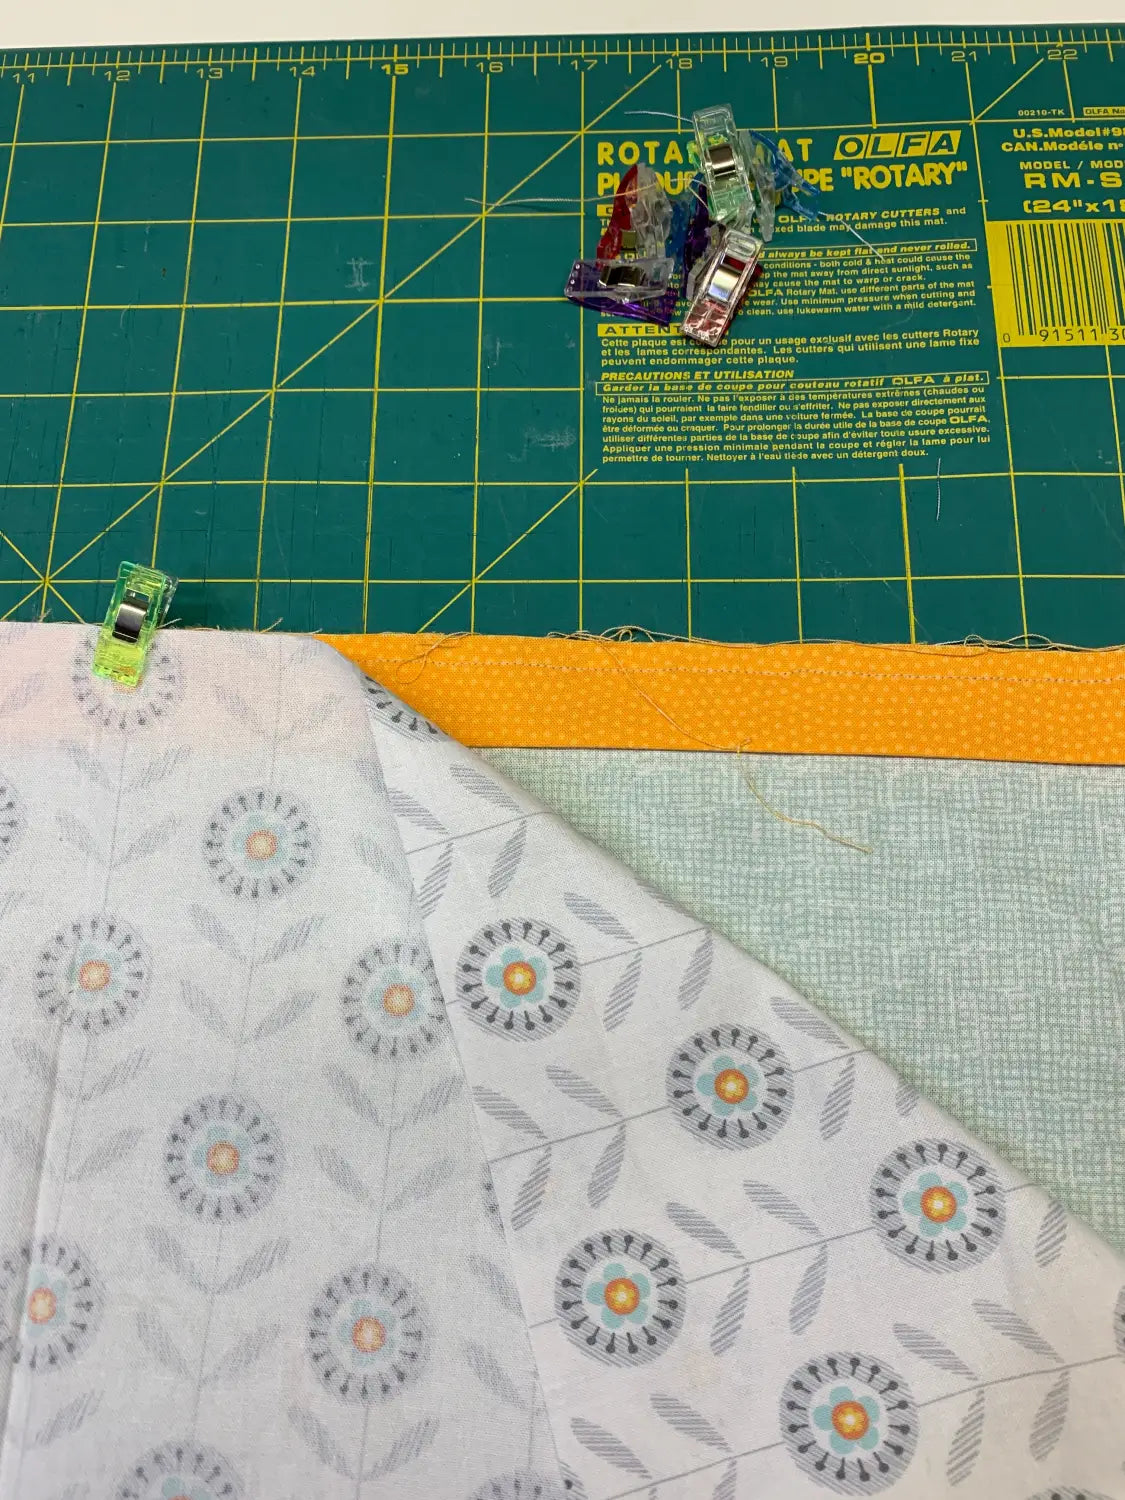
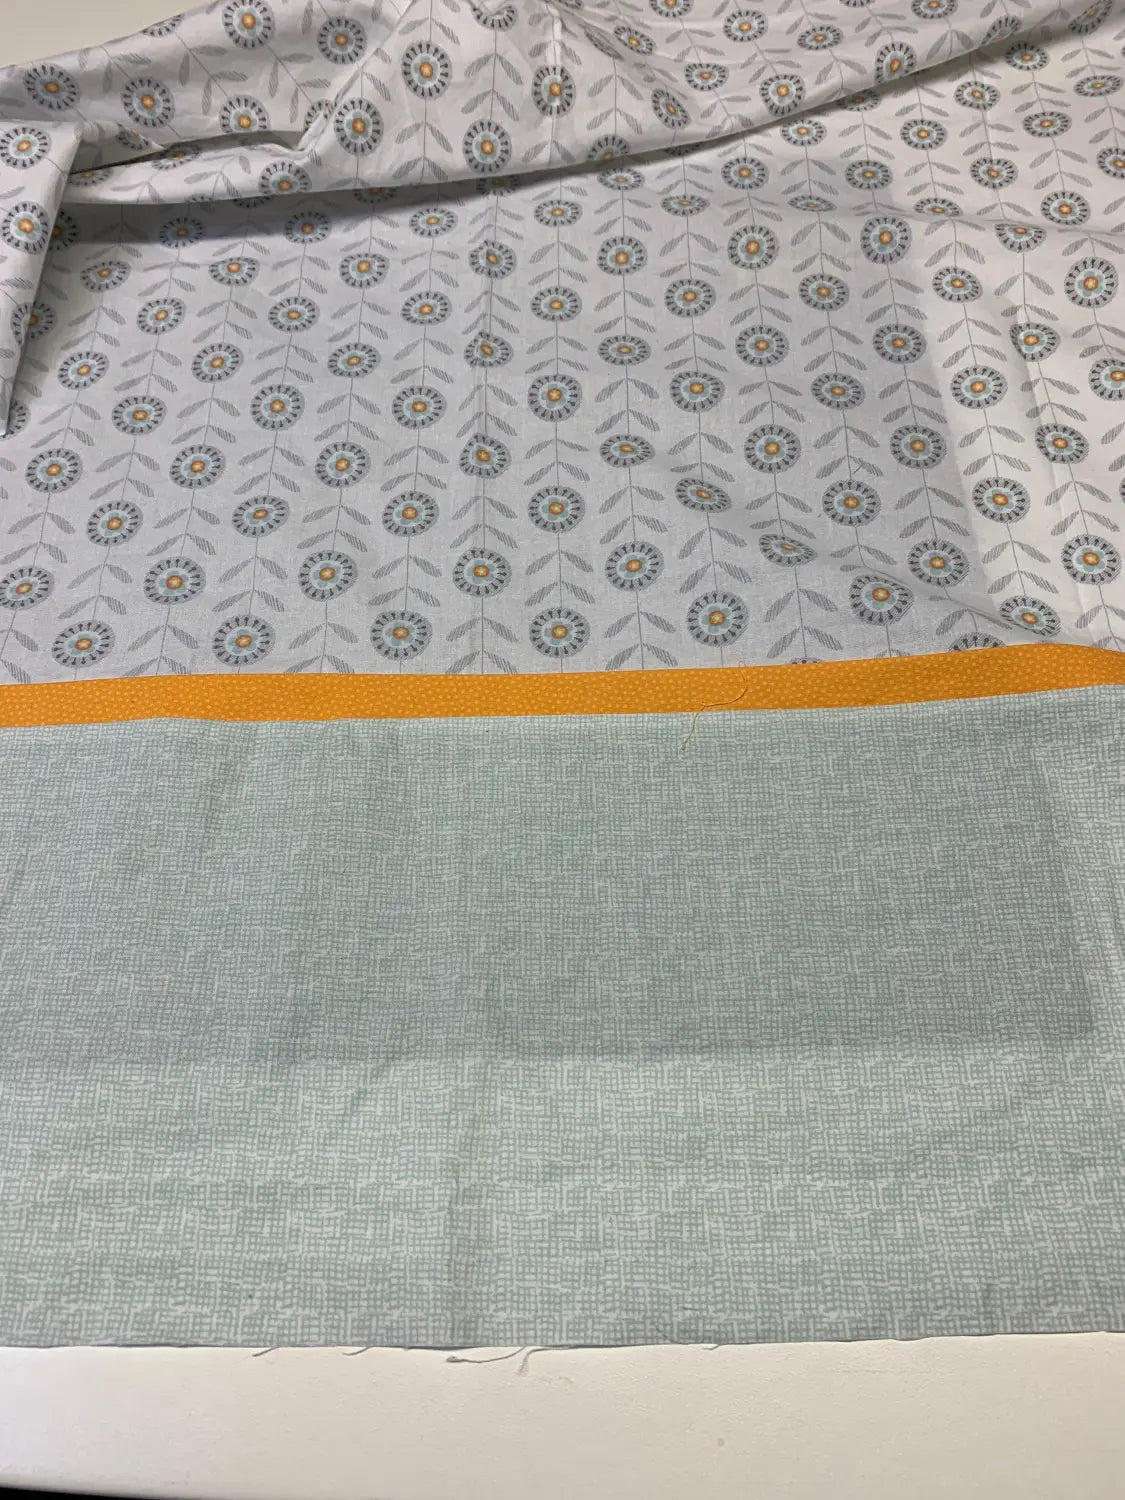
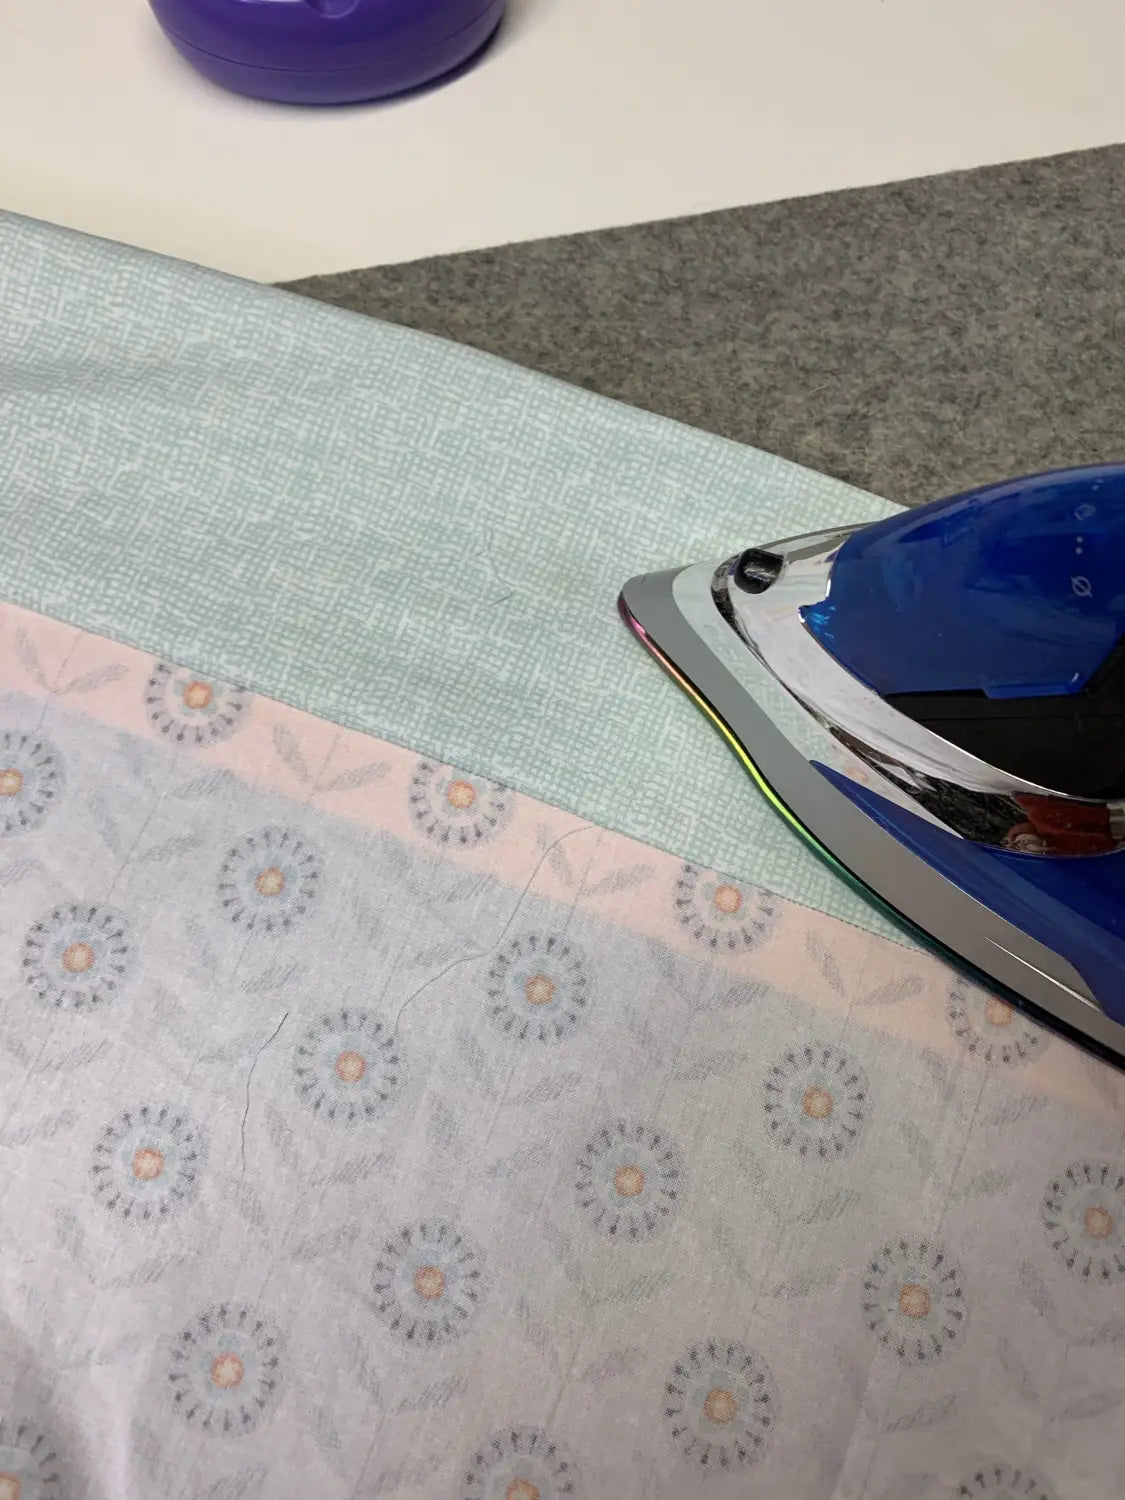
4. Press the trim piece toward the pillowcase body.
We're now going to create a "burrito" so that the inside seams will be hidden.
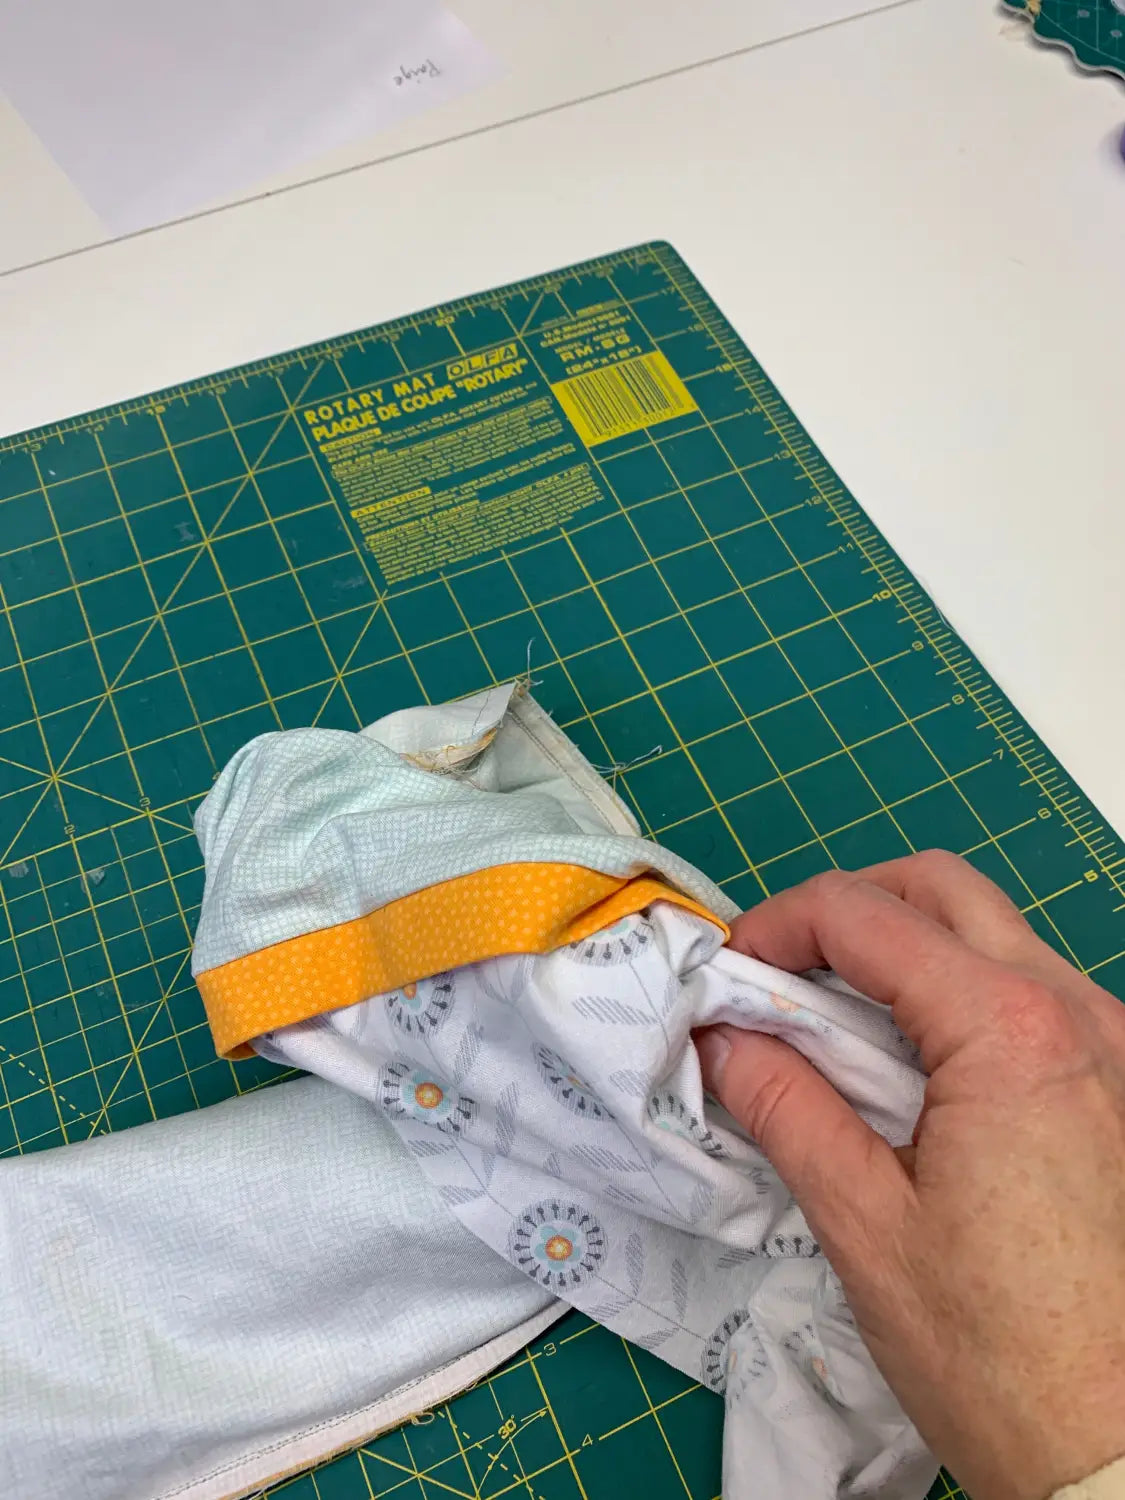
5. Place the pillowcase right side up on your work surface, with the cuff closest to you. Roll the pillowcase body tightly towards you. Do not wrap the pillowcase cuff. Instead, once the pillowcase body fabric is lying in a roll on top of the cuff, bring the long side of the cuff to meet the sewn side of the cuff. (Essentially you are encasing the pillowcase body within a tube made by the pillowcase cuff.
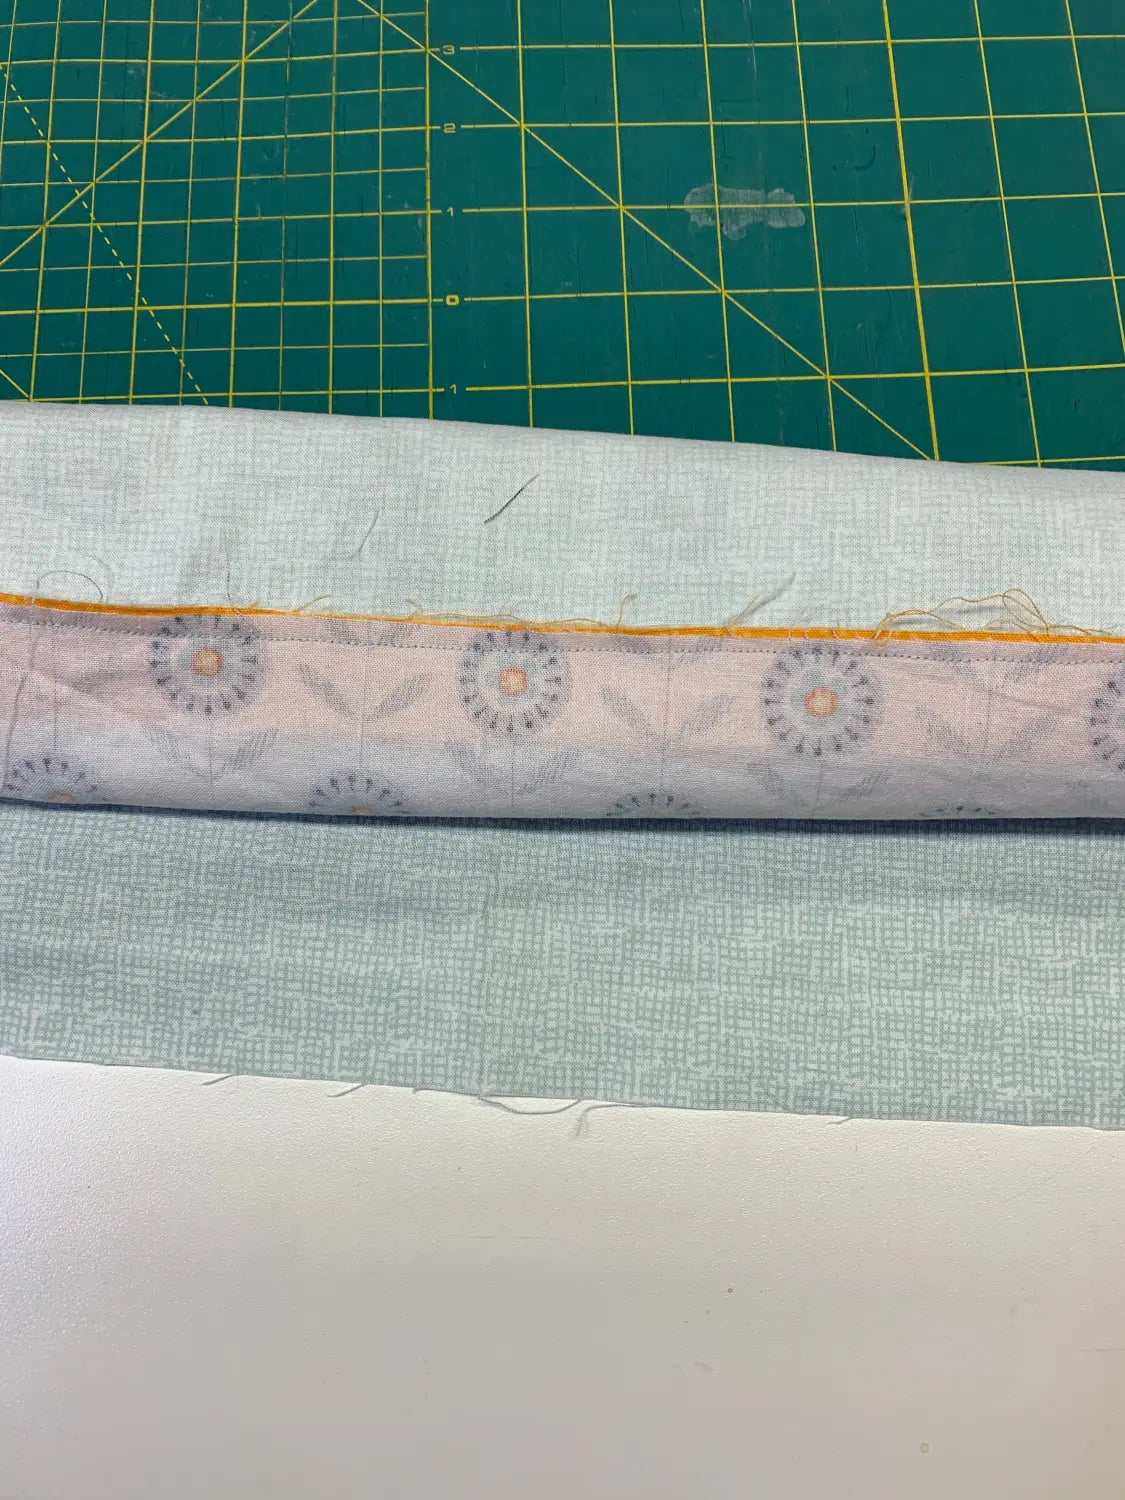
6. Clip the long sides of the cuff together, making sure not to clip any part of the pillowcase body. Stitch at 1/4" seam allowance (following the same seam line).
Now you have a giant tube.
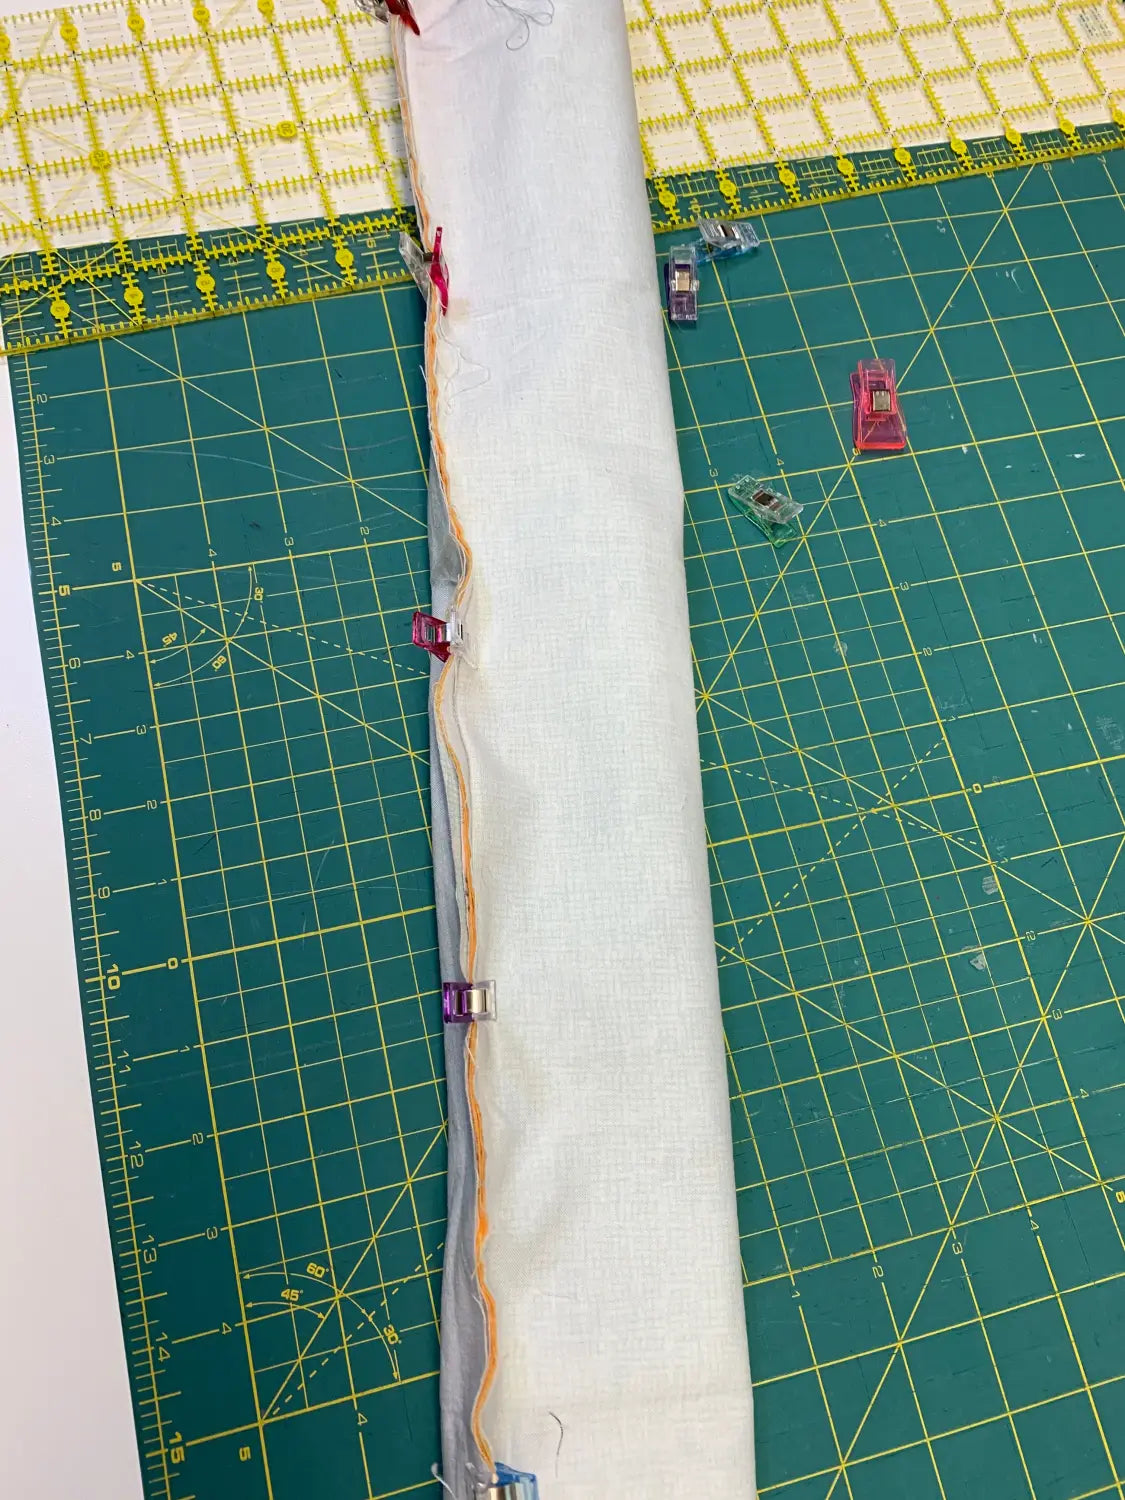
7. Reach inside the tube, and pull the pillowcase body fabric out. It can be fussy, but don't fret. Just keep pulling the body fabric out from the cuff fabric.
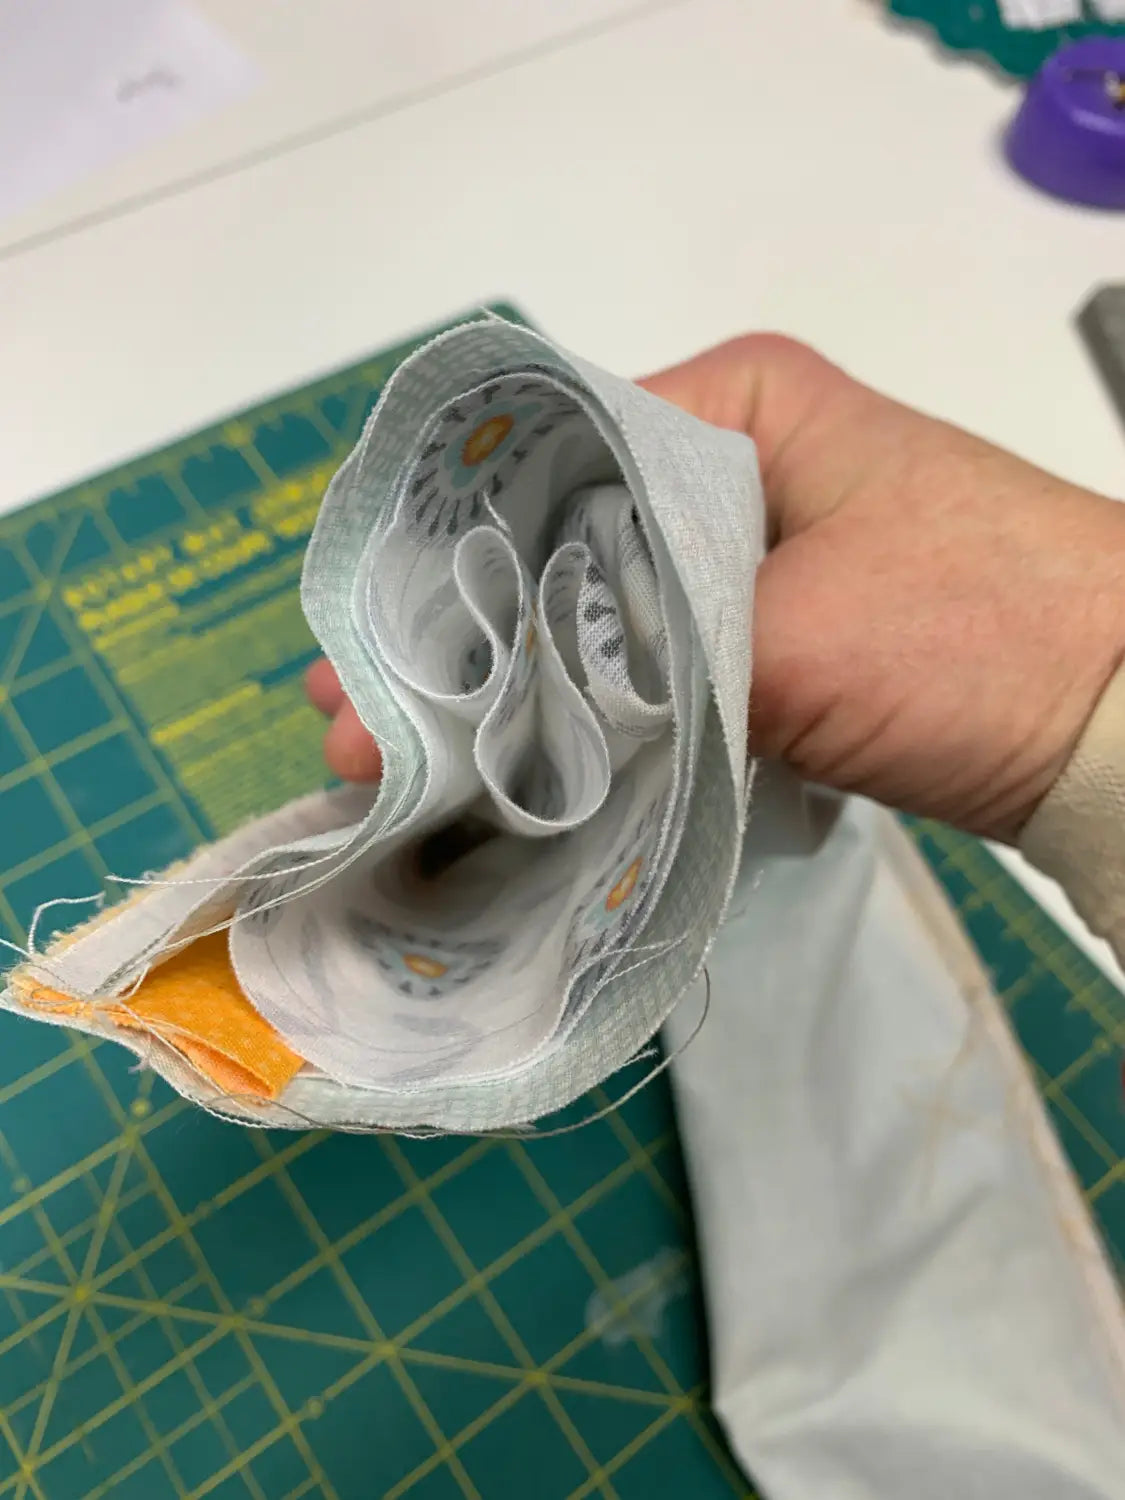
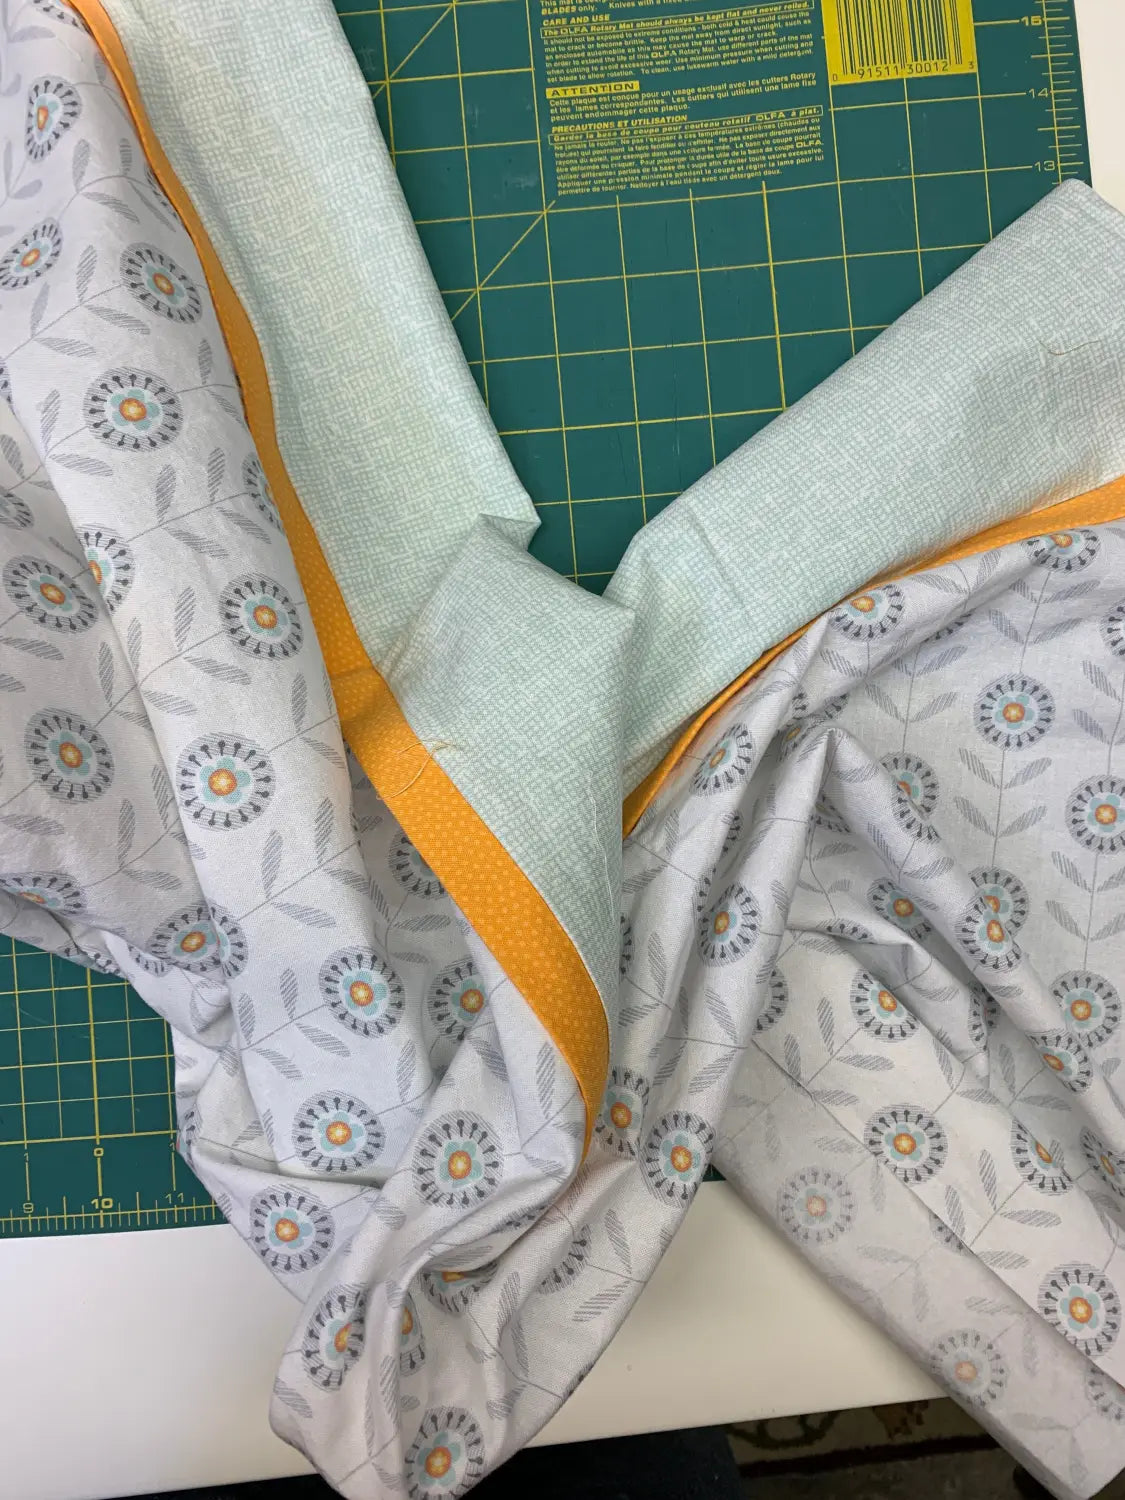
8. VOILA! You've got one HUGE open pillowcase! Press the cuff.
Now we'll sew the pillowcase's side and bottom, using a French seam.
9. Fold the pillowcase WRONG sides together. Match the cuff/trim seams. If they're not quite even, trim them to match. Stitch the two open sides at 1/4" seam allowance.
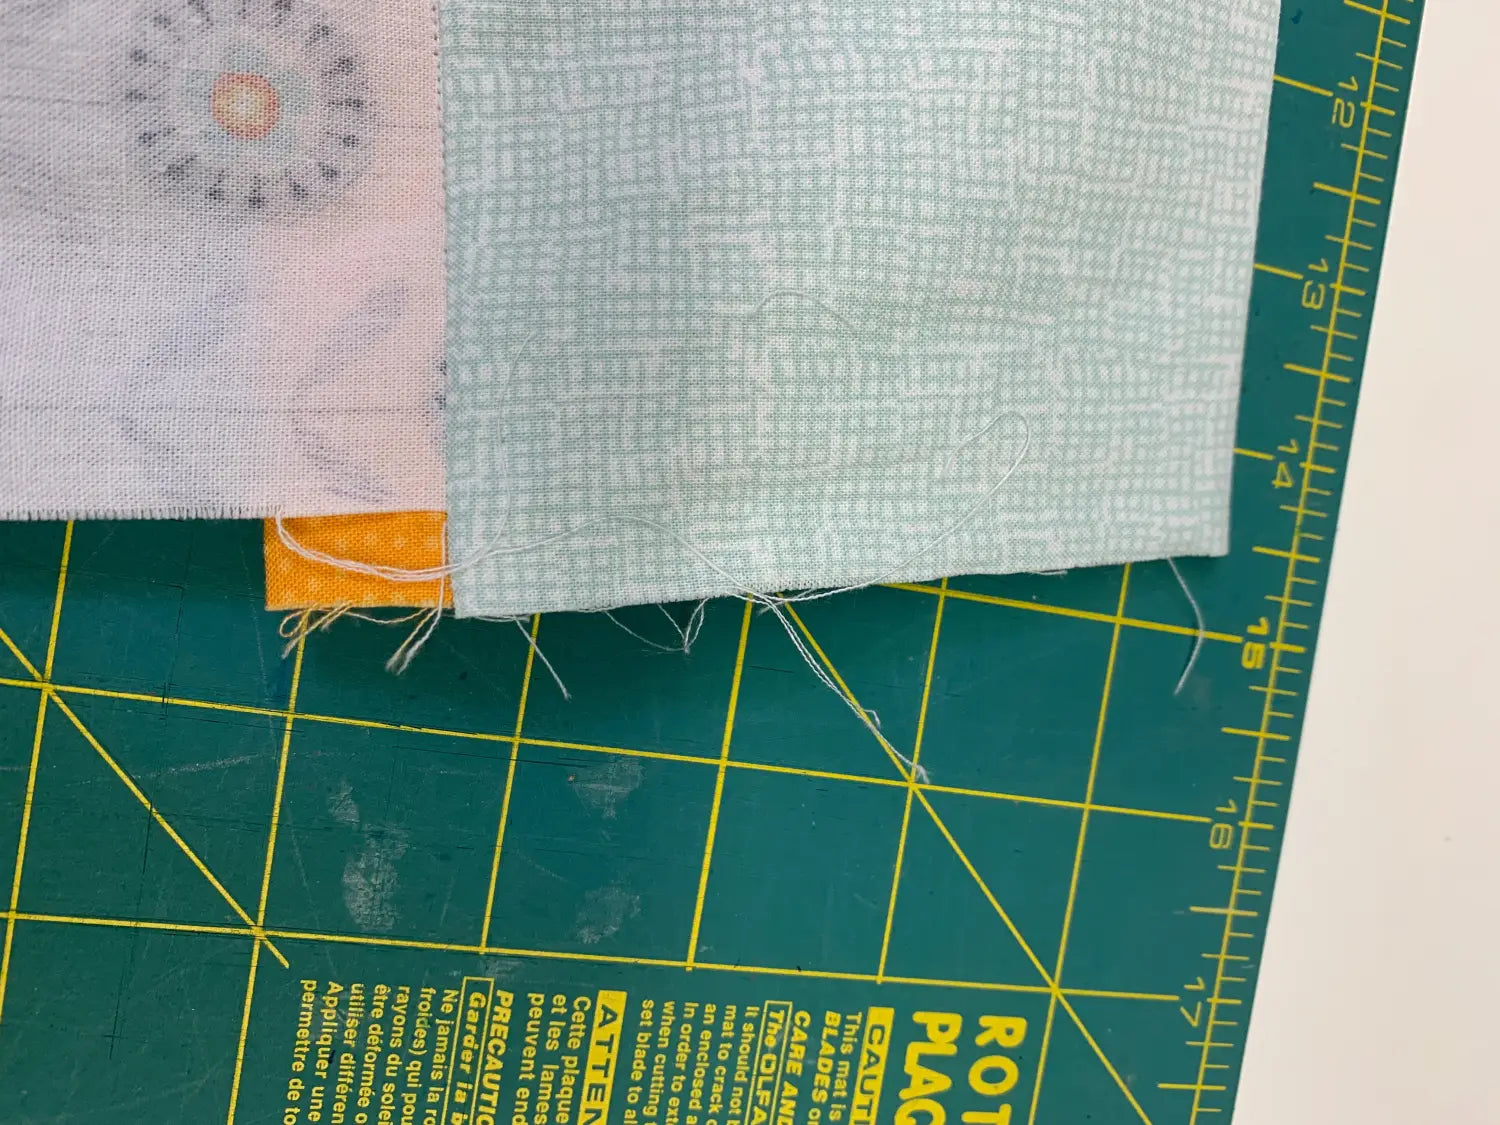
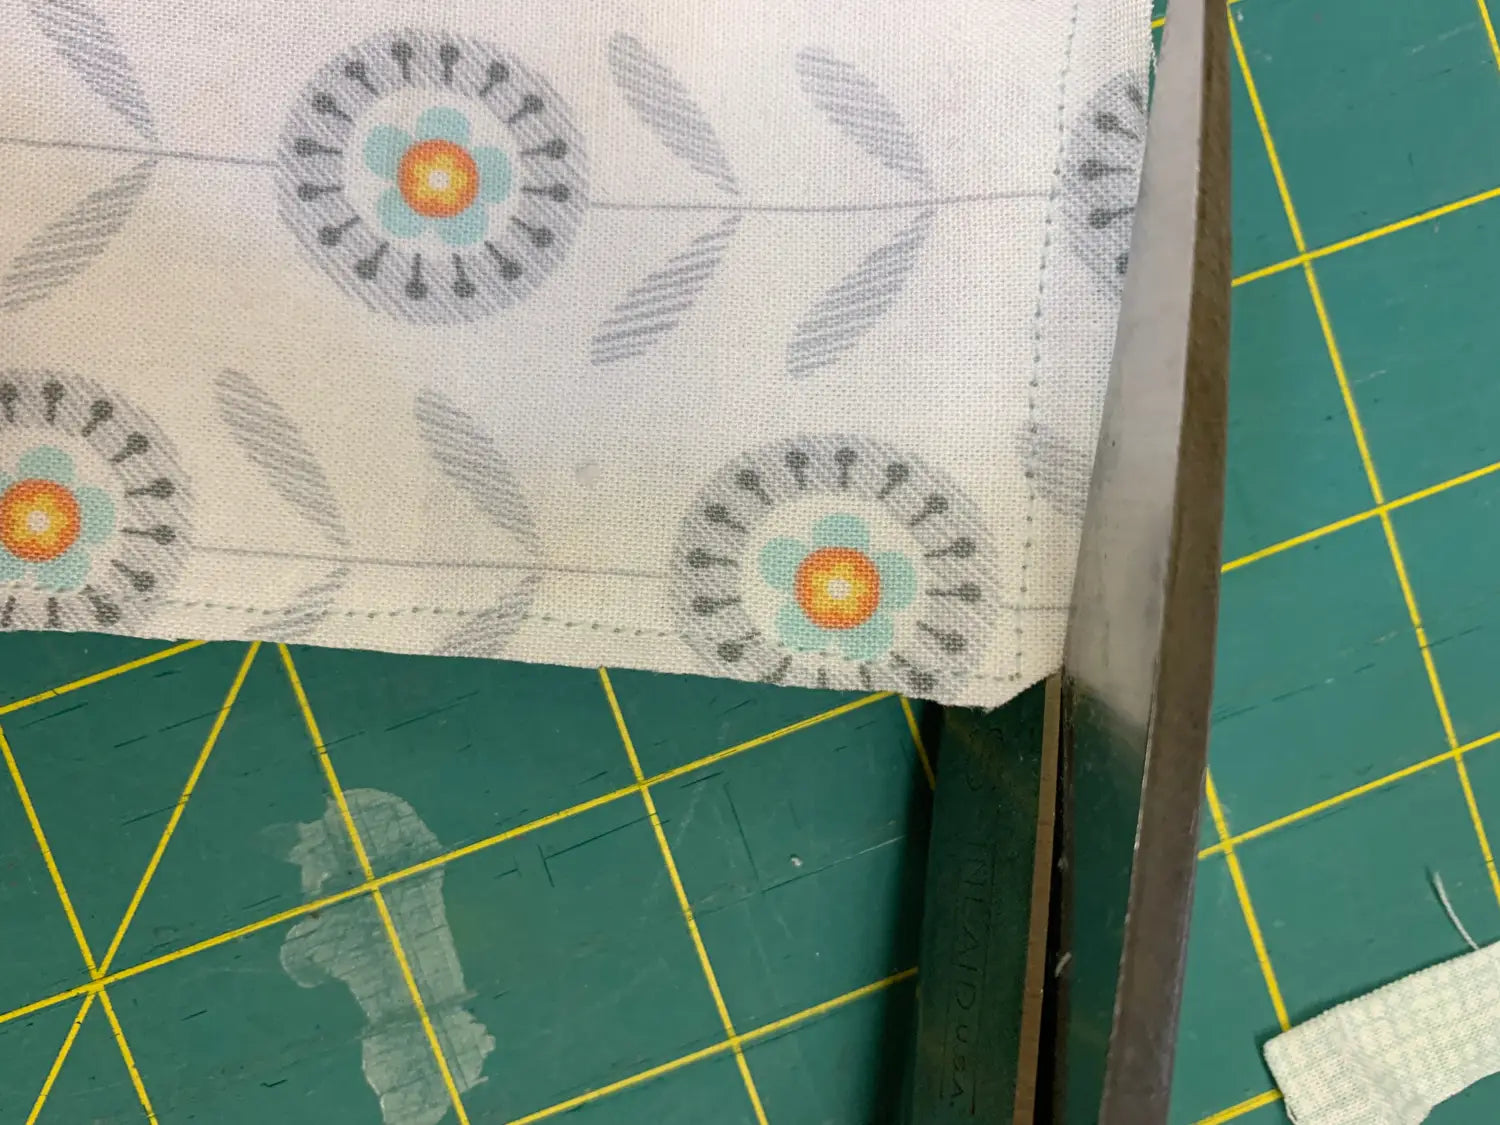
10. Trim the seam to half, and clip the corners.
11. Turn the pillowcase so that right sides are together. Stitch along the two previous seams at 1/2" seam allowance.
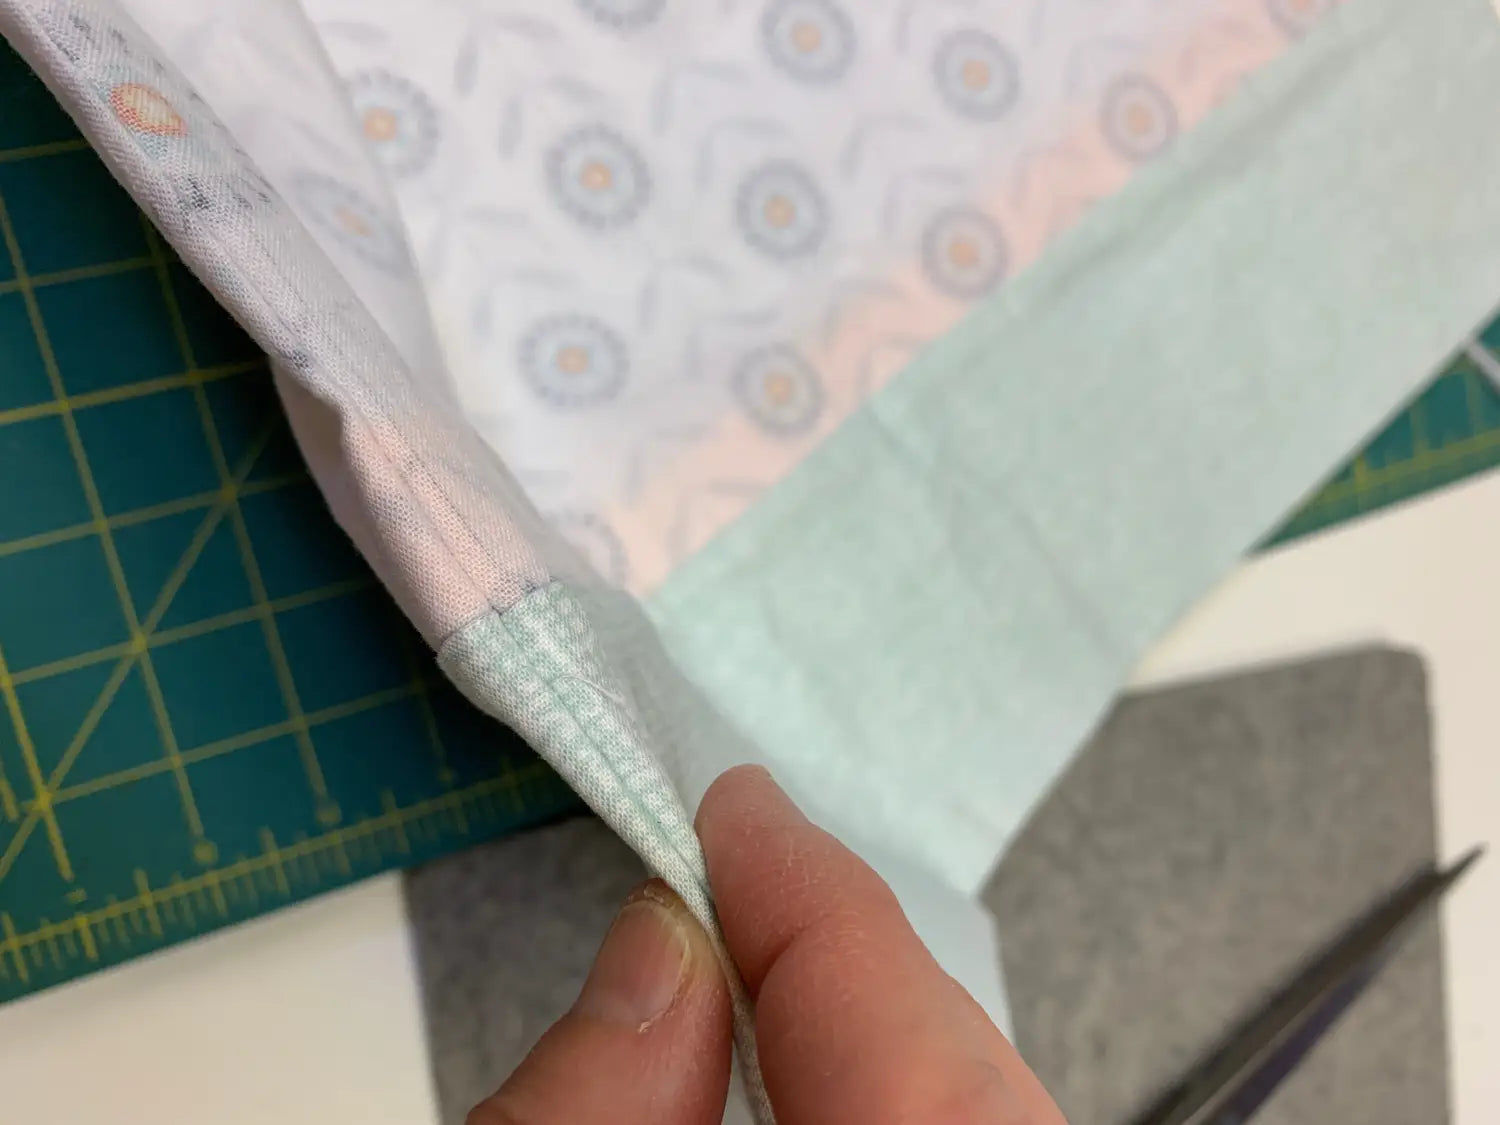
12. Turn inside out, and press! You've got a pillowcase with enclosed seams!
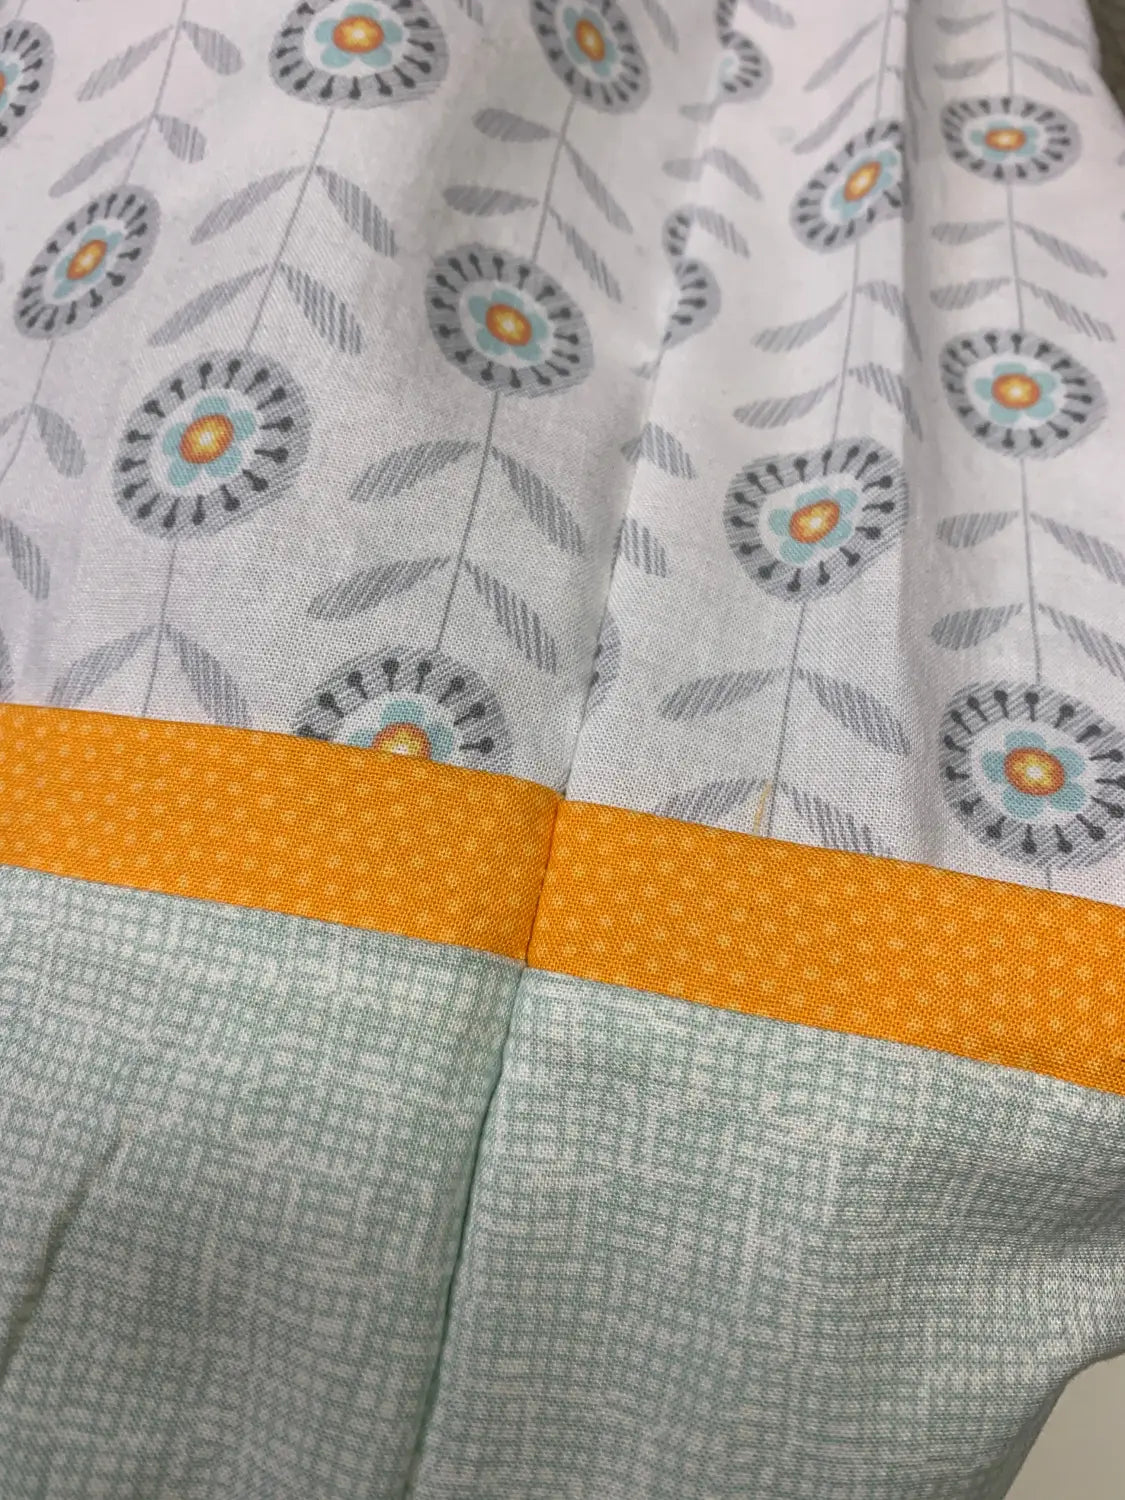
(here you can see how nicely the seams match up when you nest them at the stitch line).
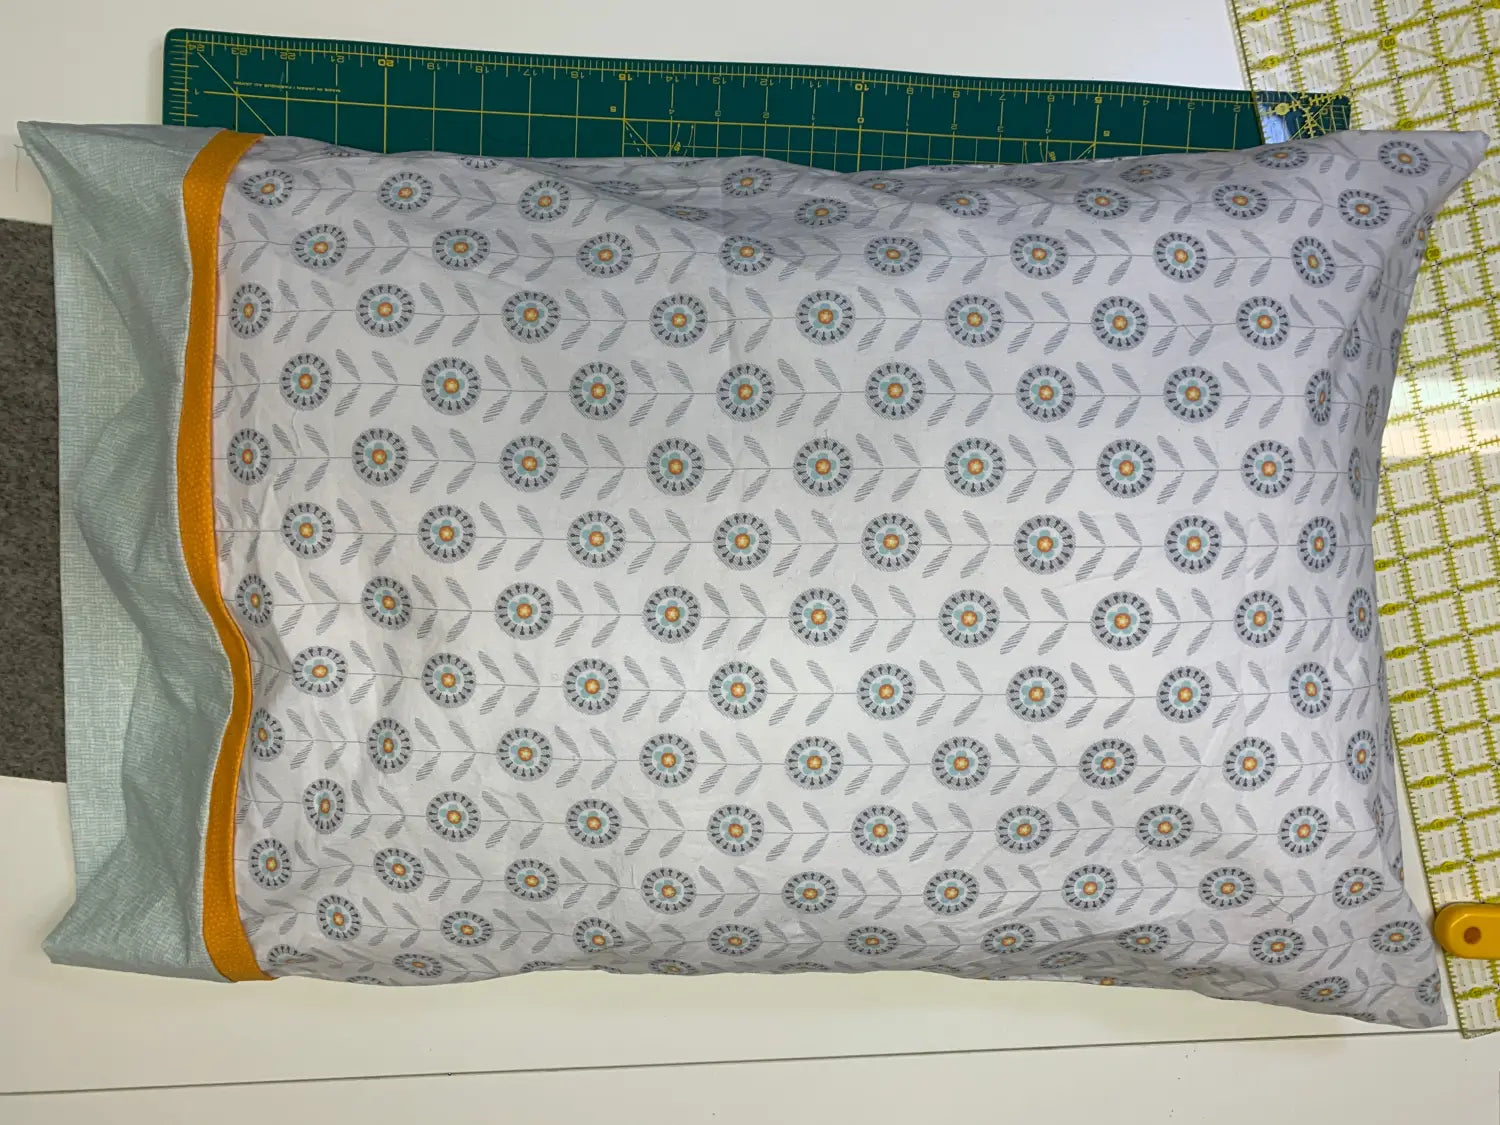
This is an easy-peasy project with beautiful finishes. In our family, these have become a bit of a holiday tradition, and I embroider my nieces names and year on the inside of the cuff. It's a blank slate of a project--we'd love to see what you come up with!
Stay in touch and Show us what you've made:
Instagram: @sewingbysarahstore
Facebook VIP Group: https://www.facebook.com/groups/sbsvip


Leave a comment (all fields required)