Best Quilting Tip Round up! I always enjoy year-end retrospectives--mostly because they remind me of EVERYTHING I've forgotten over the past 12 months. Here at Sewing By Sarah, we've offered a weekly #tiptuesday on our Facebook and Instagram accounts, and I thought it'd be interesting to see which tips were our most popular (and hopefully, effective)!
Follow us on Instagram to see every #TuesdayTip.
Drum roll please...
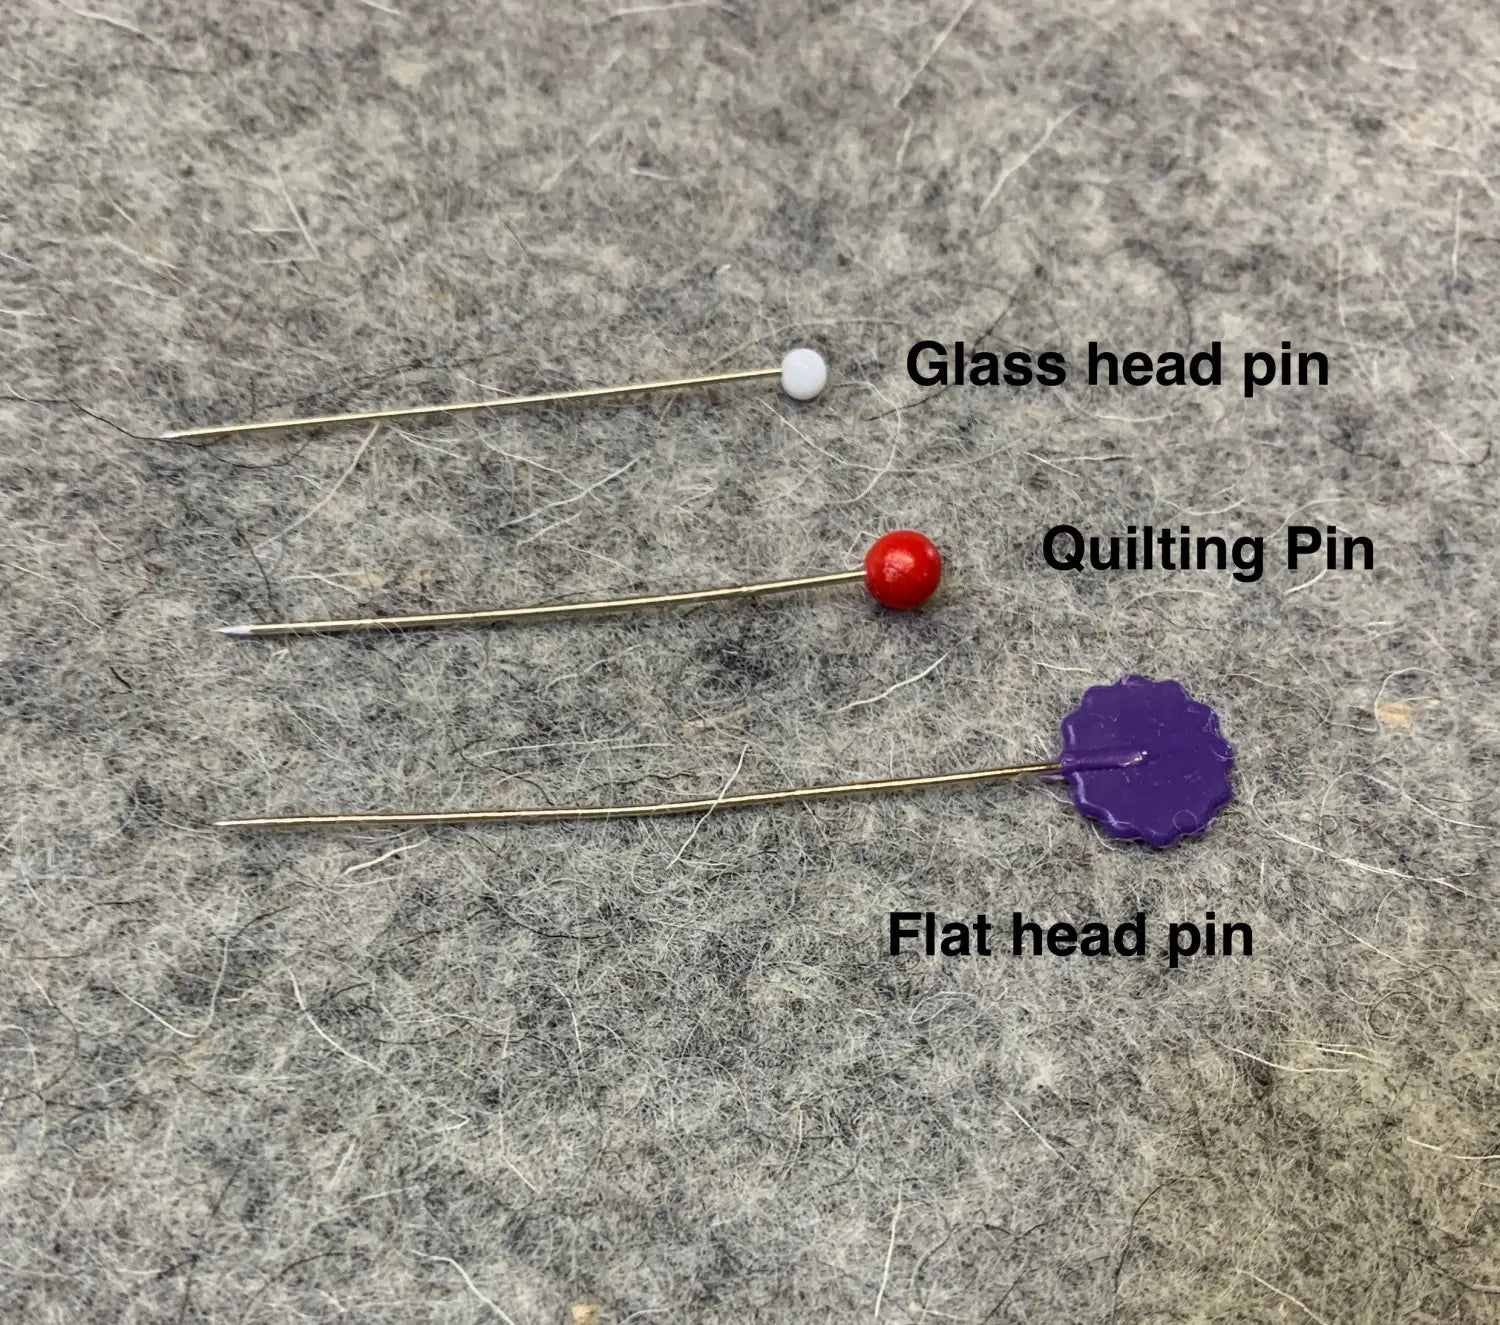
10. Proper pins
Yes, all pins hurt when they stick you, but if you're quilting, using quilting pins will make your life so much easier. They are slightly thicker and onger and designed to pierce through layers of fabric and batting. (more on pins in a future post!)
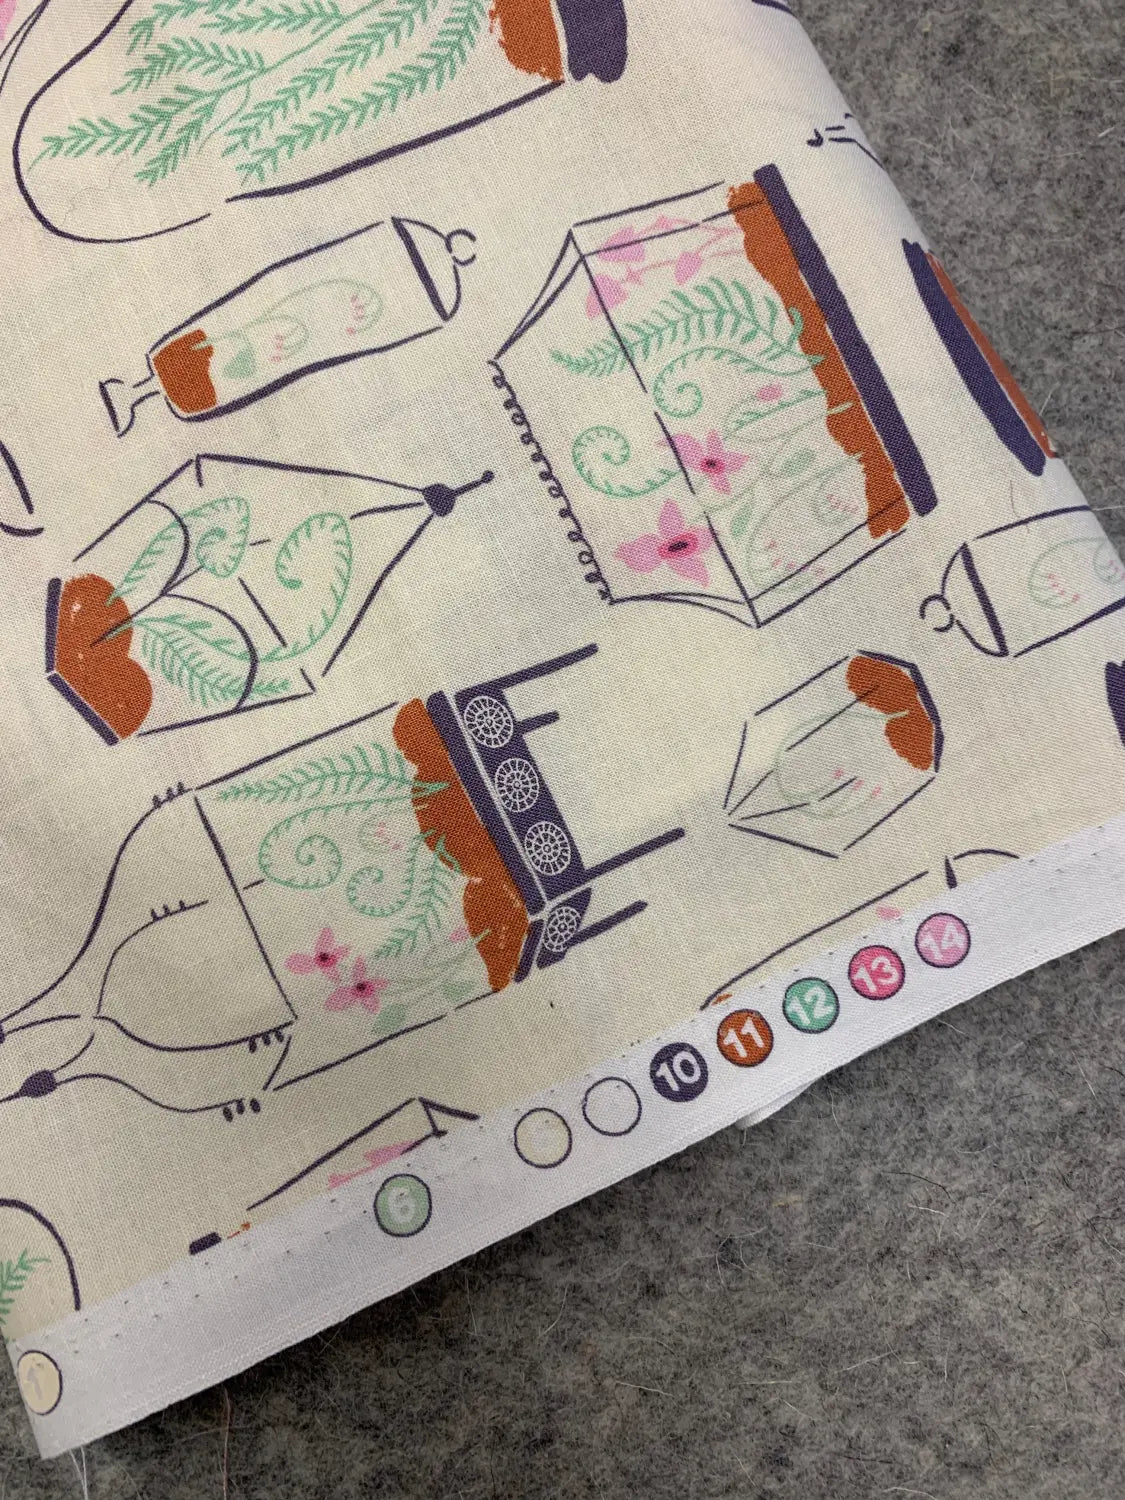
9. Save your selvedges
Manufacturers print the fabric color story on the selvedge (that line of colored dots)--if you need to match a fabric, bring the selvedge to the store with you!
8. Change your needle
The general rule of thumb: machine needles are good for about 8 hours, so every time you start a project, get in the habit of changing out your needle.
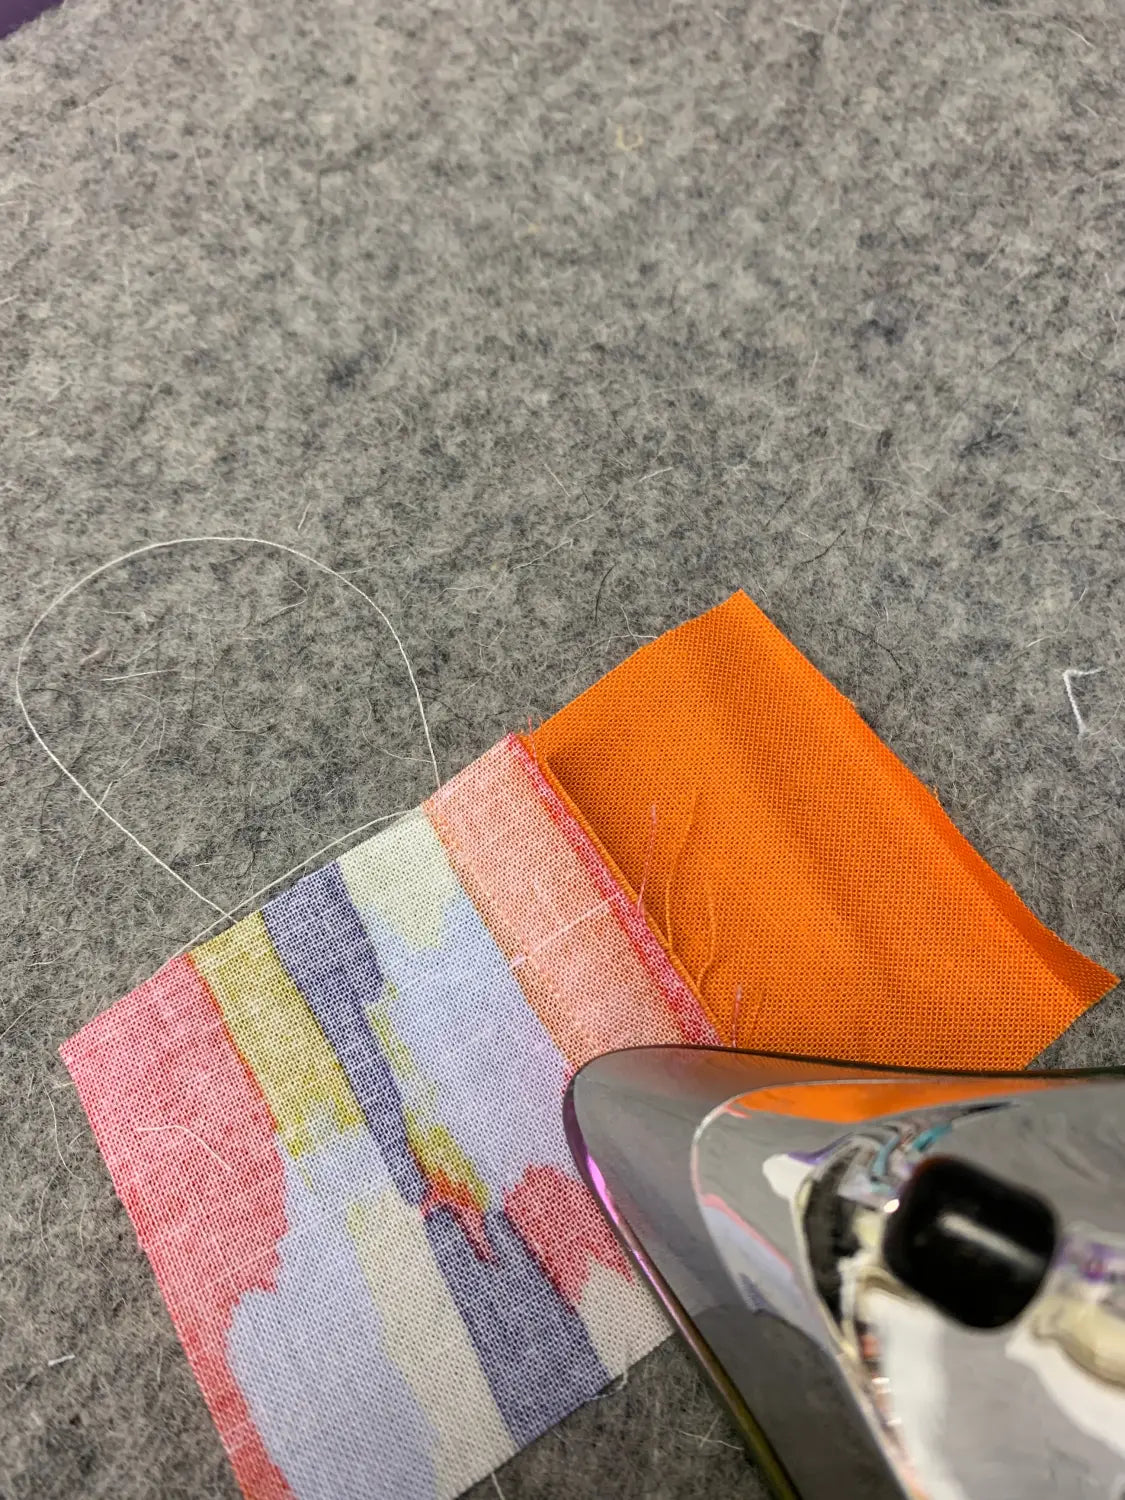
7. Press your seams
Pressing is important, as it helps the thread adhere to the fabric, thus strengthening your quilt. Also, Press to one side for a stronger quilt, but press open when you have several seams coming together (this helps reduce bulk).
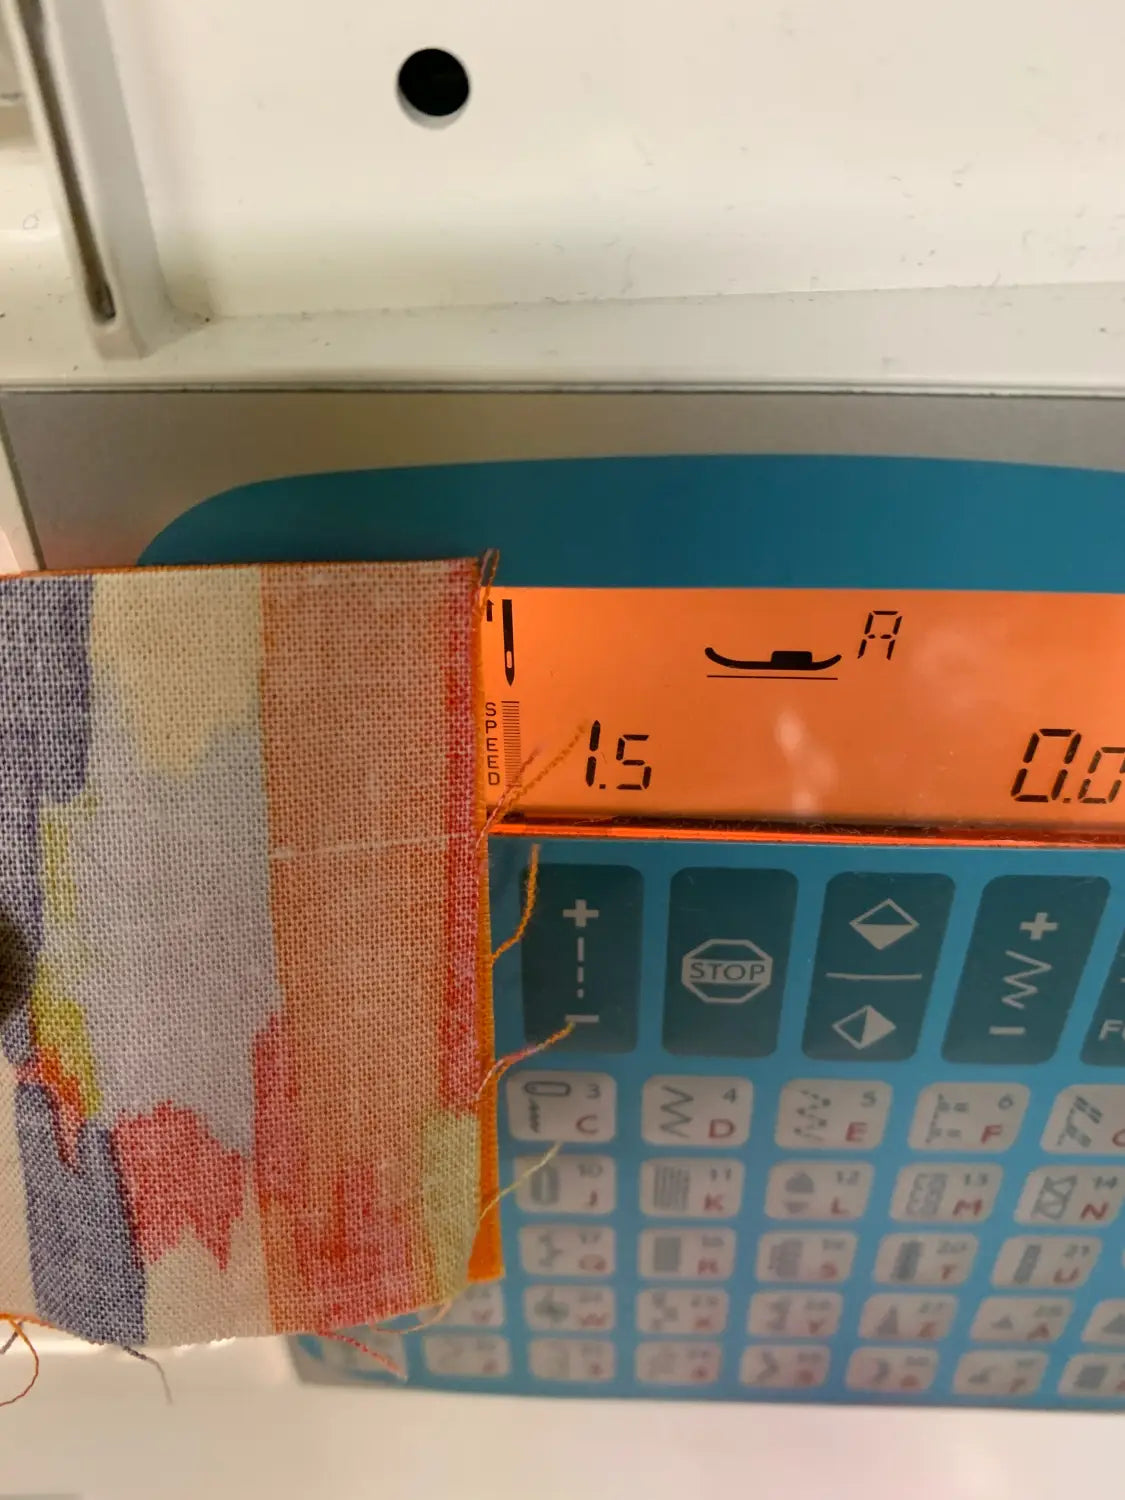
6. Adjust your stitch length
If you're quilting shorter pieces, shorten your stitch length. It will make those shorter seams stronger. (For this nine patch project, I went with a 1.5 stitch length. My default is 2.0)
5. Choose the right thread
For quilting, pick a thread with the same fiber content as your project. Cotton threads for cotton quilts. If you're unsure of the fiber in your fabric, stick with an All Purpose thread.
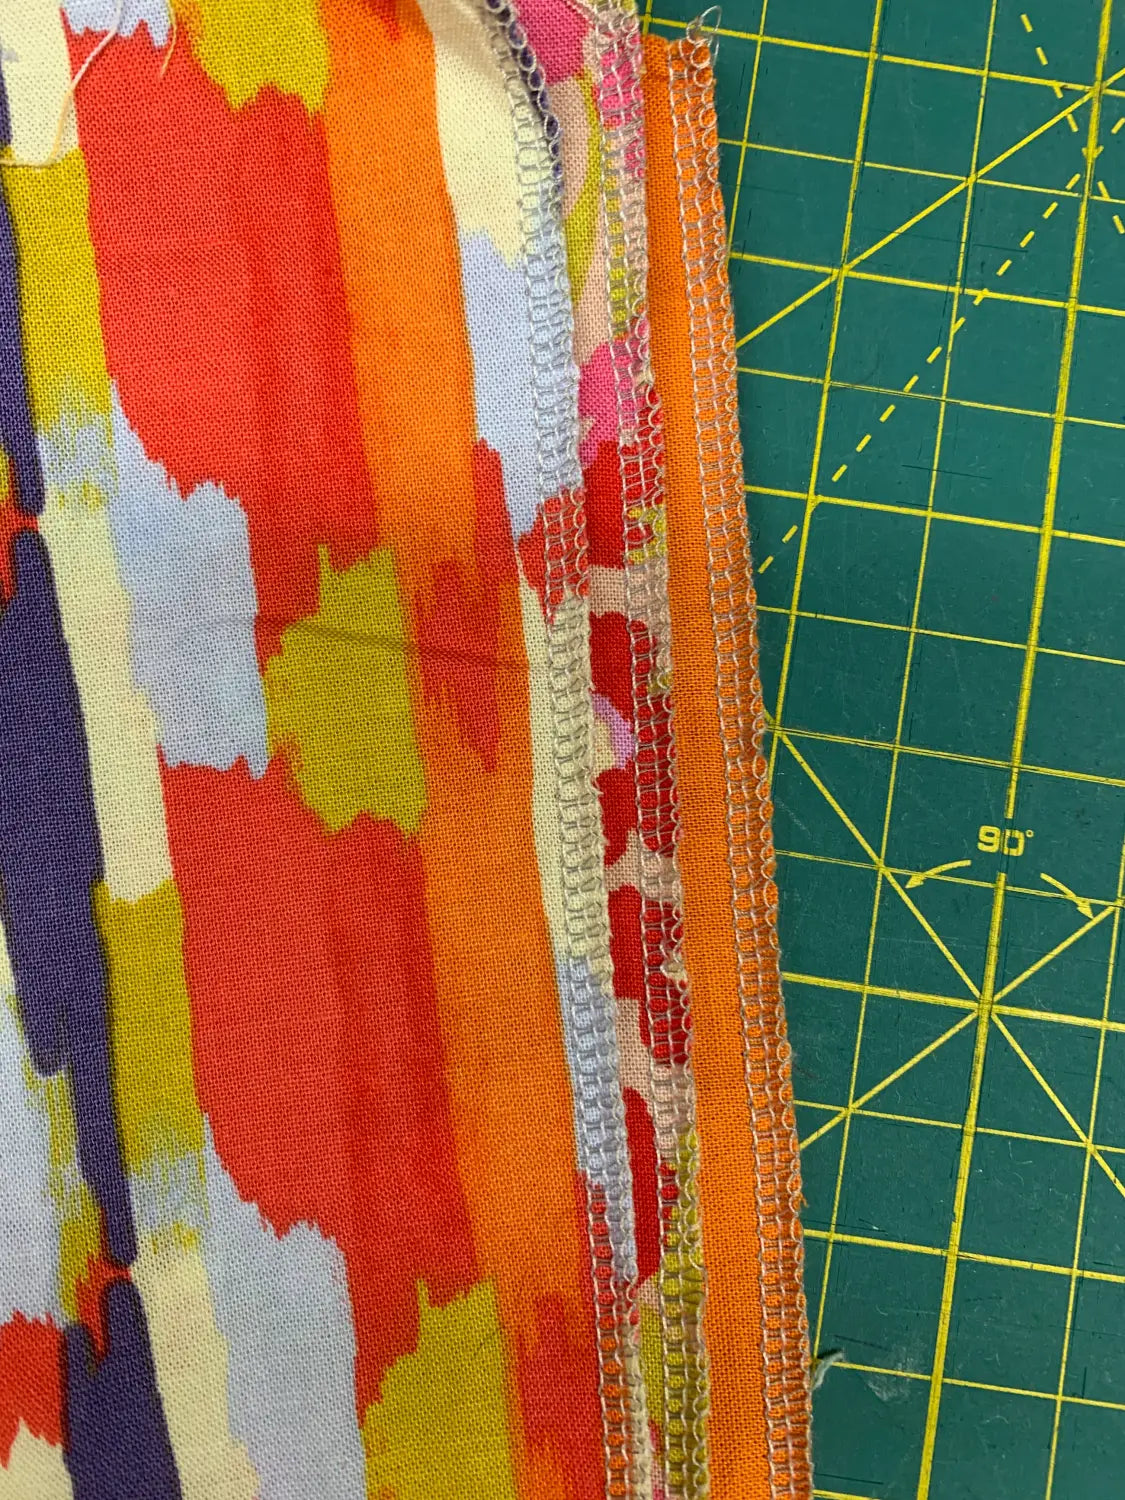
4. Prevent Pre-Washing Tangles
If you serge or zig-zag your fabric ends prior to pre-washing, your fabric won't be a tangled hot mess when you pull it from the washer.
3. Keep Your Quilt Blocks from Growing
After pressing, place your quilter's ruler on top of your block until it cools. This will keep your block from stretching out!
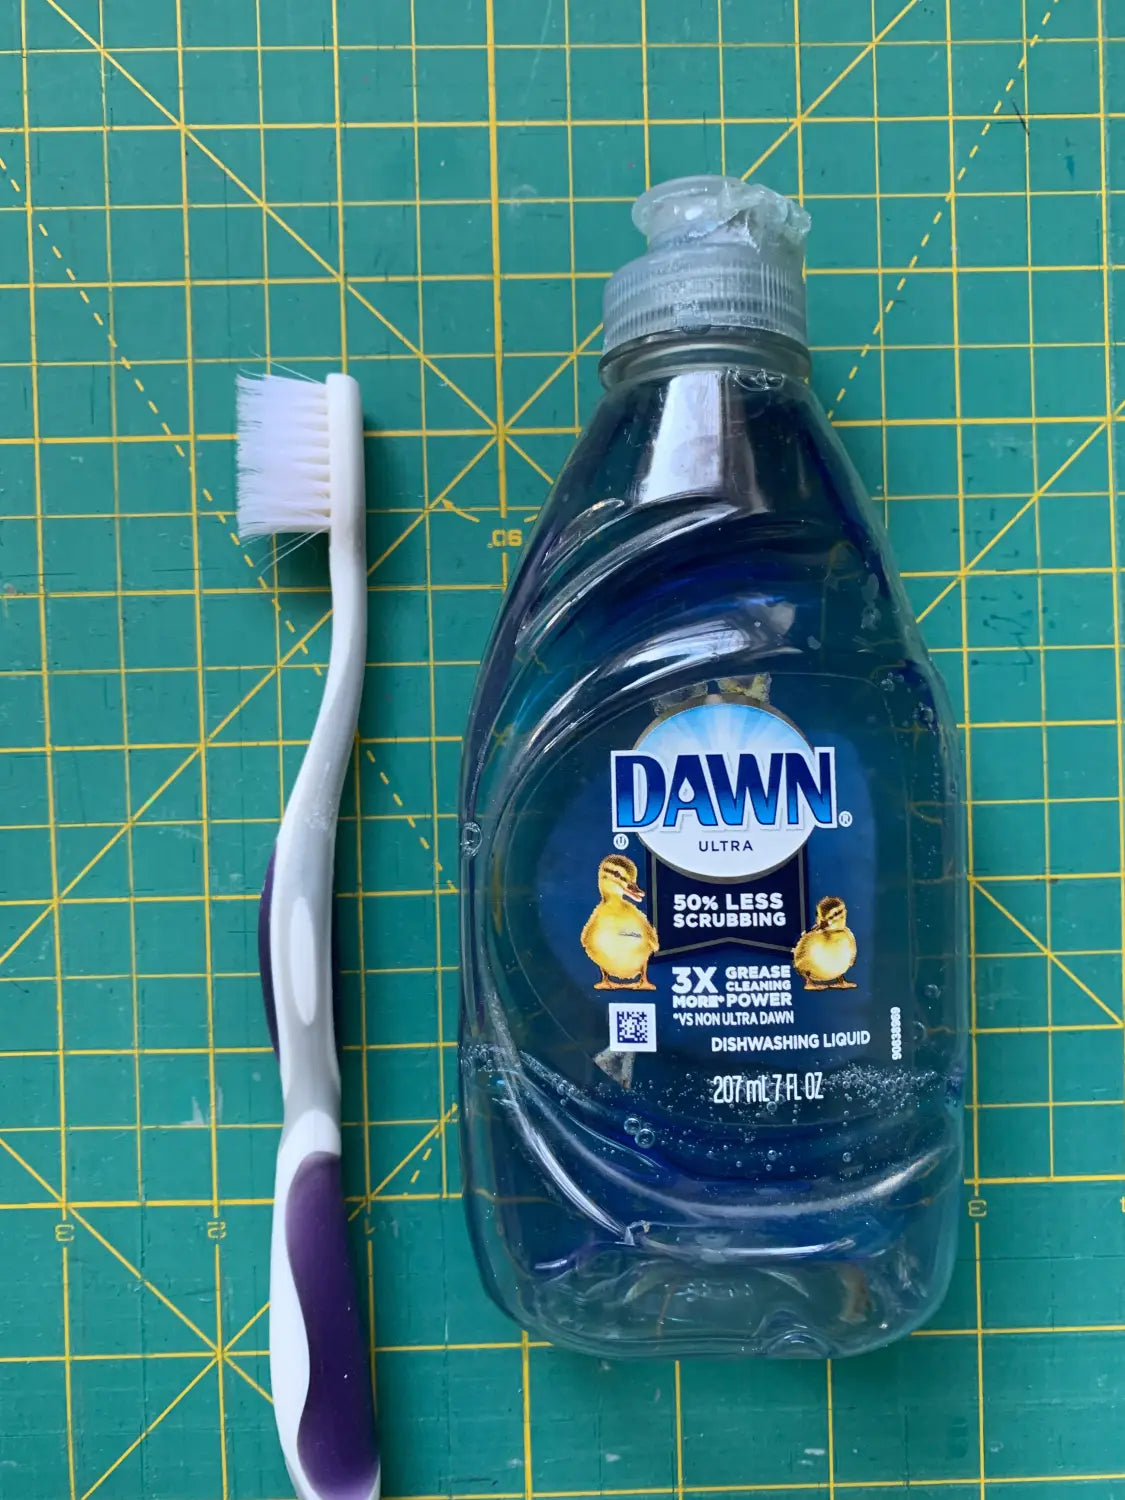
2. Wash your cutting mat
Fill your sink with tepid water, add a few drops of gentle soap, and using a soft-bristled toothbrush, clean your cutting mat. Lay it flat to dry (not in direct sunlight). This will extend your mat's life and make your fabric cutting that much easier!
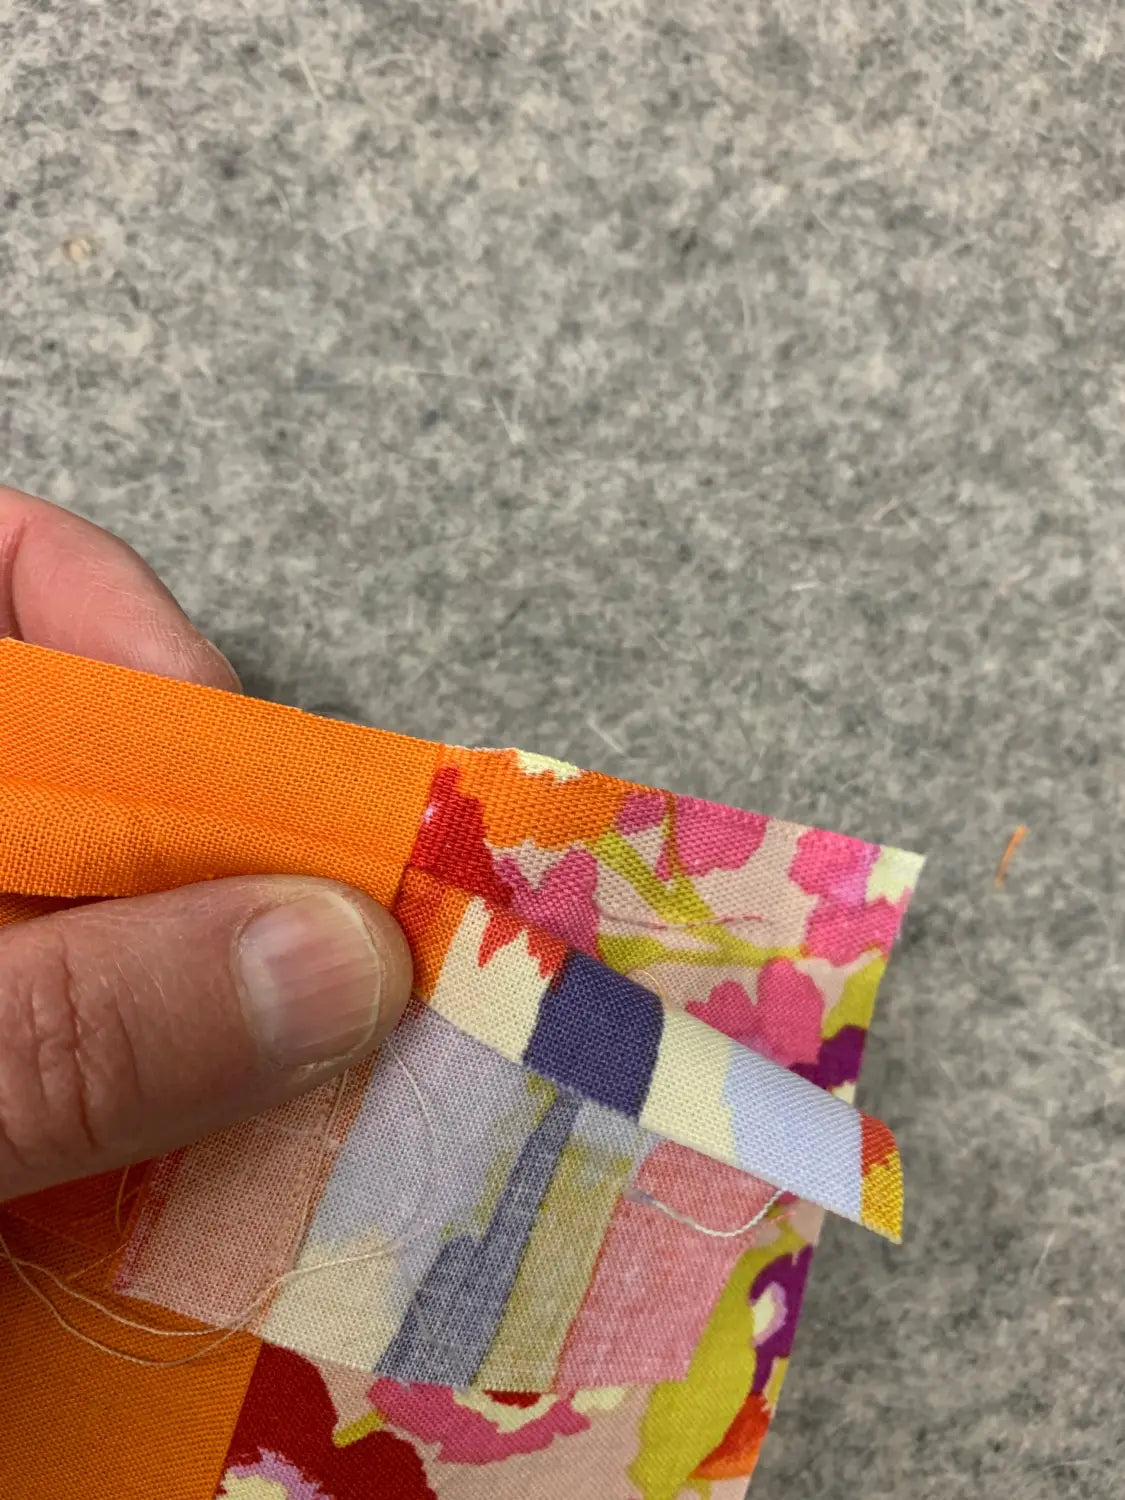
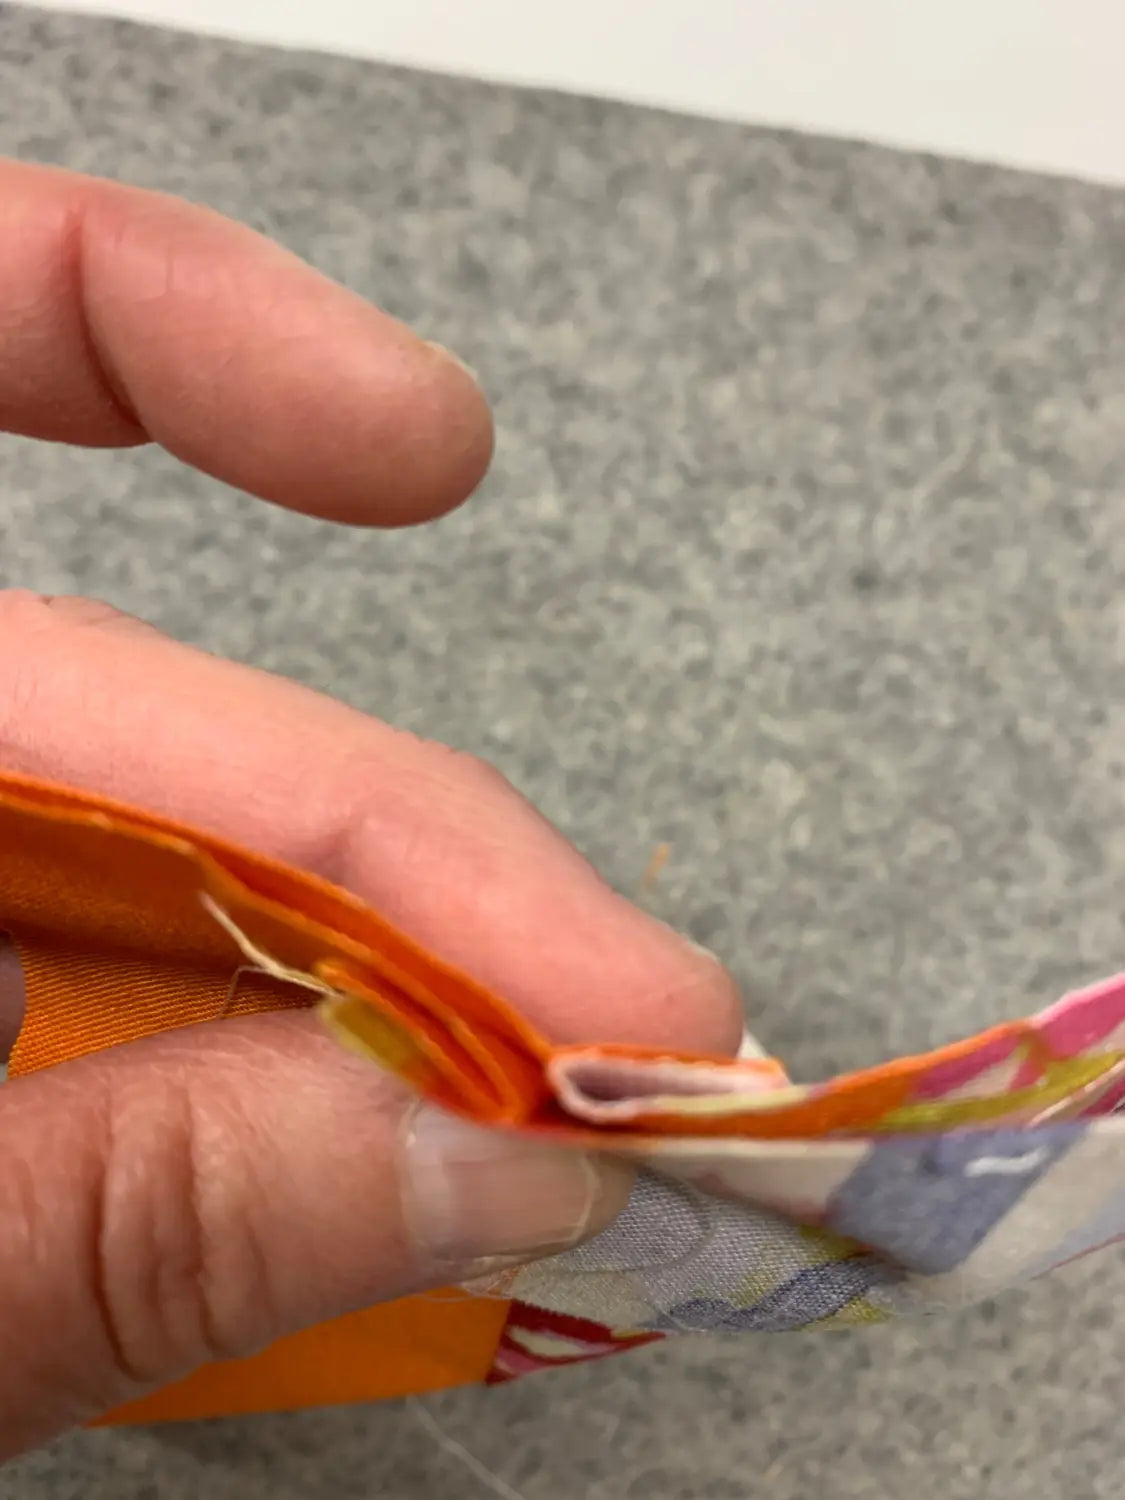
1. Nest your seams
Do your seams never seem to match up? Try nesting, then pinning them at your seam allowance.
Stay in touch and Show us what you've made:
Instagram: @sewingbysarahstore
Facebook VIP Group: https://www.facebook.com/groups/sbsvip
Download your FREE Presser Foot Quick Guide Here:
Olivia Smart
June 01, 2023
Thank you for your advice to use the same fiber content for your thread as you are using for your project. I’ve been trying to get some advice to pick up quilting for my grandkids. I’ll be sure to keep this in mind for my future works. https://lalehamwillows.com/long-arm-quilting-services/