Looking for a quick sewing project that's giftable? Coasters are quick and easy project--perfect for gift-giving or even for your own home. A set of four is do-able on a weeknight! This is a great way to try out fabric weaving as well (using our great Wefty Needle tool) so many possibilities.
In January, I found myself with several rolls of 3/8" twill tape in a variety of colors. I try not to keep too much clutter in my sewing room, and the 3/8" twill tape really didn't serve any of my upcoming project needs, but it felt wasteful to toss it, so I put my thinking cap on. And after a few too many gray days, I had my answer--some bright and cheery Valentine's coasters.
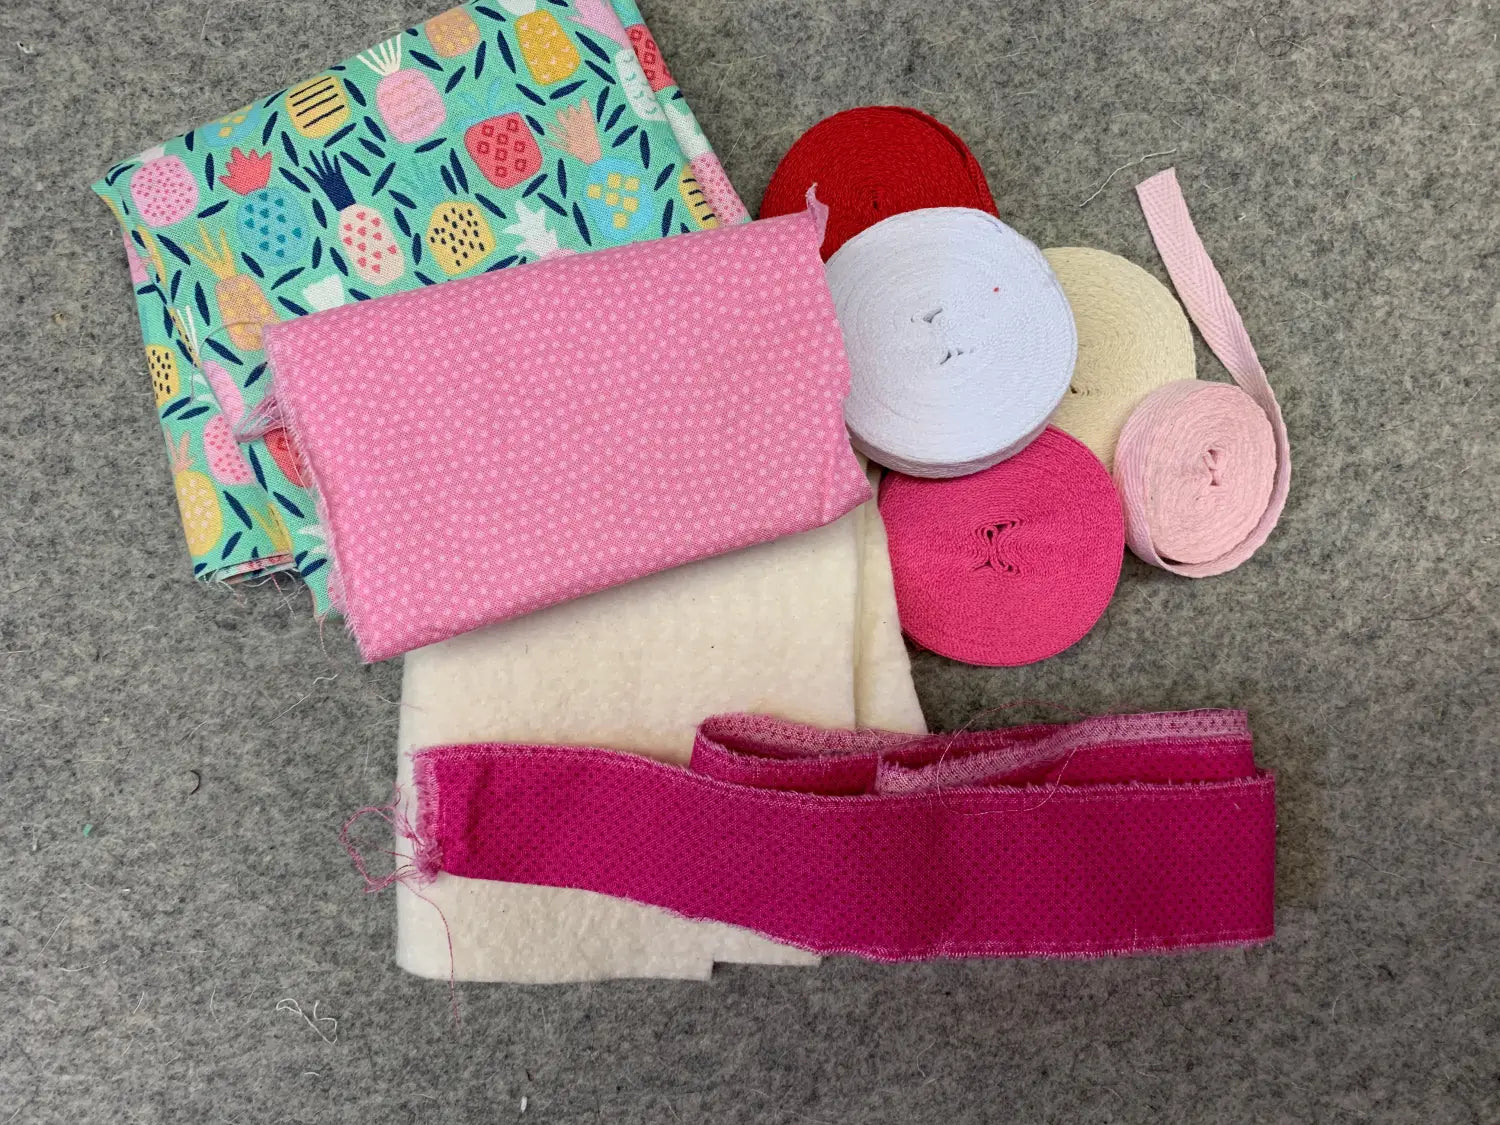
Supplies
- 3/8" twill tape in a variety of colors
- cotton batting (6" x 6" square)
- quilting cotton (5" x 5" square)
- bias binding 1.5" x 30"
- all-purpose sewing thread
Tools:
- WEFTY needle
- wool pressing mat
- Clever Clips
- Sewing machine
- rotary cutter
- quilters ruler
- pins
Instructions:
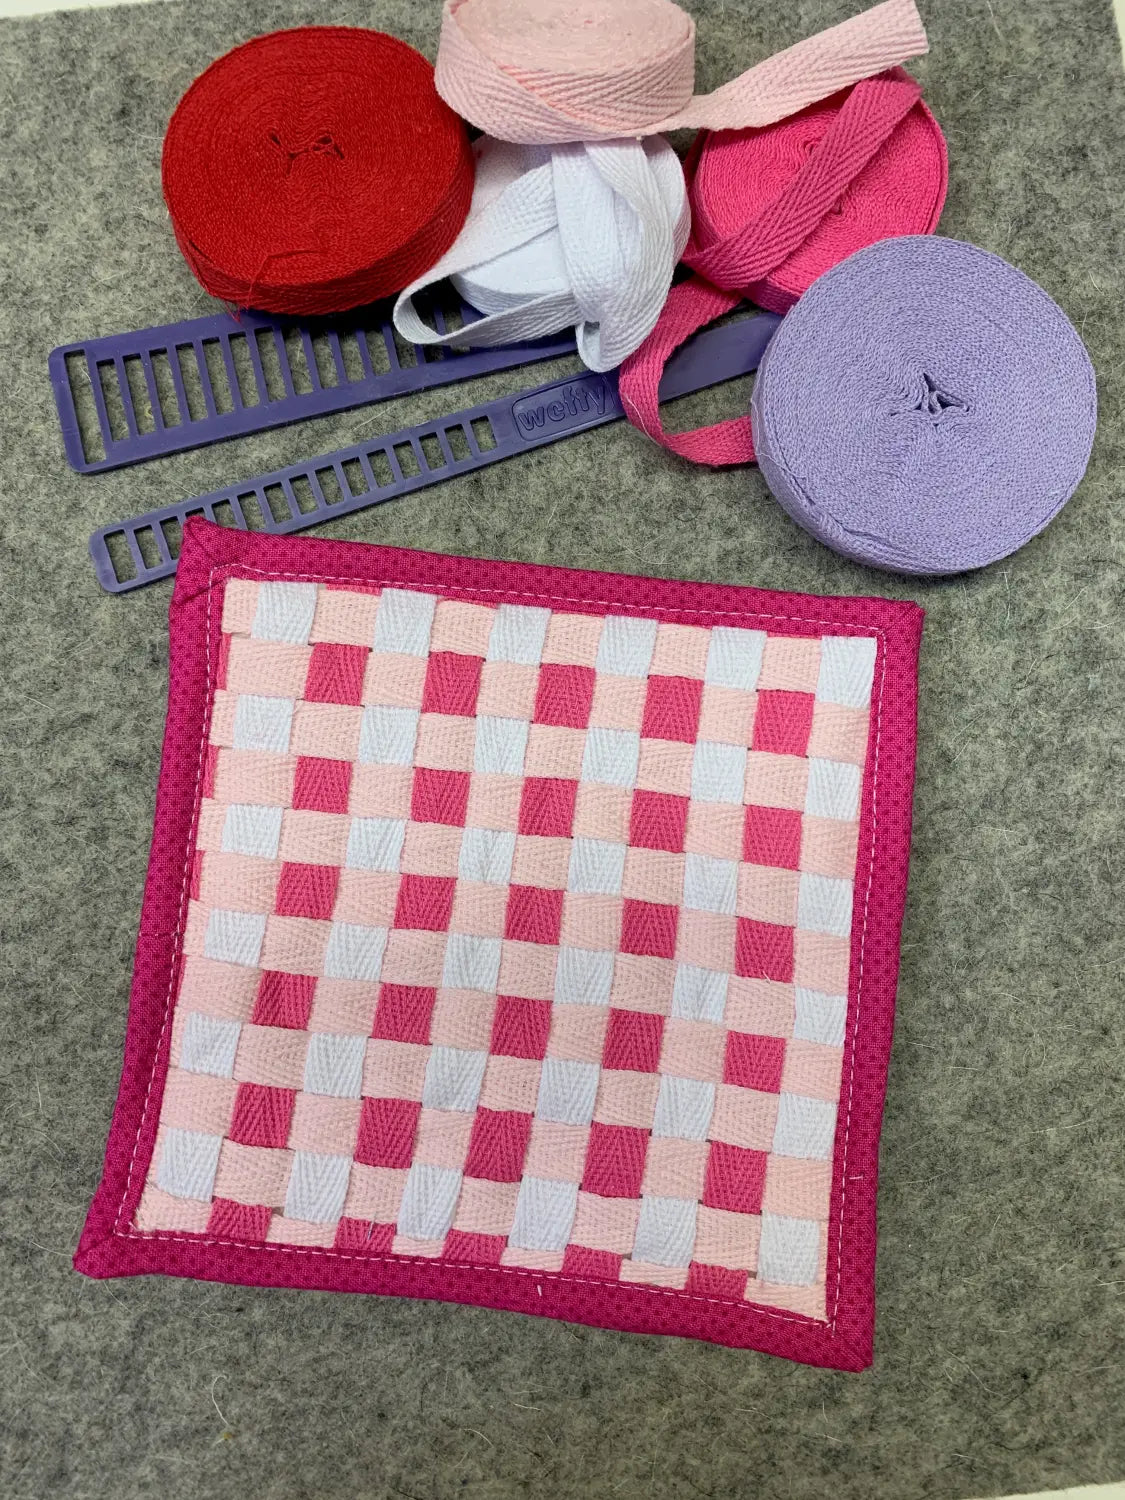
1. Decide which colors of twill tape you're going to use. I decided on 3 (white, soft pink and bright pink), but two would also work.
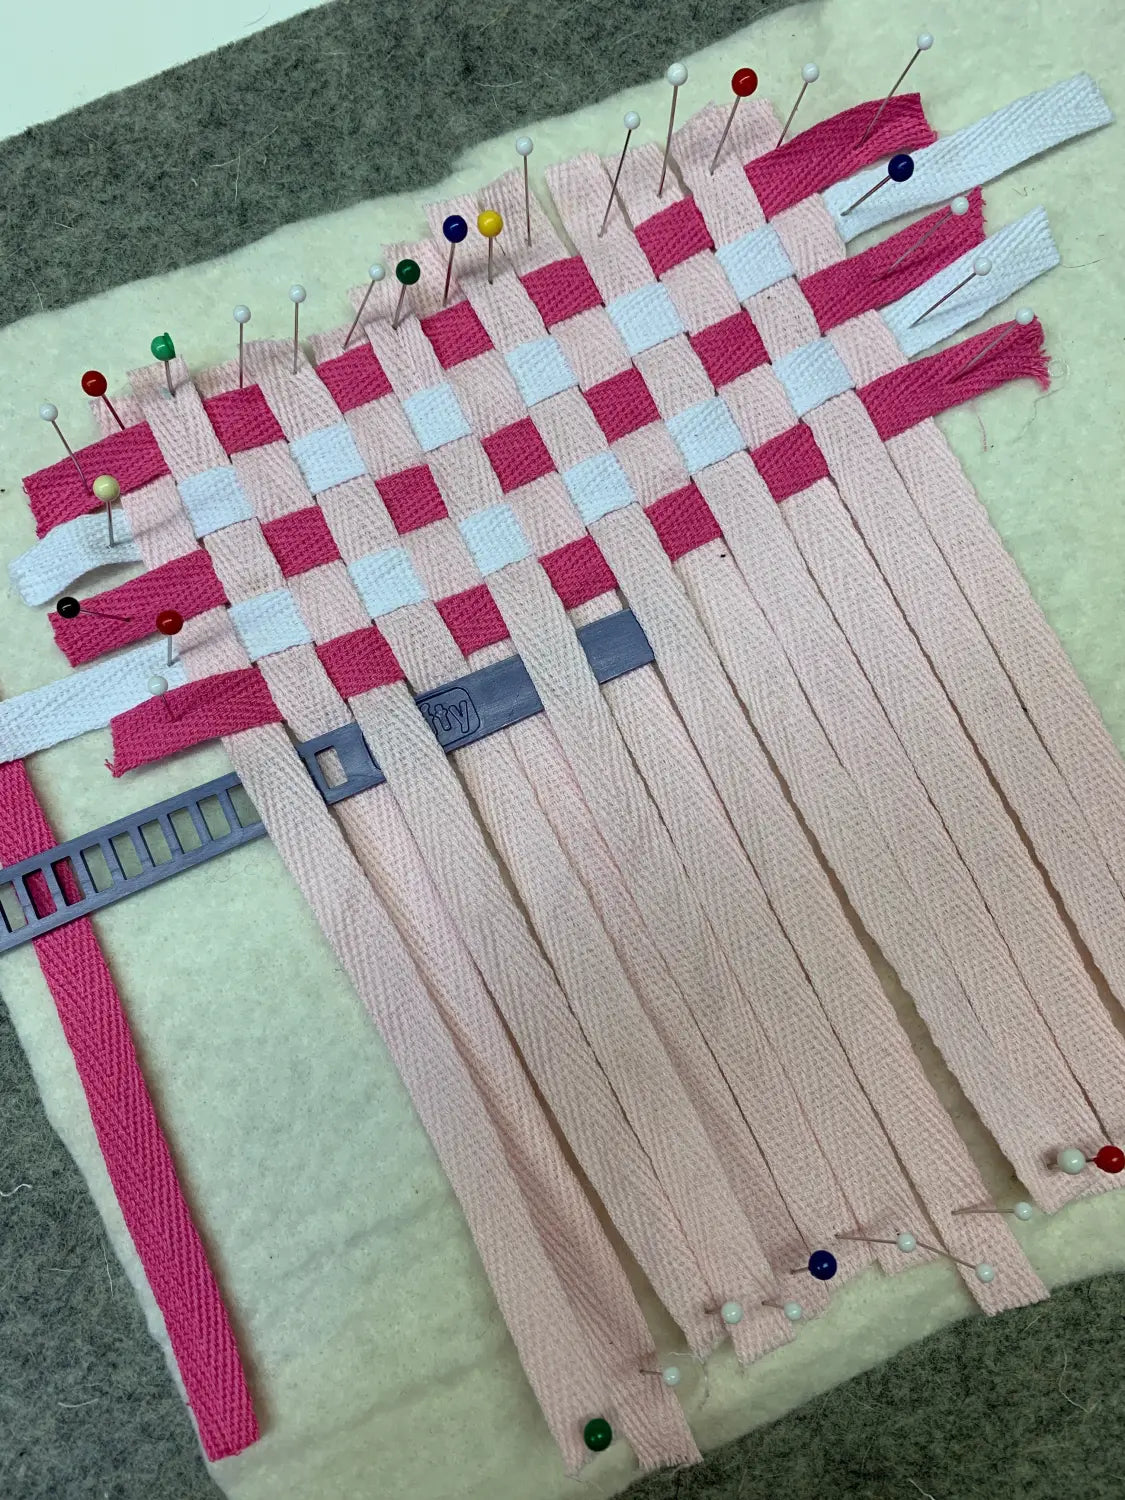
2. Cut your twill tape into 6" long strips. For the background color, cut 13 strips, . If you're doing a 2-color coaster, cut 13 more strips of your second color. If you're doing a 3-color coaster, cut 6 of one color and 7 of the second.
3. Place a 6"x 6" square of batting on your wool pressing mat. Lay the 13 twill tape background strips, one right next to the other (as close as you can get them) in rows. Pin the ends in place. If you don't have a pressing mat, you can use blue painter's tape on any hard surface.
4. Once those background strips are lined up and pinned securely, it's time to weave.
With the narrower WEFTY needle and contrast color 1, loop the twill tape through the appropriate slot and guide the WEFTY needle over/under/over/under until the strip is woven. If you're using 2 contrast colors, pick up color 2 and weave under/over/under/over until the strip is woven. What I really like about the WEFTY needle is how it just slides through the patterning so easily without having to re-align the background strips after each row is woven.
Repeat the process until all the contrast color strips are woven.
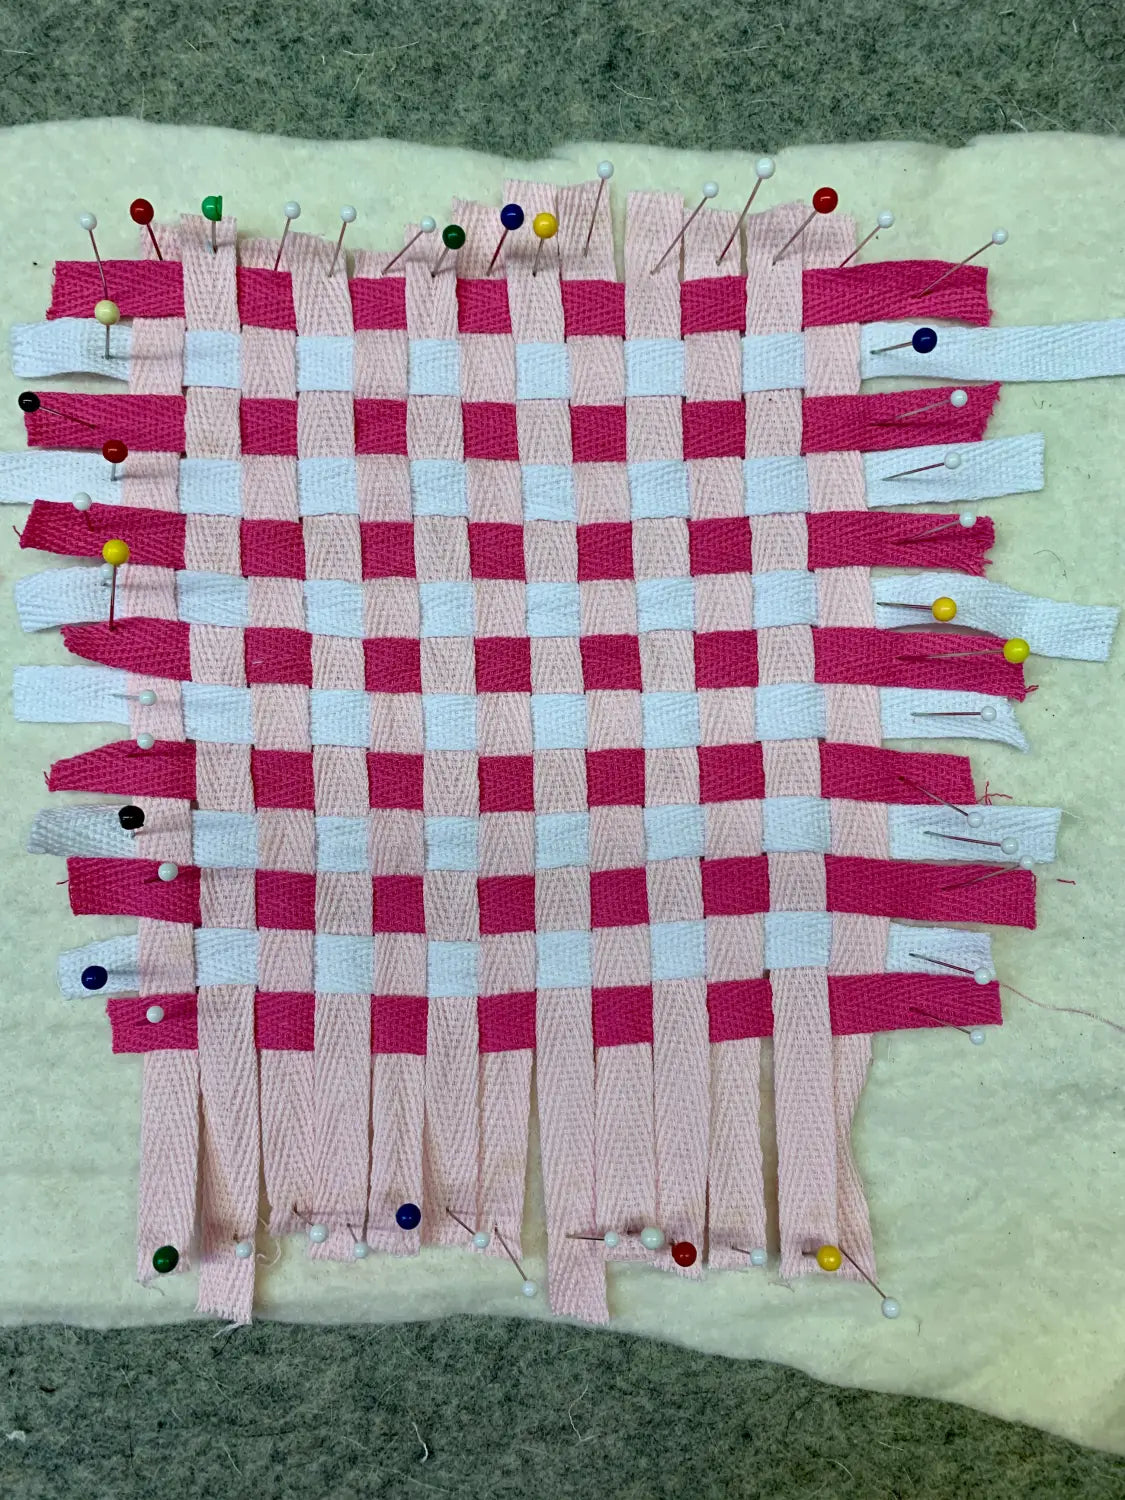
At this point, take a good look at your finished weave--you may need to switch some of the strips around so that there aren't any little holes in the corners; every strip abuts another.
5. Unpin the strips, and treating the woven piece and batting as one, turn upside down.
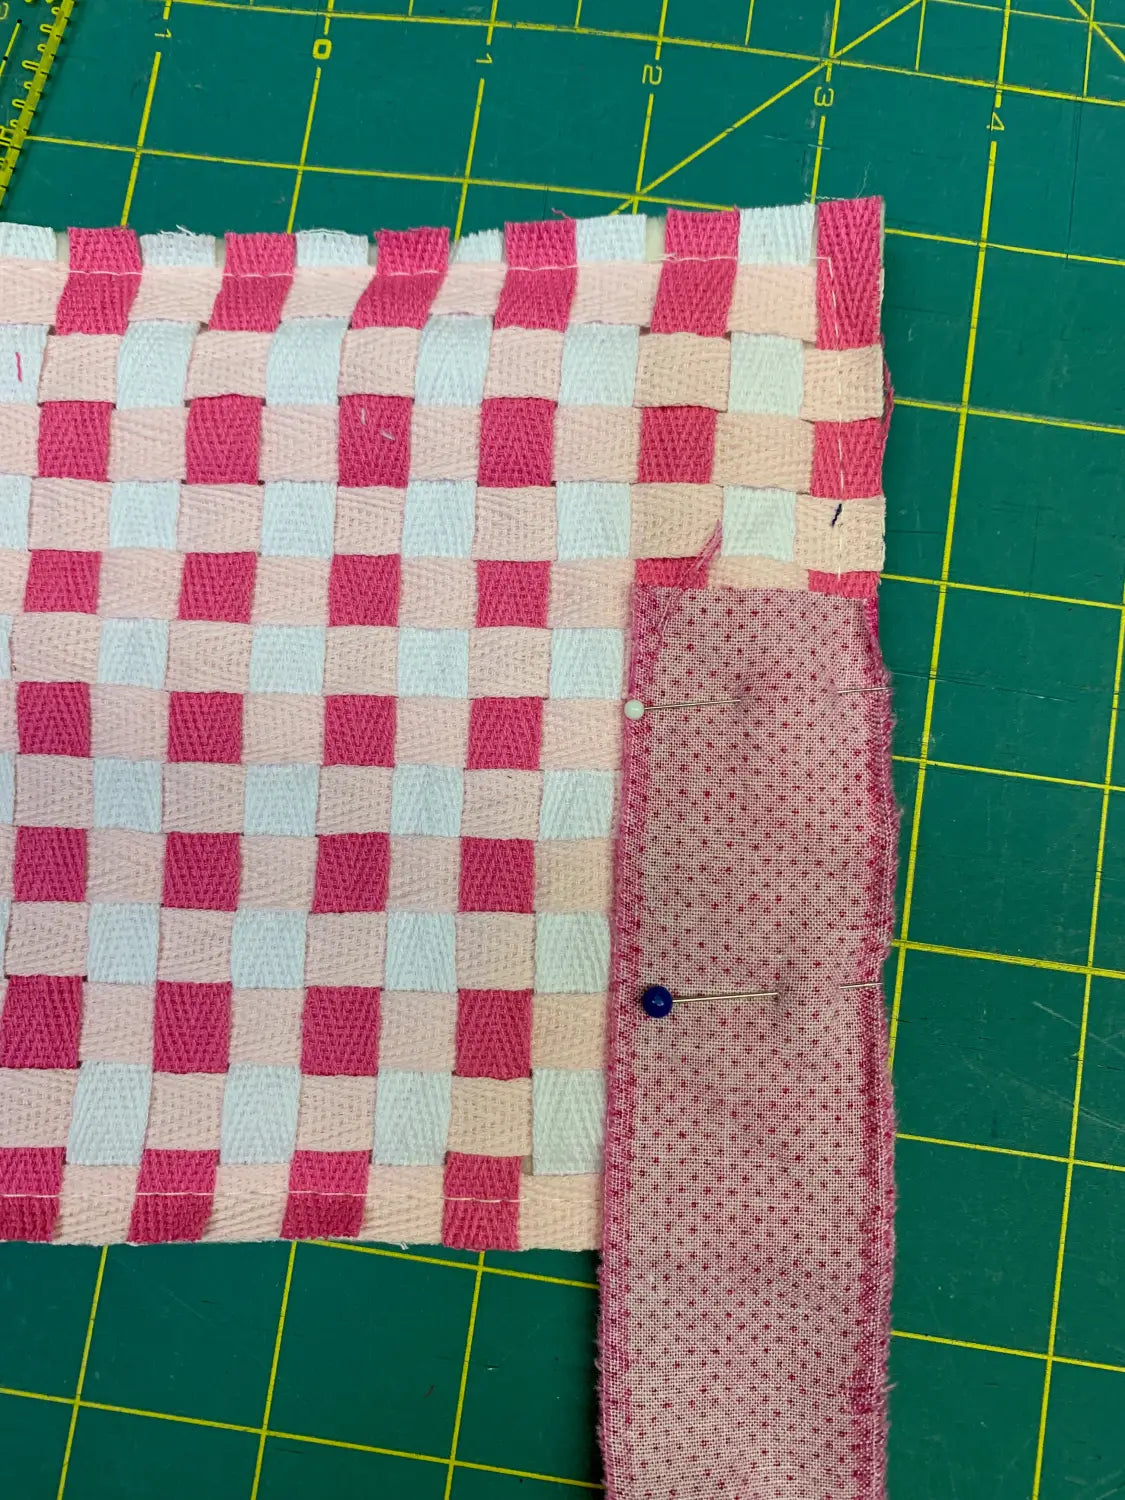
6. Place your 5" x 5" quilting cotton on top, right side up. You've made a "coaster sandwich, with the bottom layer being the woven piece, the batting as the middle layer, and the quilting cotton on top.
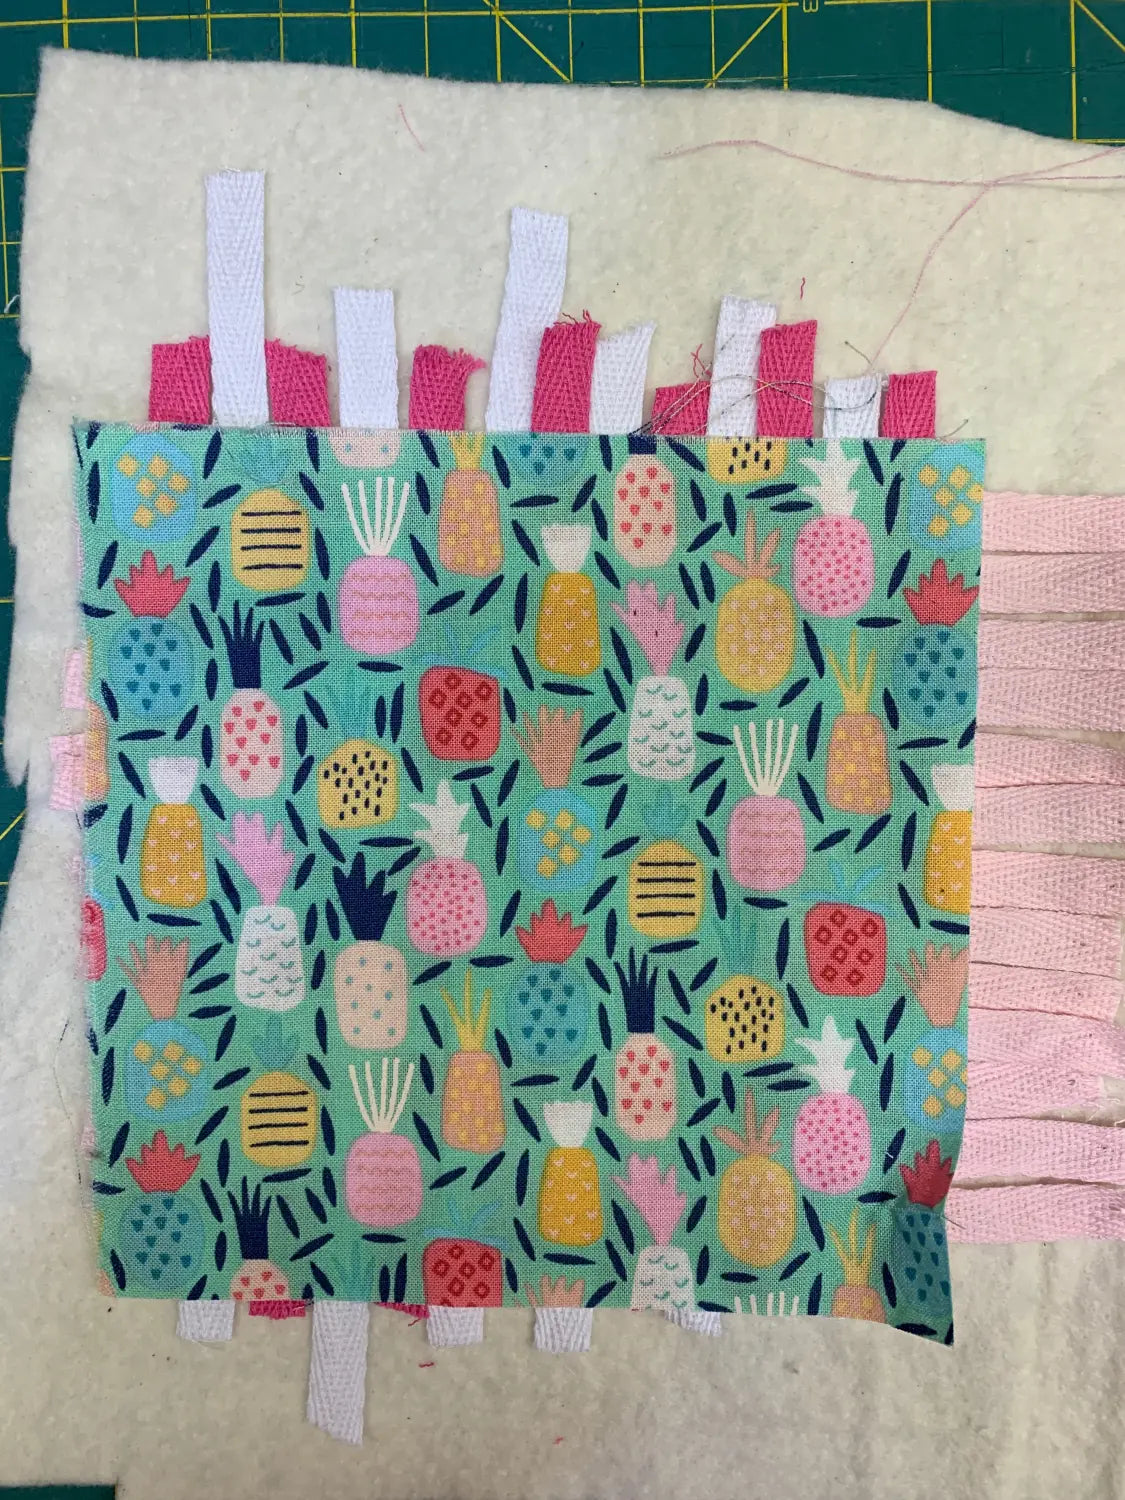
7. Turn your 'coaster sandwich' right side up (woven piece on top). Baste the three layers together with a 1/2" seam allowance.

8. Trim your seam allowance by half.

9. With a 30" x 1.25" piece of binding, attach and sew to your coaster, weave side up, at a 3/8" seam allowance. Miter your corners.
10. Turn the binding to the reverse side of the coaster, and clip into place (overlapping the stitch line just slightly).
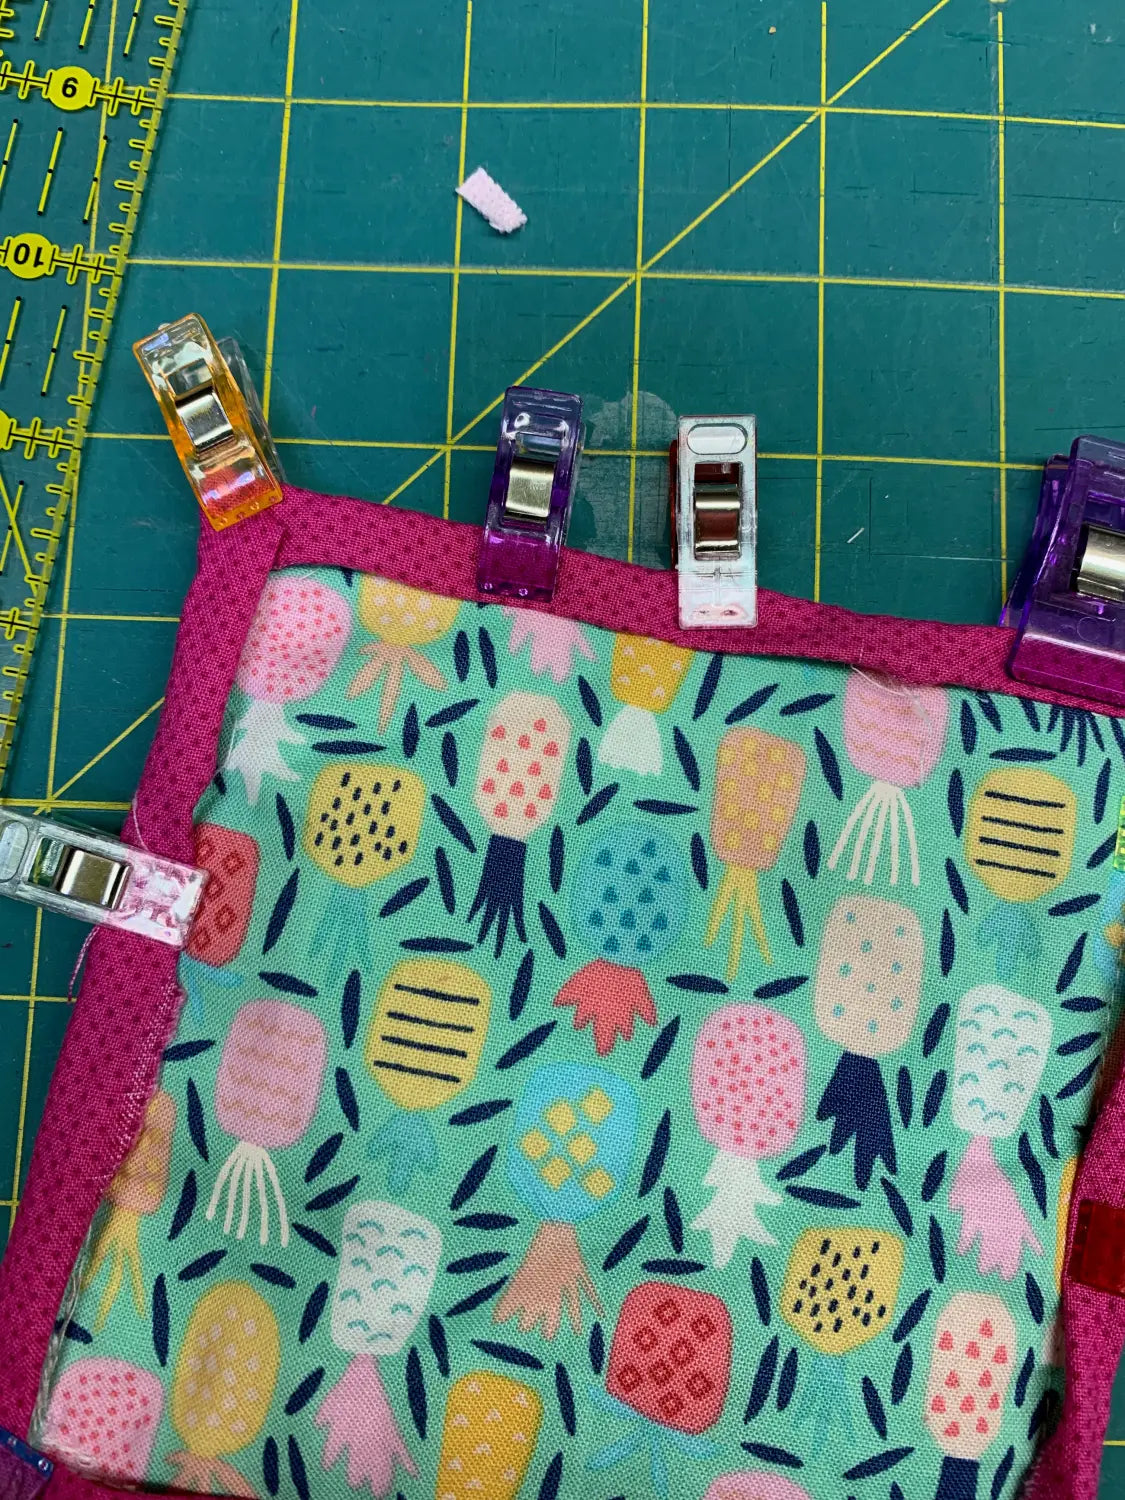
11. Edge stitch in place.
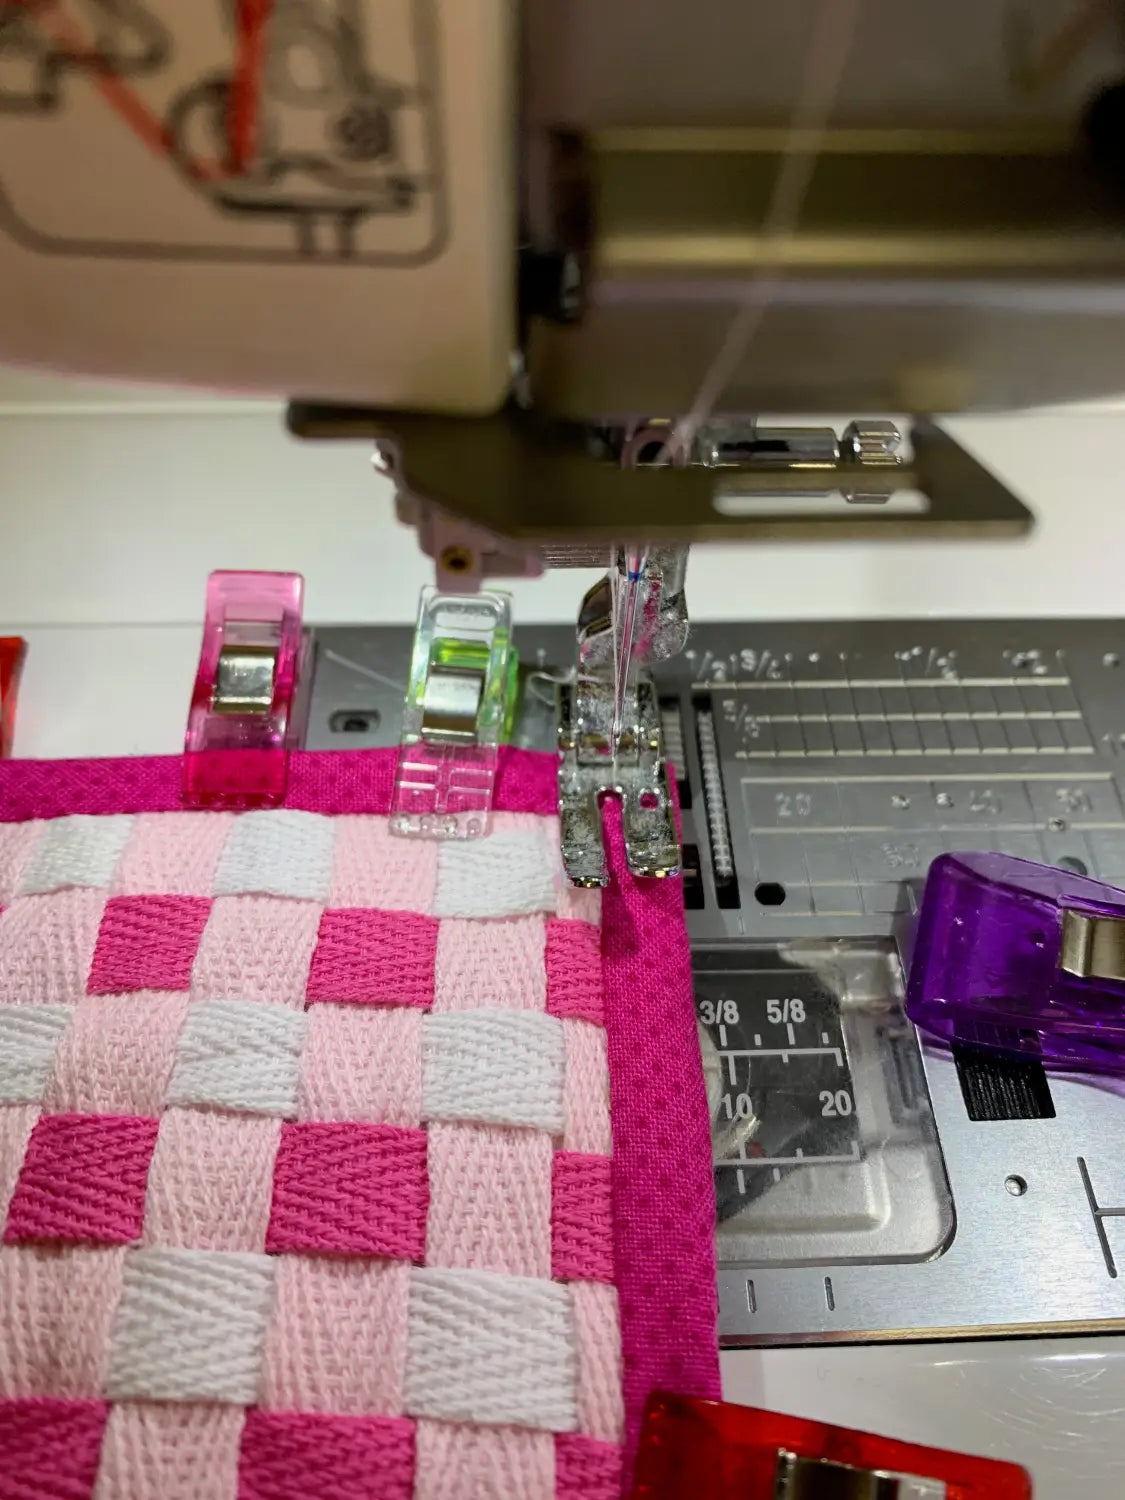
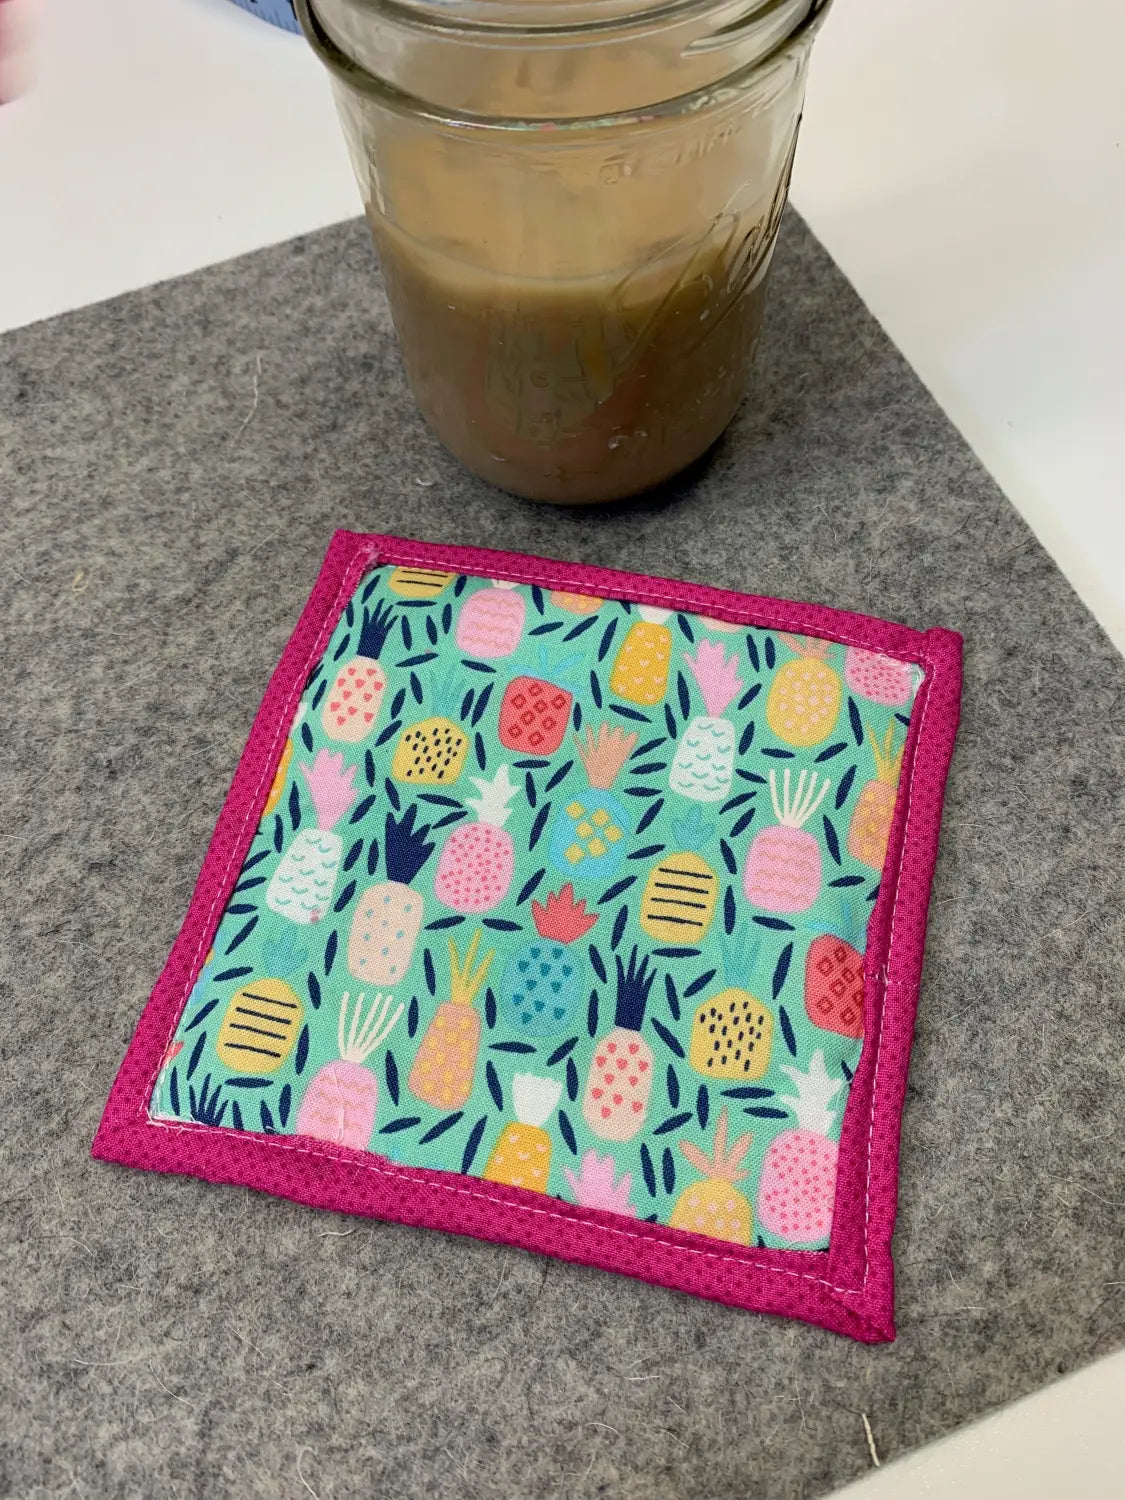
VOILA
*I realized after making these, that you could do a set of two in one swoop, if you make your background strips longer (11.5"), and cut additional strips from the contrast colors. If you choose to do it this way, your batting should be 6" x 12" and your quilting cotton backing should also be 5" x 11".
Once you've woven this longer rectangle, use your rotary cutter to cut evenly in half, and follow steps 7-11.
Stay in touch and Show us what you've made:
Instagram: @sewingbysarahstore
Facebook VIP Group: https://www.facebook.com/groups/sbsvip
Download your FREE Presser Foot Quick Guide Here:


Karen
February 10, 2021
So cute