Where do you sew? Have you carved out a corner of your dining room? Is the kitchen table where all the creativity happens, or do you have a dedicated room, perhaps a guest room that does double duty? Wherever you sew, you can make the most of your space by being organized. I've got some quick and easy organizing tips for you that will work no matter the size of your sewing space.
First though, let's just put it out there--it's really easy to get caught up in the IG-ready world of sewing spaces. It seems that everyone's got tons of room with tons of natural light, amazing cubbies, and inspirational phrases on the wall.
NOT TRUE! I work in my unfinished basement. My best sewing girlfriend (who has a rather large home and is an empty nester, i.e. empty bedrooms to spare) sews on her dining room table. You don't need a picture-perfect room to create awesome projects. You need your machine, a place to put it, and well-organized supplies. And guess what, those supplies may be right under your nose.
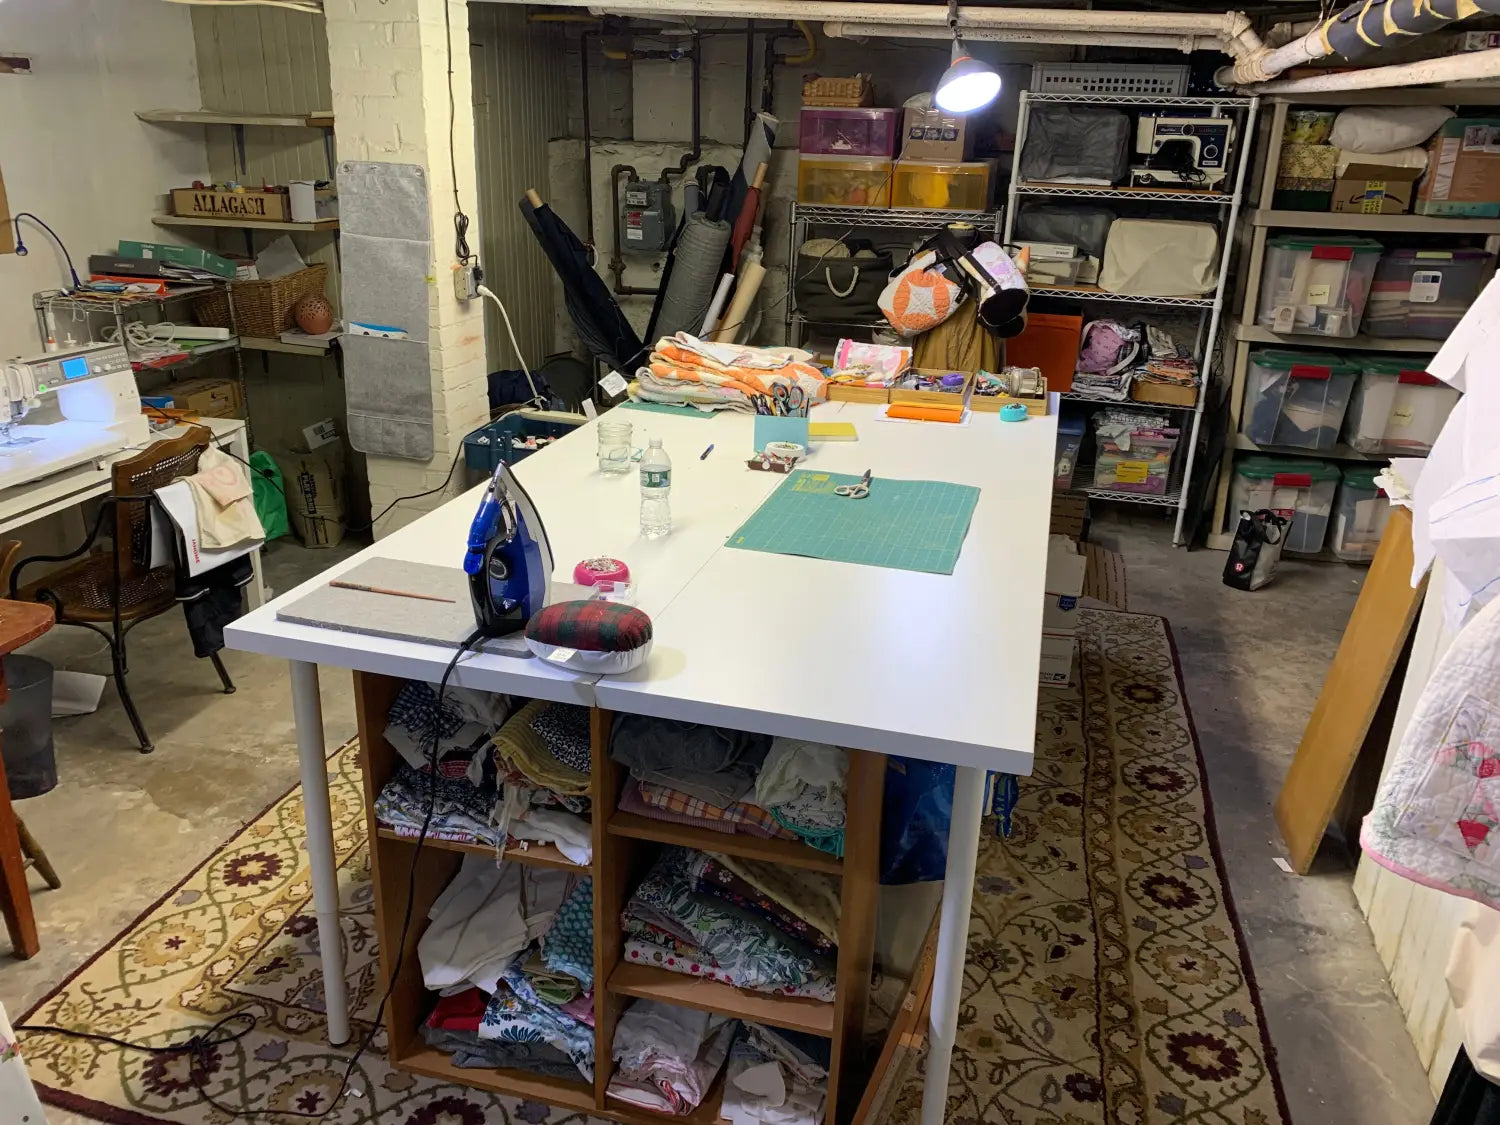
(See, no natural light. No windows. My space most definitely falls under the heading "cavelike." But it works.)
So taking bird's eye image of your space, you'll see that there are generally three main categories of 'stuff' that can throw your sewing space into a tizzy--tools, fabric, and threads. Here are three tips to help control that chaos!
TOOLS
Tip: Create "tool caddies" for tools you use a lot.
I was always misplacing seam rippers, gauge rulers, marking pens, clever clips and the like because I moved them from my sewing table to my cutting table to my ironing board. I'd be seated at my machine, but my seam ripper would be over at my ironing board. About 6 months ago, I created a caddy for each of these three areas (sewing table, cutting table and ironing board), and outfitted each with snips, a seam ripper, gauge ruler, marking pen, and some pins and Clever Clips. I added my corner turner and tailor's ham to my ironing board station, and my cutting shears are on my cutting table, and my screw drivers are in the caddy by my sewing machine. Now basically my tools are where they need to be; I don't move them around.
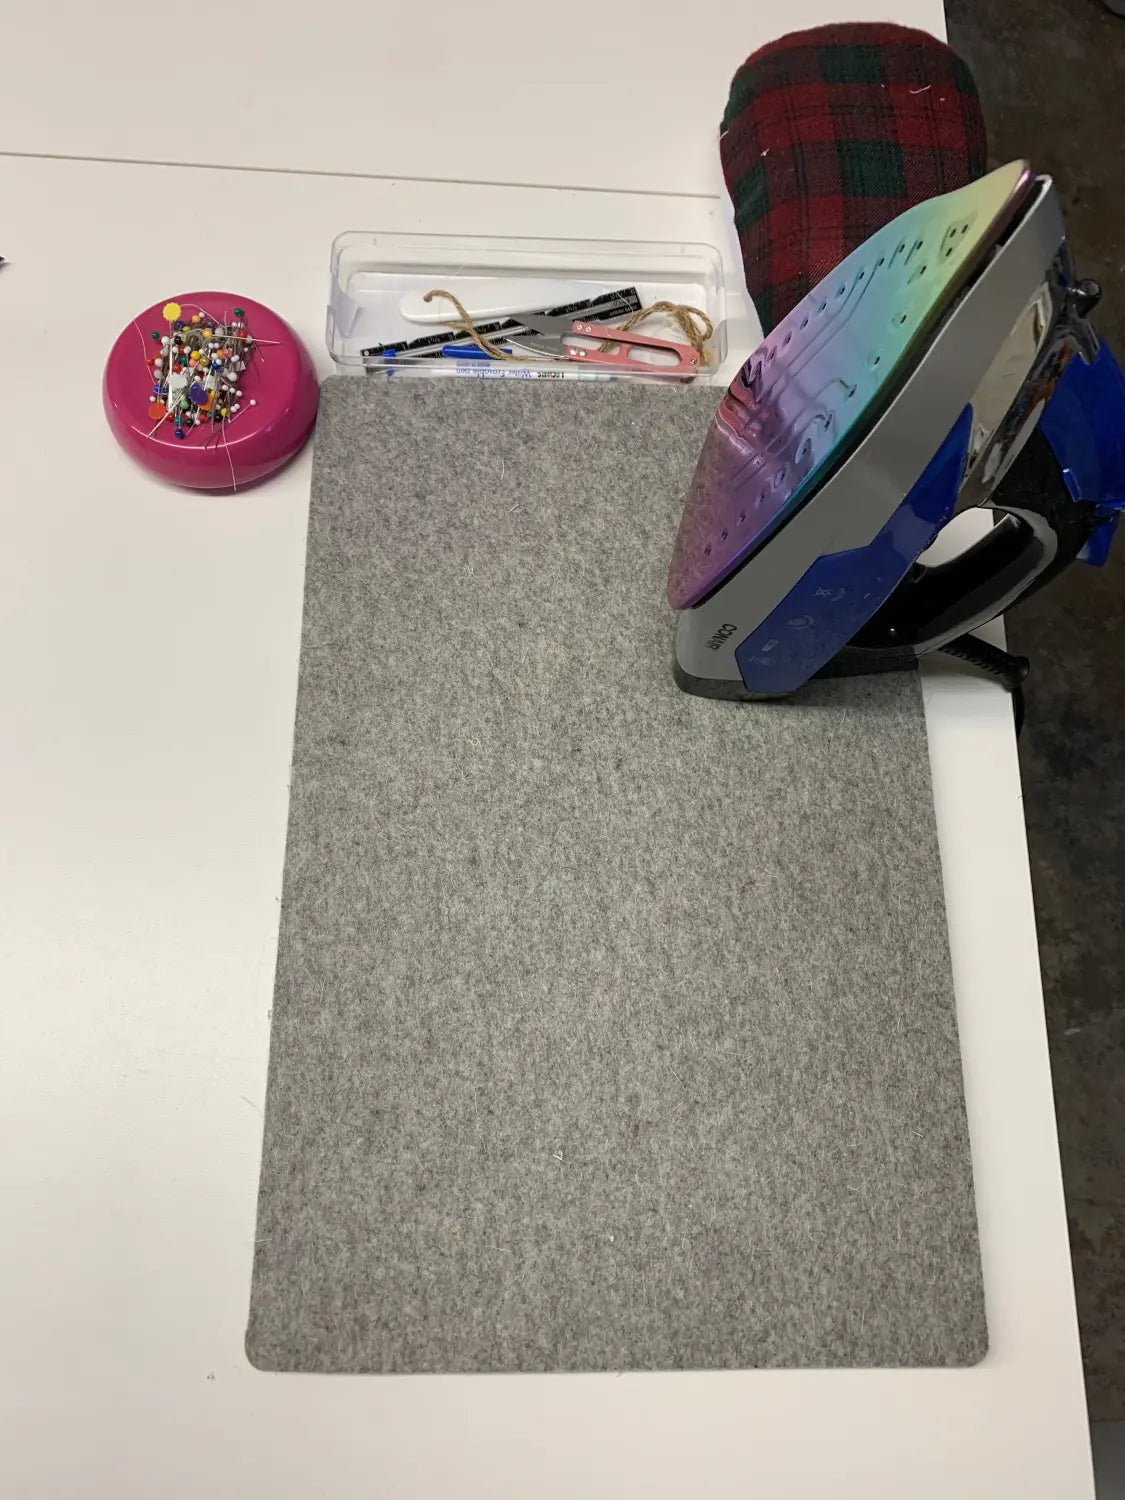
(left: This is my pressing station set up. I do have an ironing board, but I prefer to use my wool pressing mat for smaller projects.
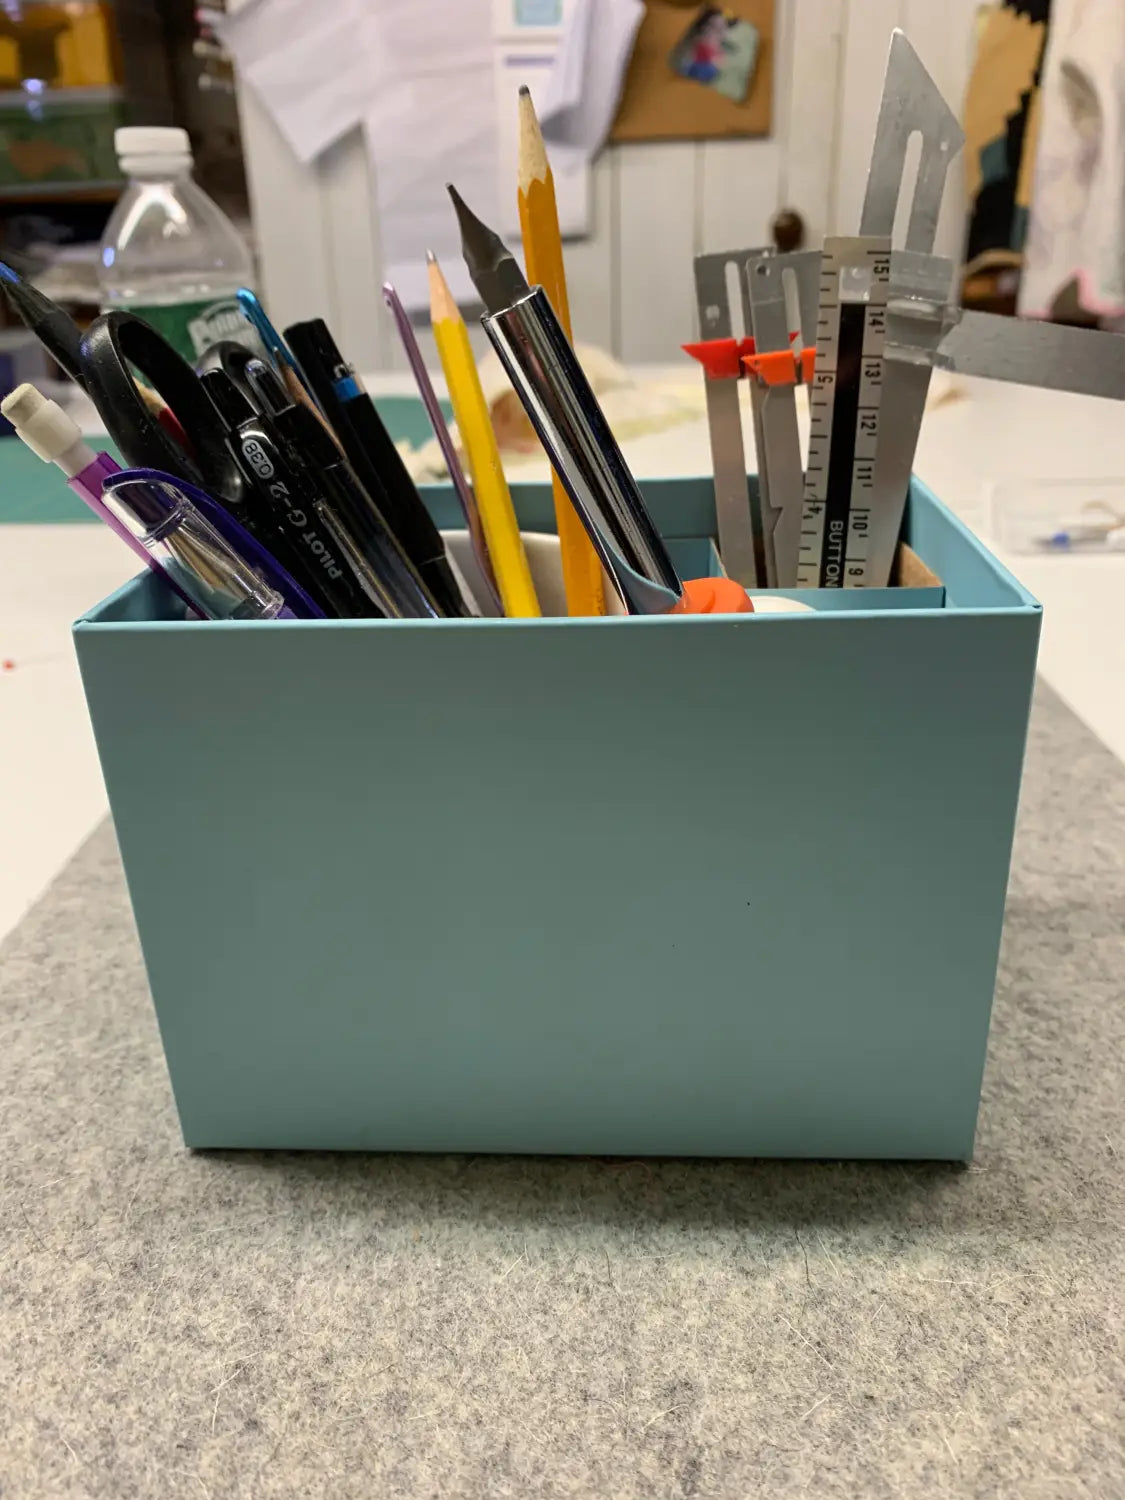
middle: this is the caddy right next to my sewing machine. It's got my most used presser feet, tools, and clips
right: this is the caddy on my cutting table--gauge rulers, marking pens/pencils, scissors)
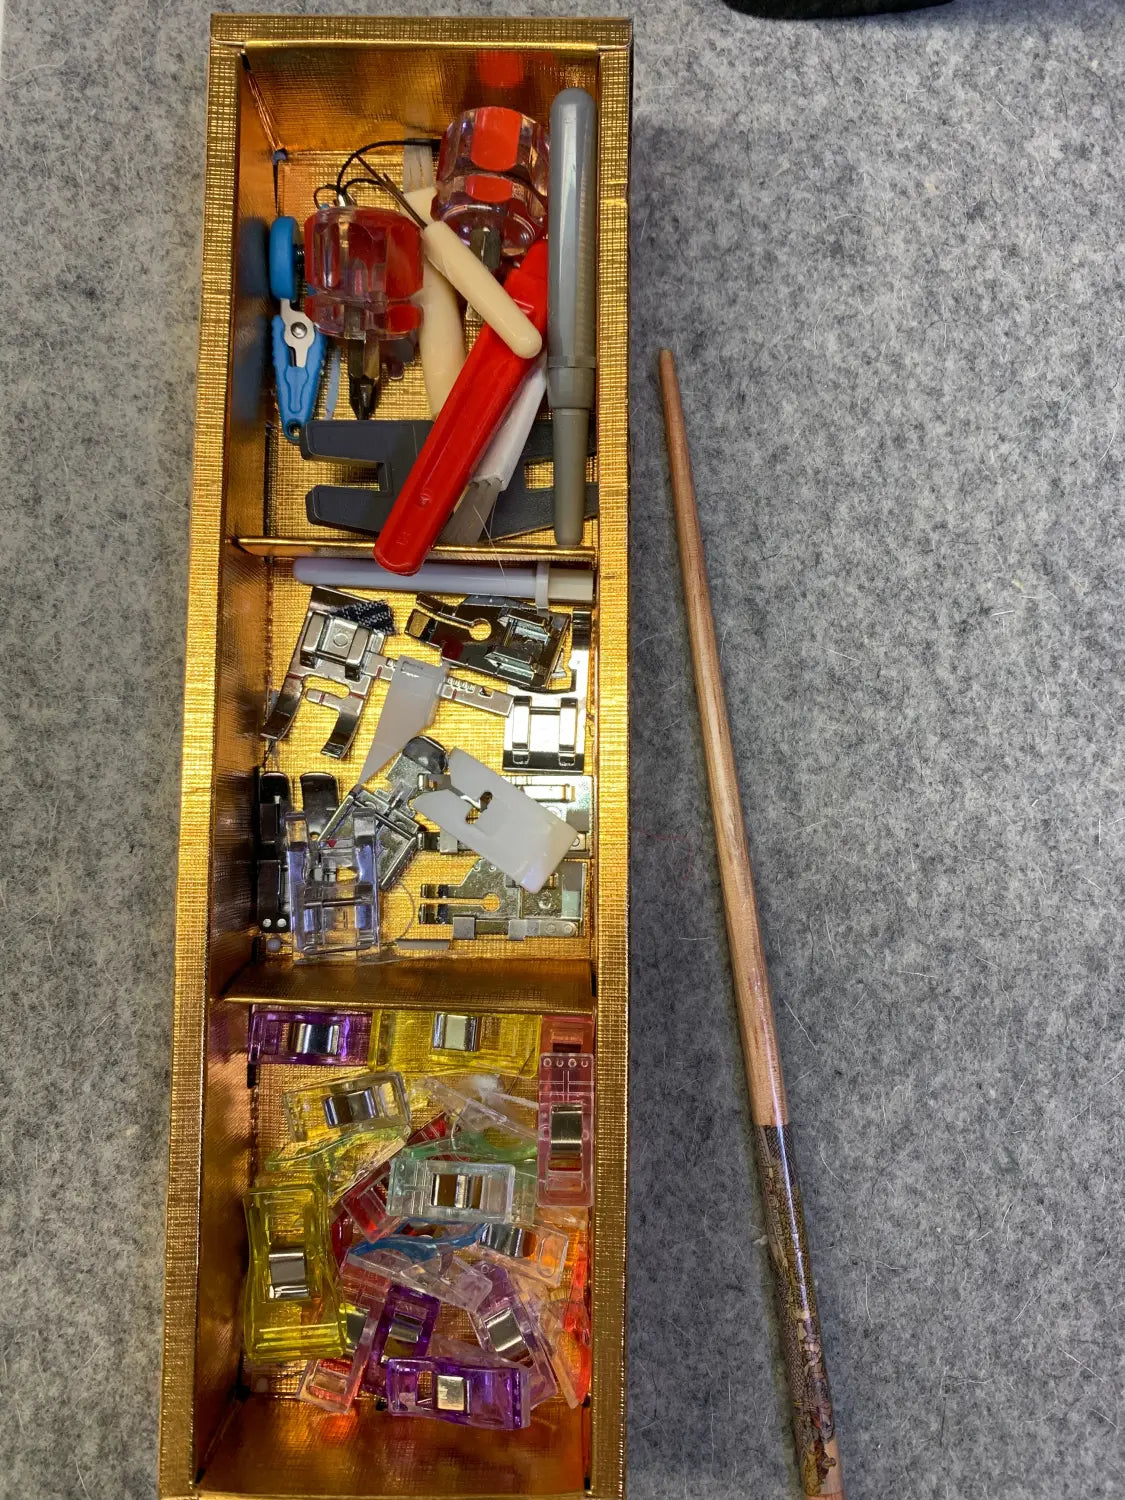
You don't need special craft-specific storage. Start saving cute tins and gift boxes. I've found almost all my storage needs in my house, repurposing cookie tins, gift boxes, and yes, wooden drawers. (pro-tip: if you have a Japanese or Korean supermarket near you, treat yourself to some gift cookies. The tins are amazingly well-made and are usually sectioned perfectly for sewing supplies).

(this is another tin, from a Japanese box of cookies, I have near my machine--extra thread, feet, tools, and of course neosporin for when I cut myself!)
FABRIC
Tip: Fold your fabric around comic book boards.
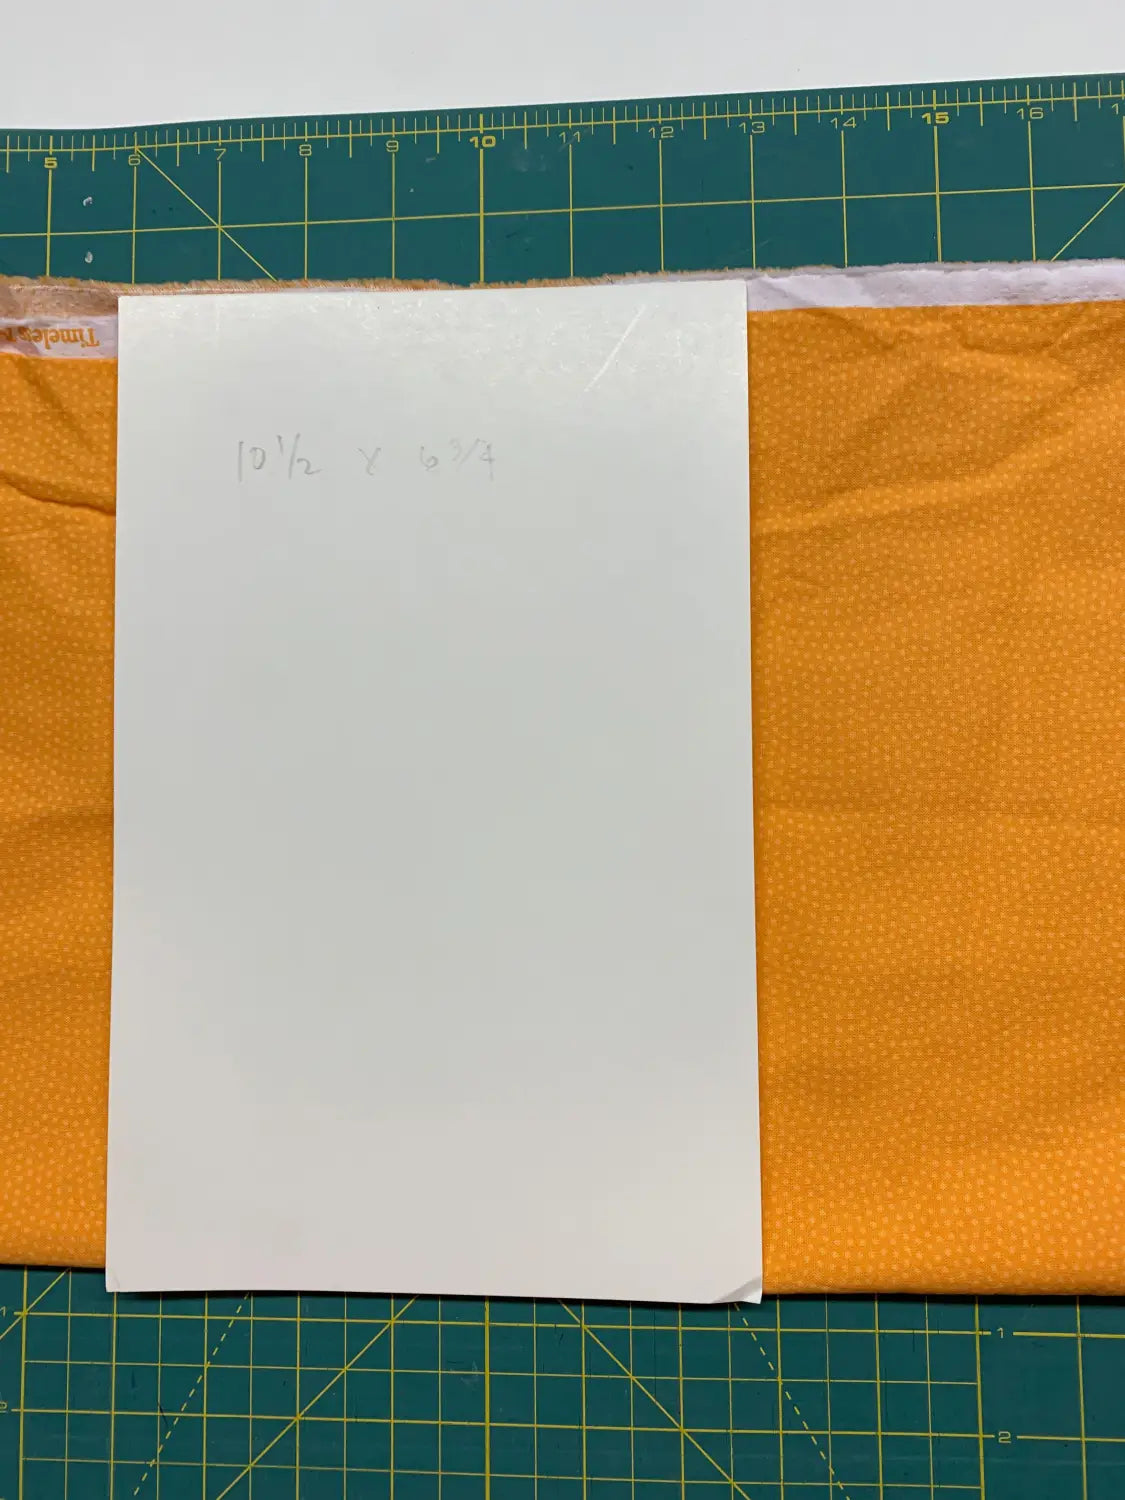
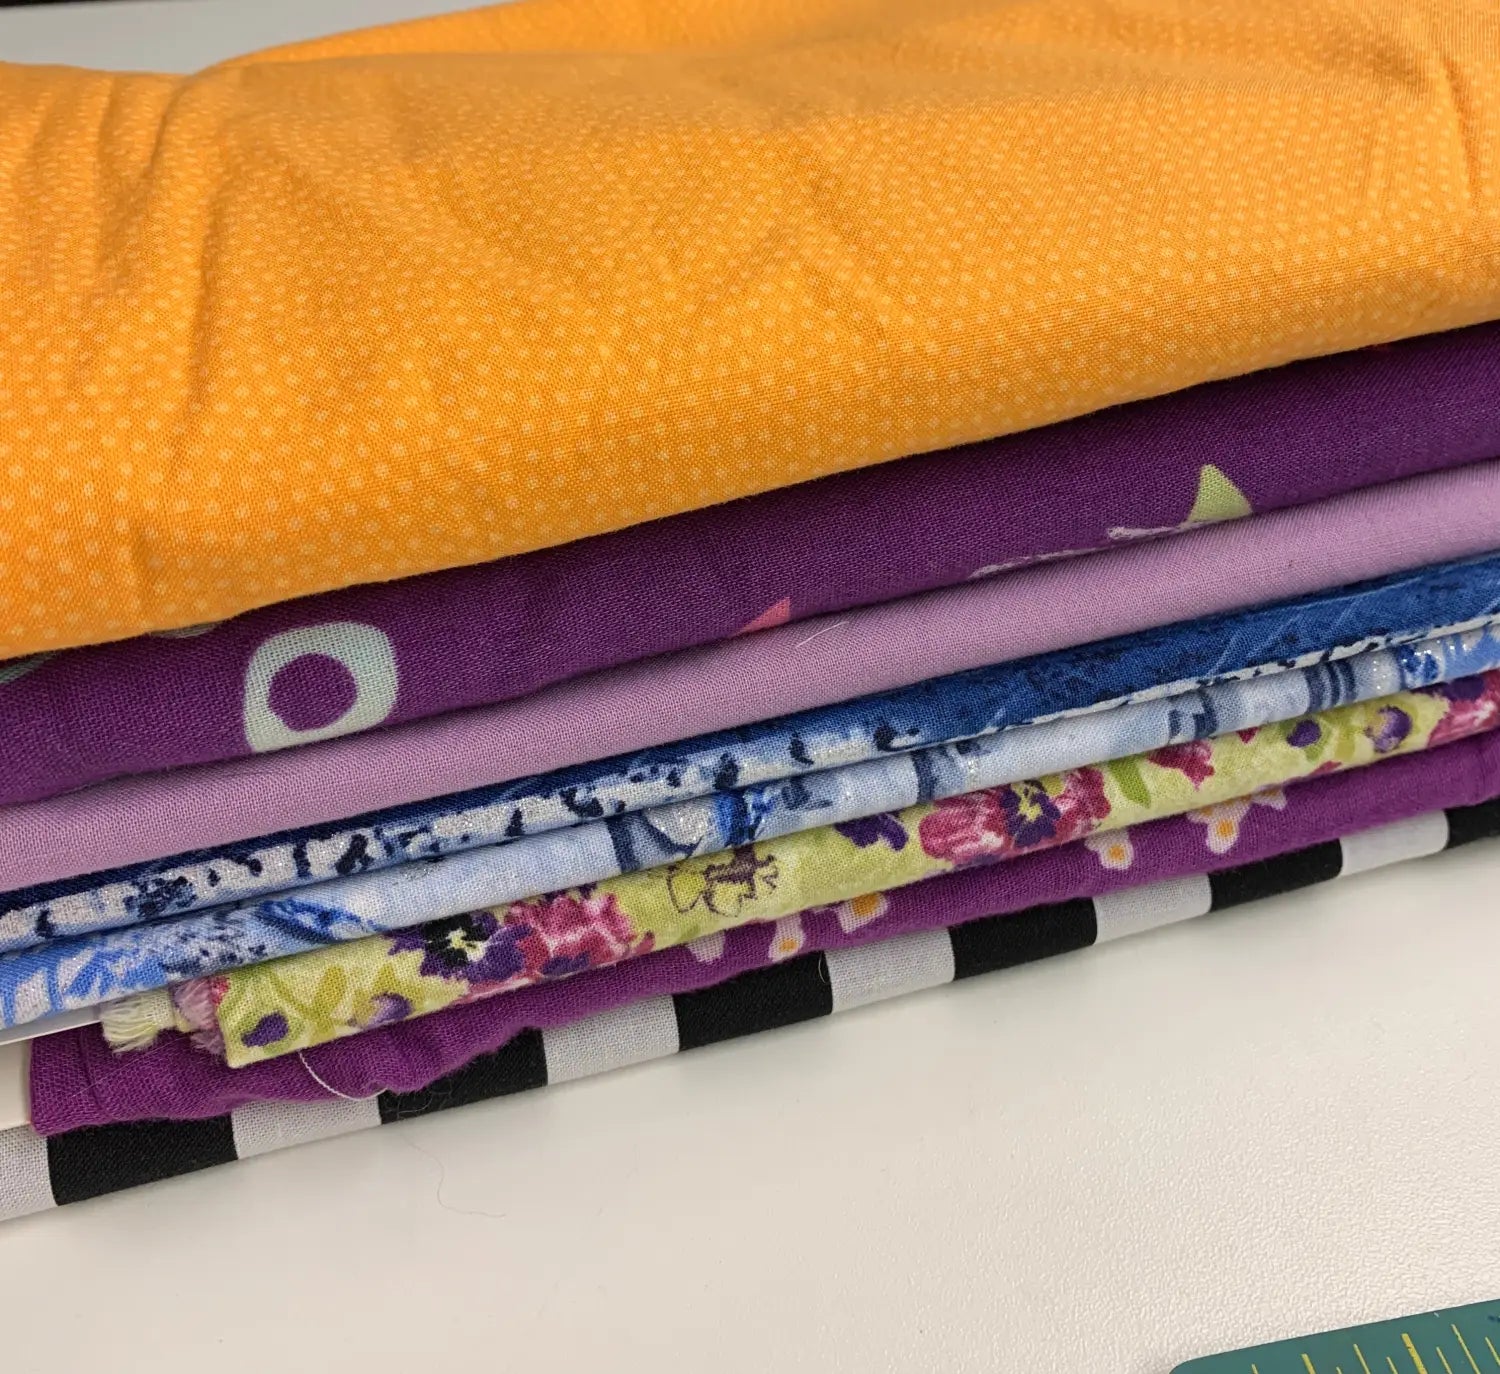
There's a reason fabric stores look so beautiful--the fabric is wrapped on bolts. Well, comic boards are the home sewists' answer to bolts. Comic boards are cardboard sheets that comic book collectors use to store their comics. They're THE PERFECT SIZE for wrapping, displaying, and storing your fabric, especially quilting cotton.
Here's how:
Fold your fabric lengthwise, selvedges meeting.
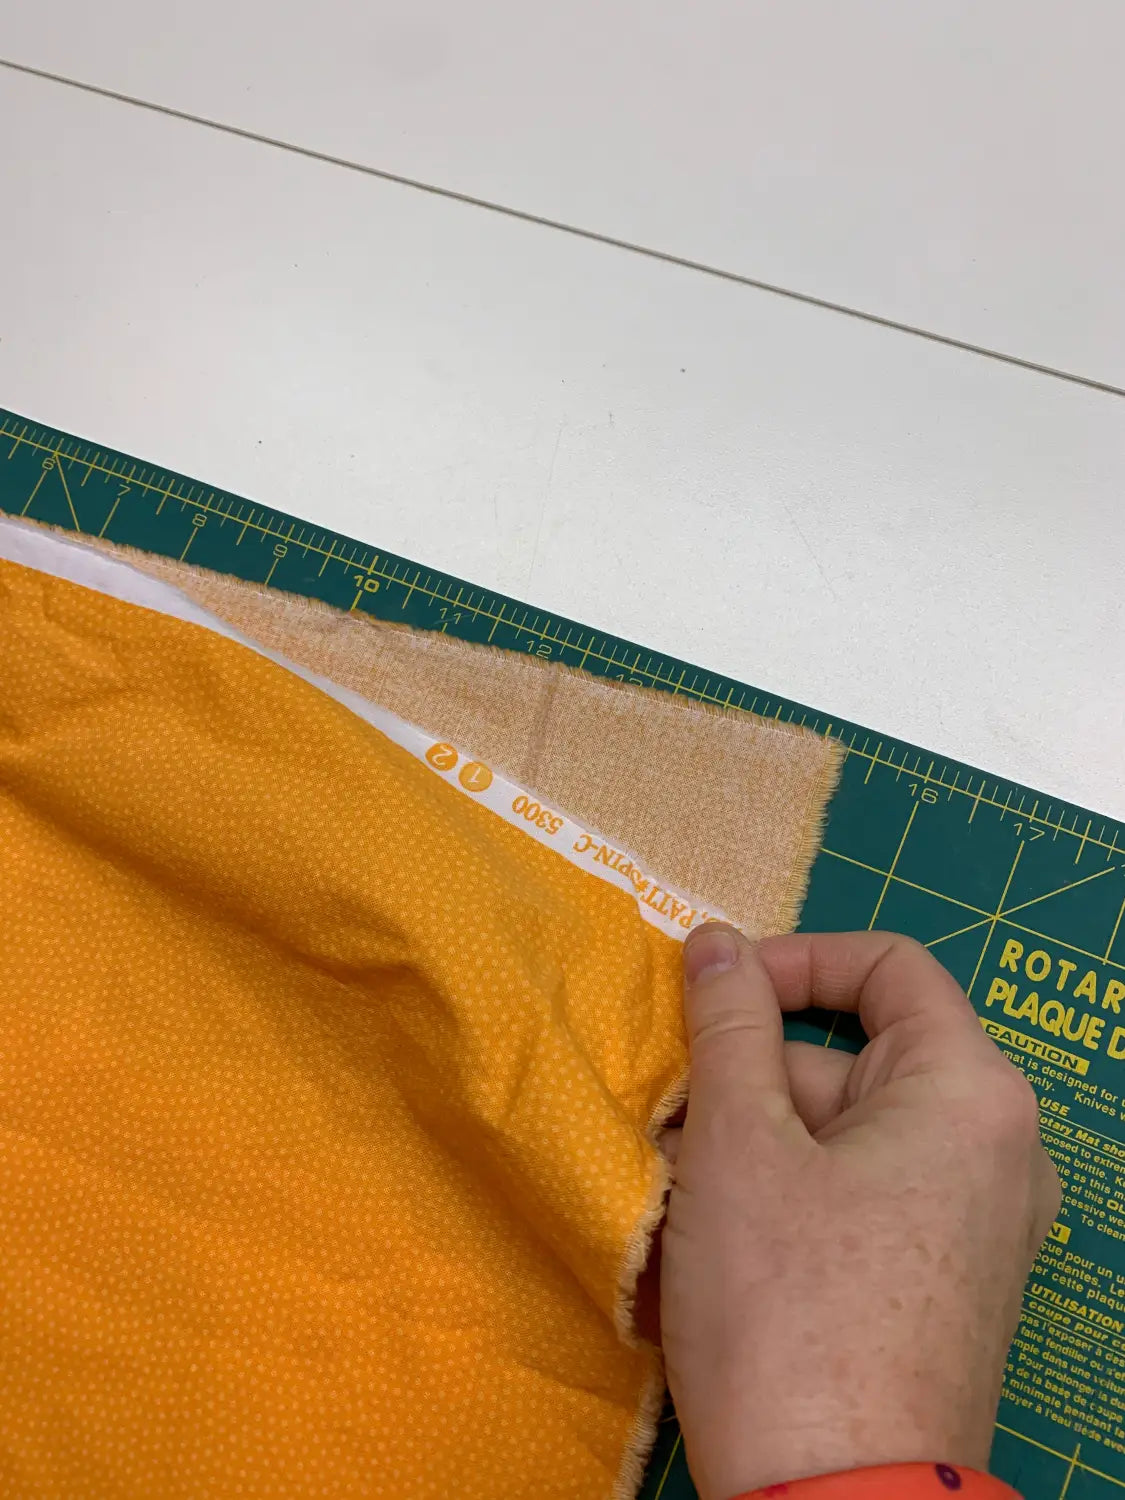
Then fold lengthwise again (the folded edge meets the selvedge).
Place your comic board on the folded fabric, and continue folding your fabric around the board.
When you only have a bit left, fold that under, and then pin the fabric to itself.
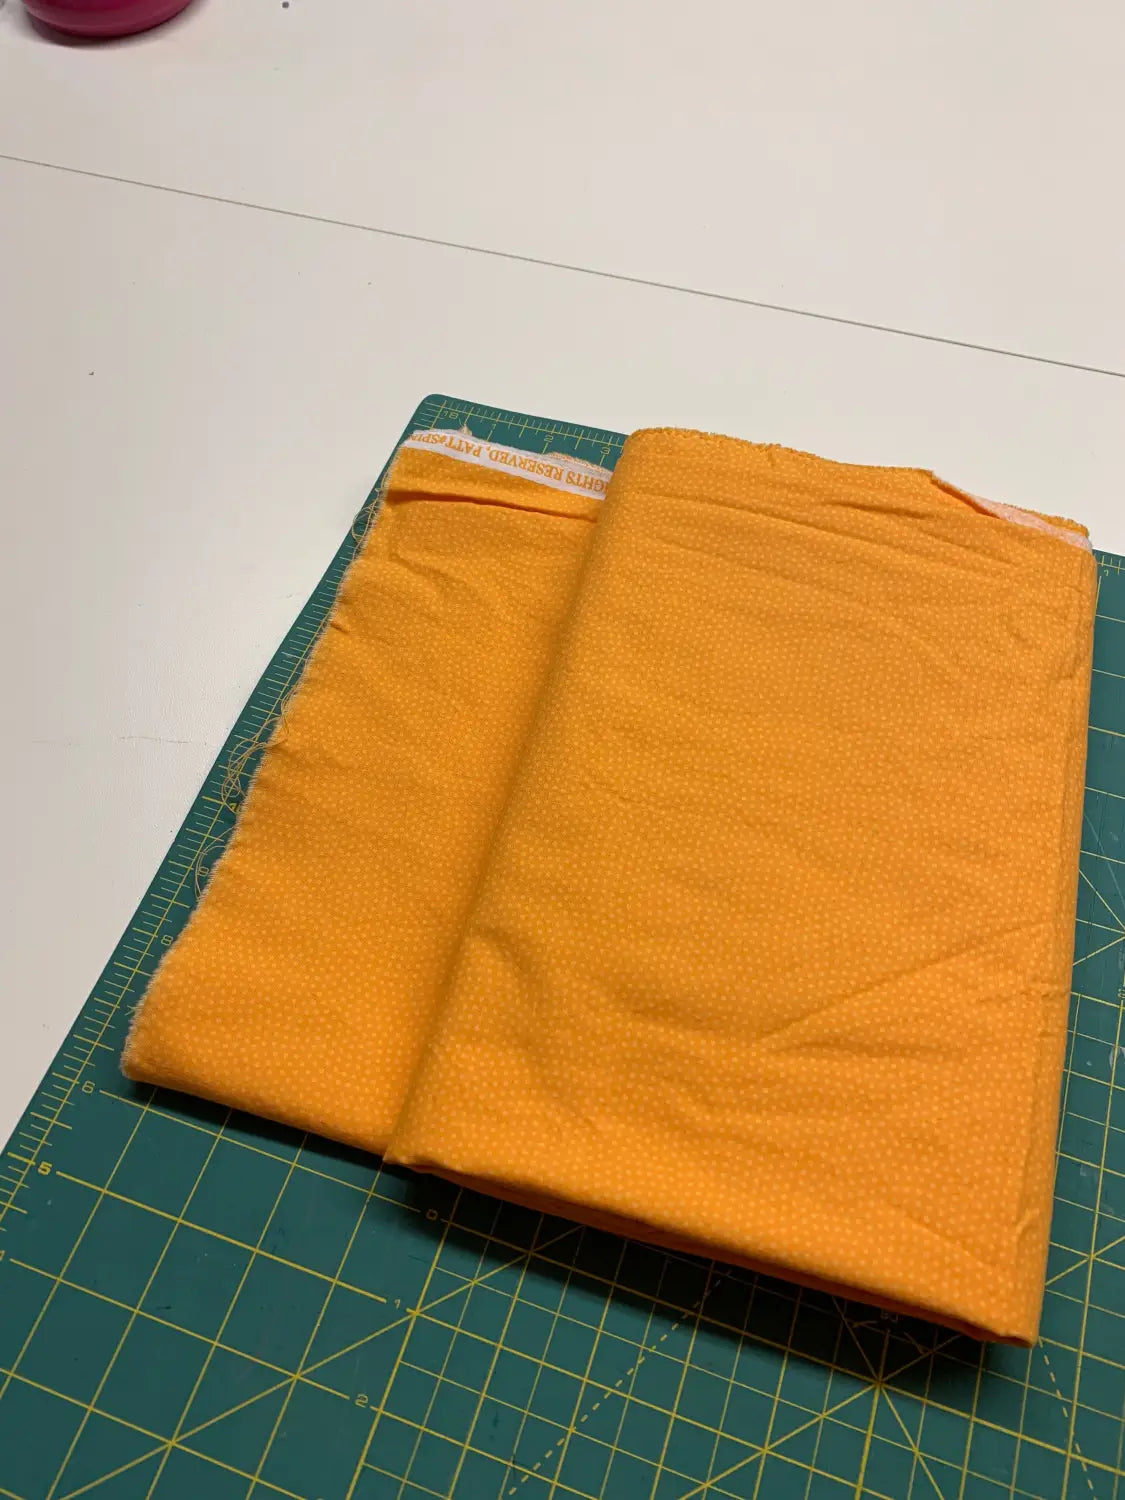
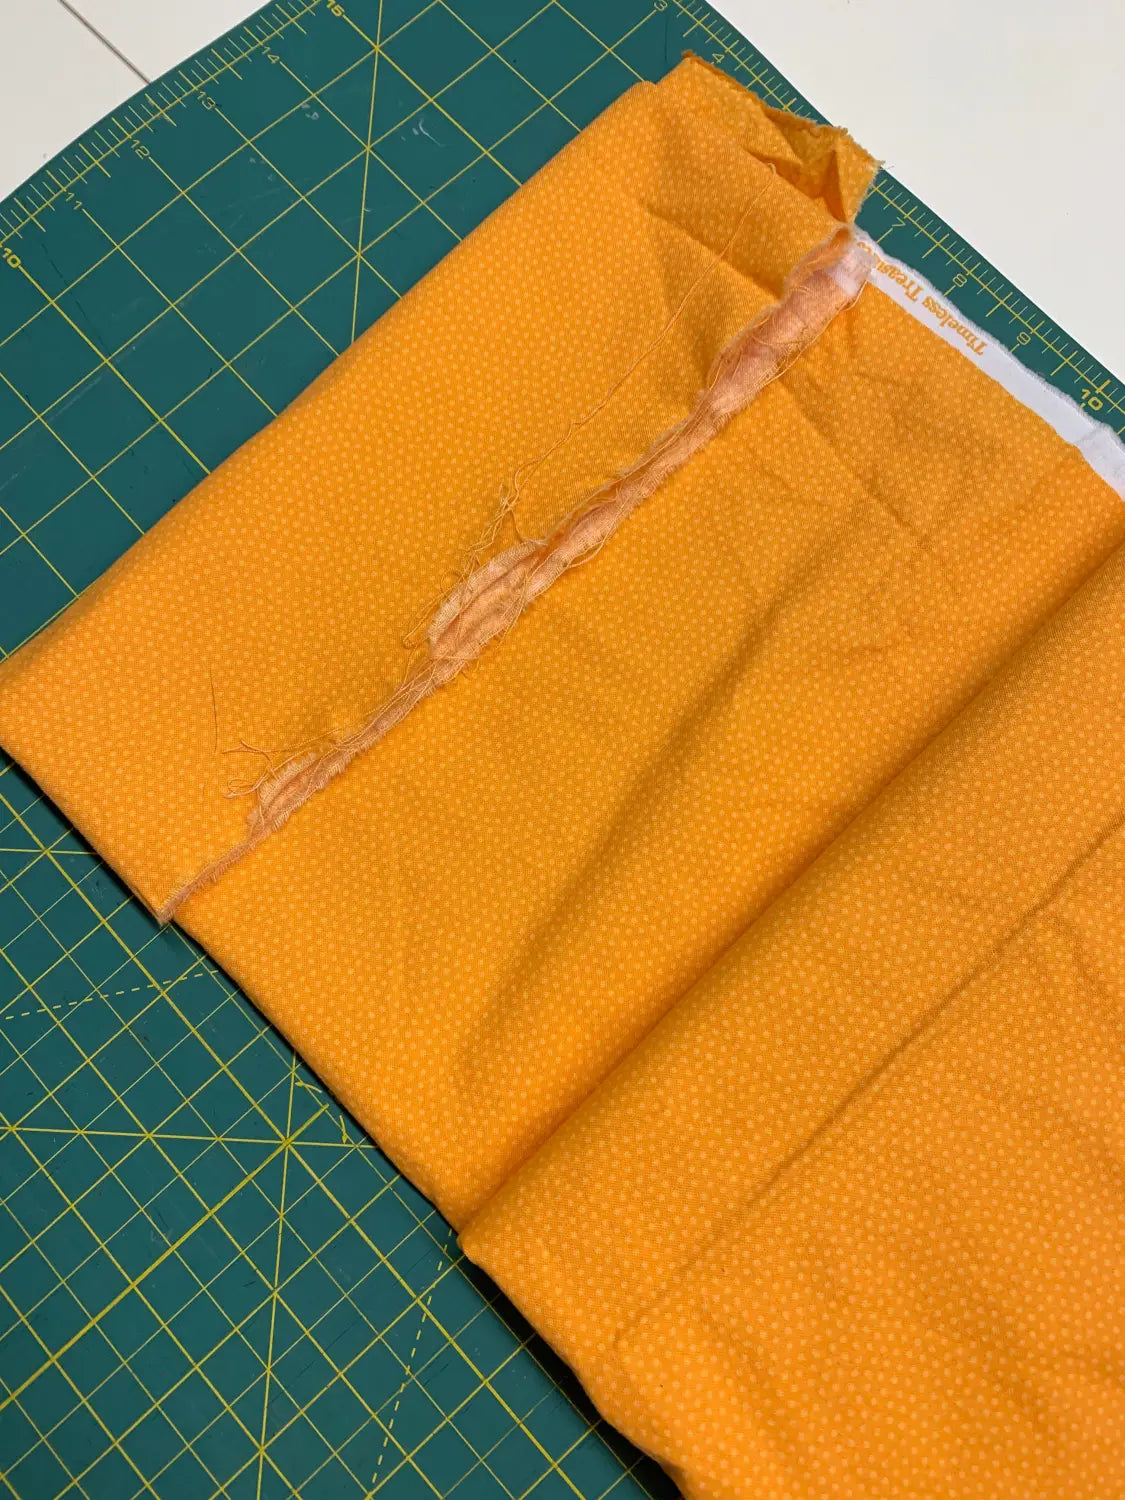
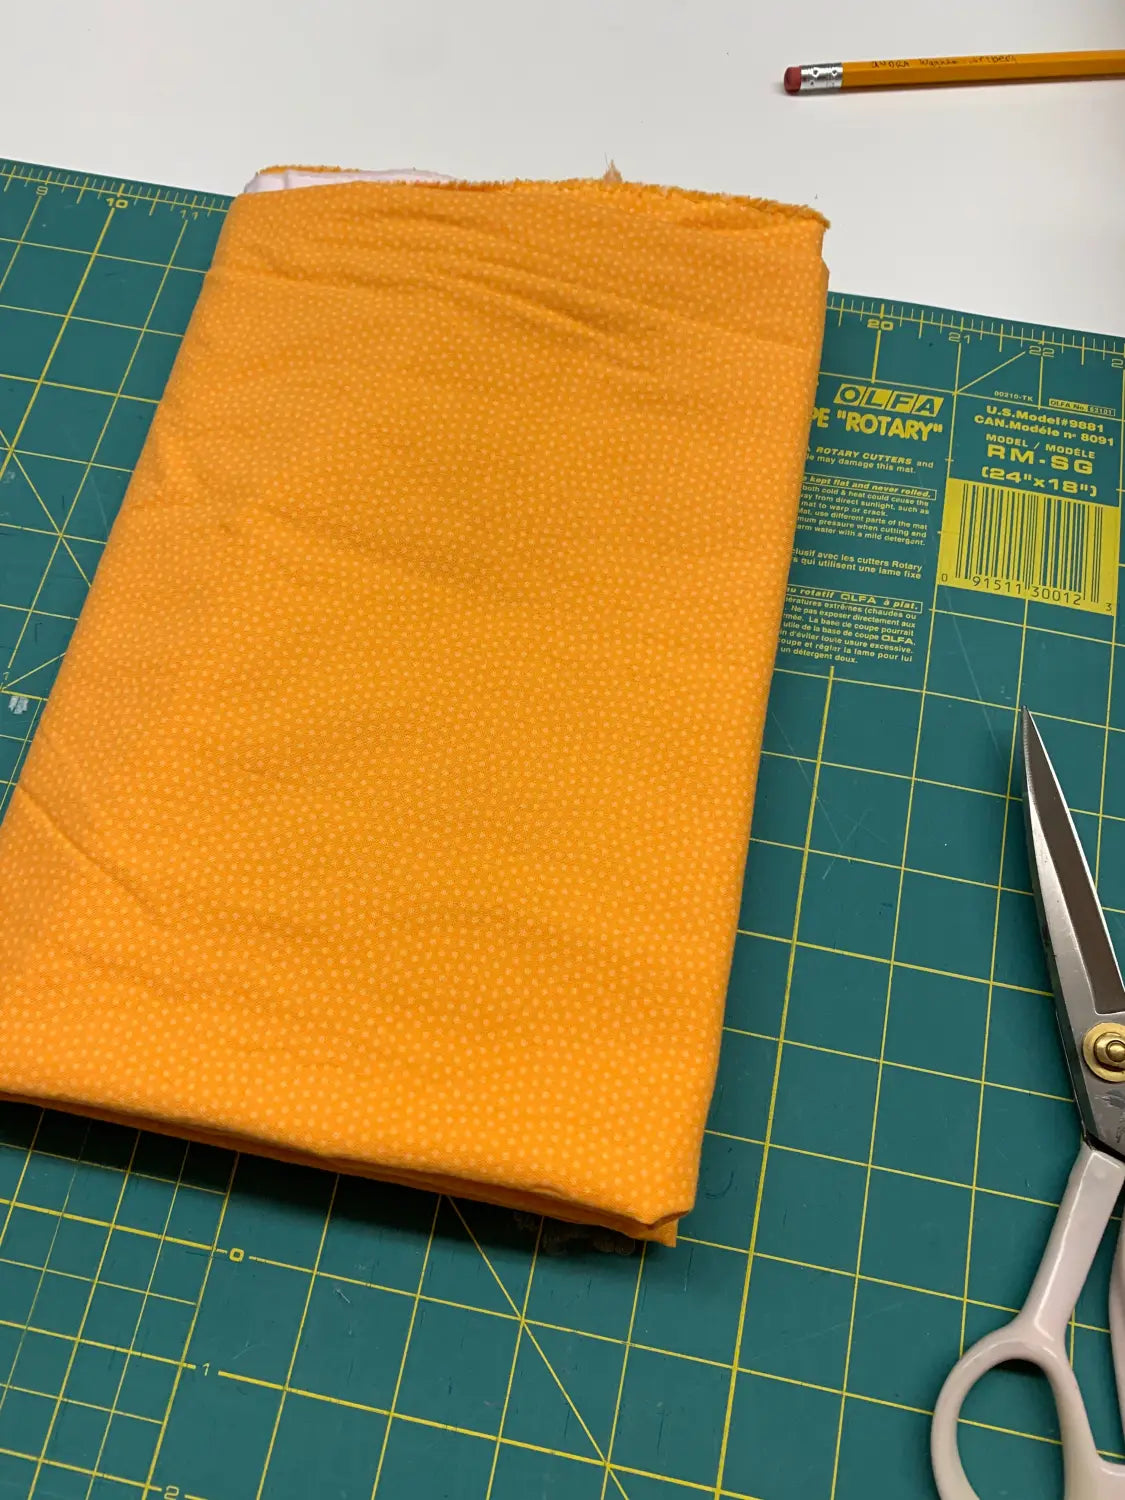
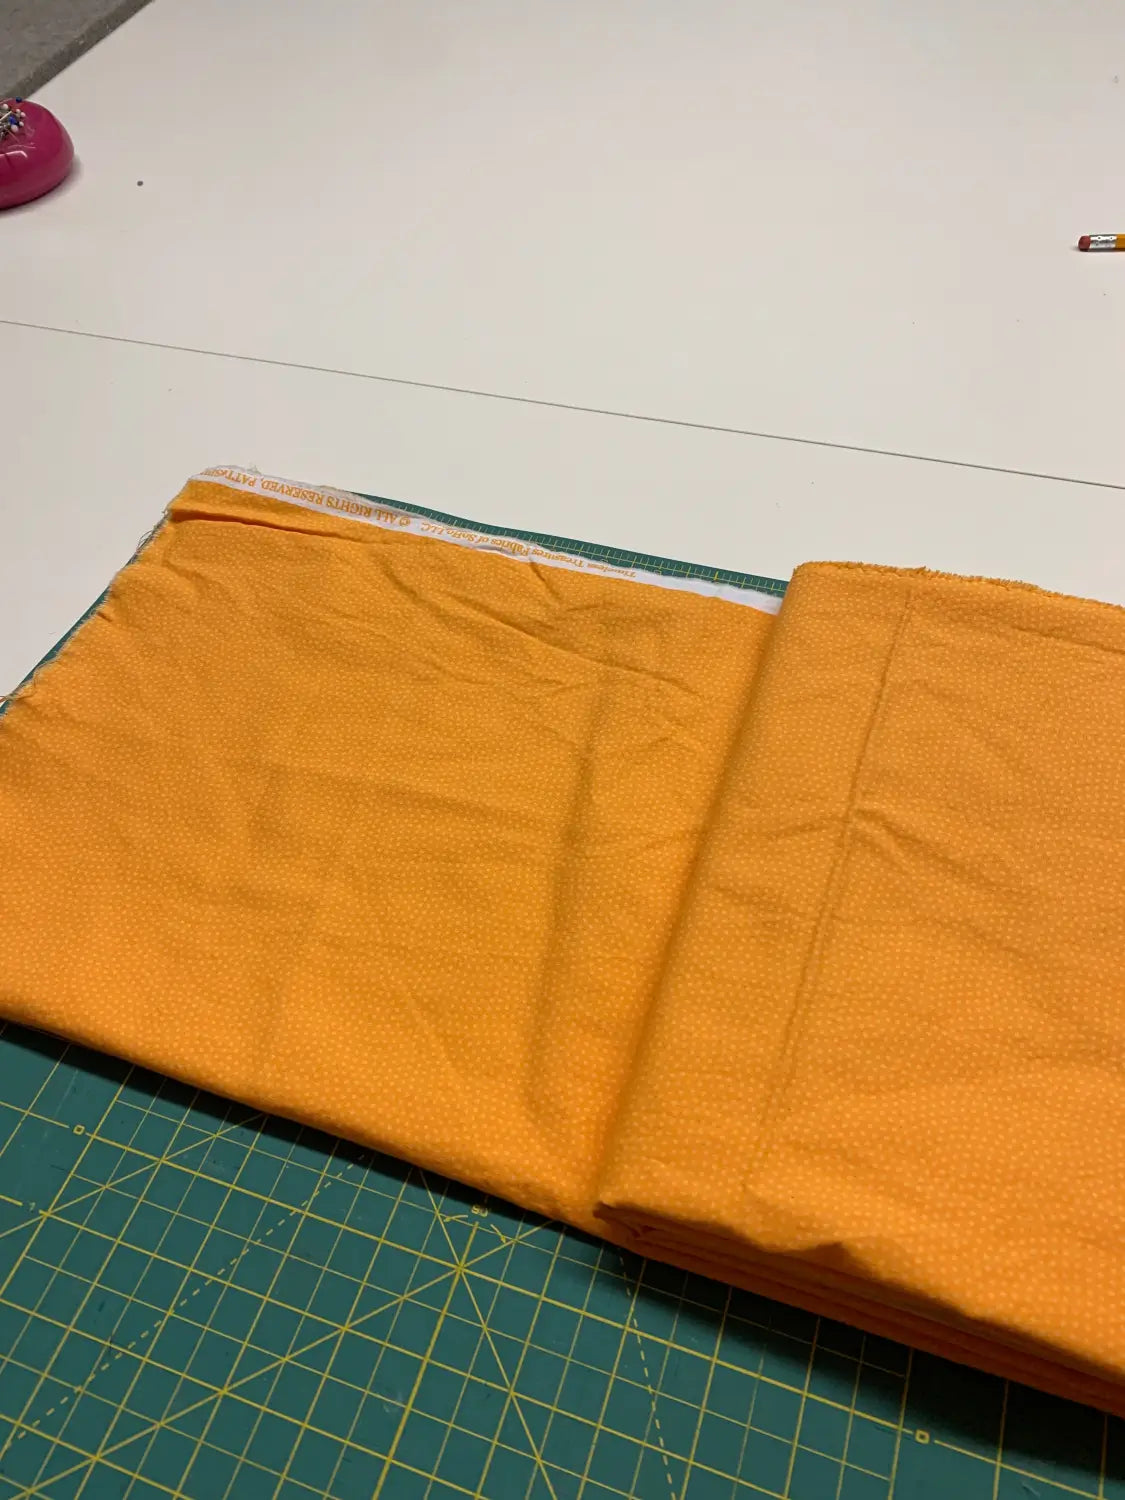
Voila, neat, stackable fabric.
THREAD (and its corollary: BOBBINS)
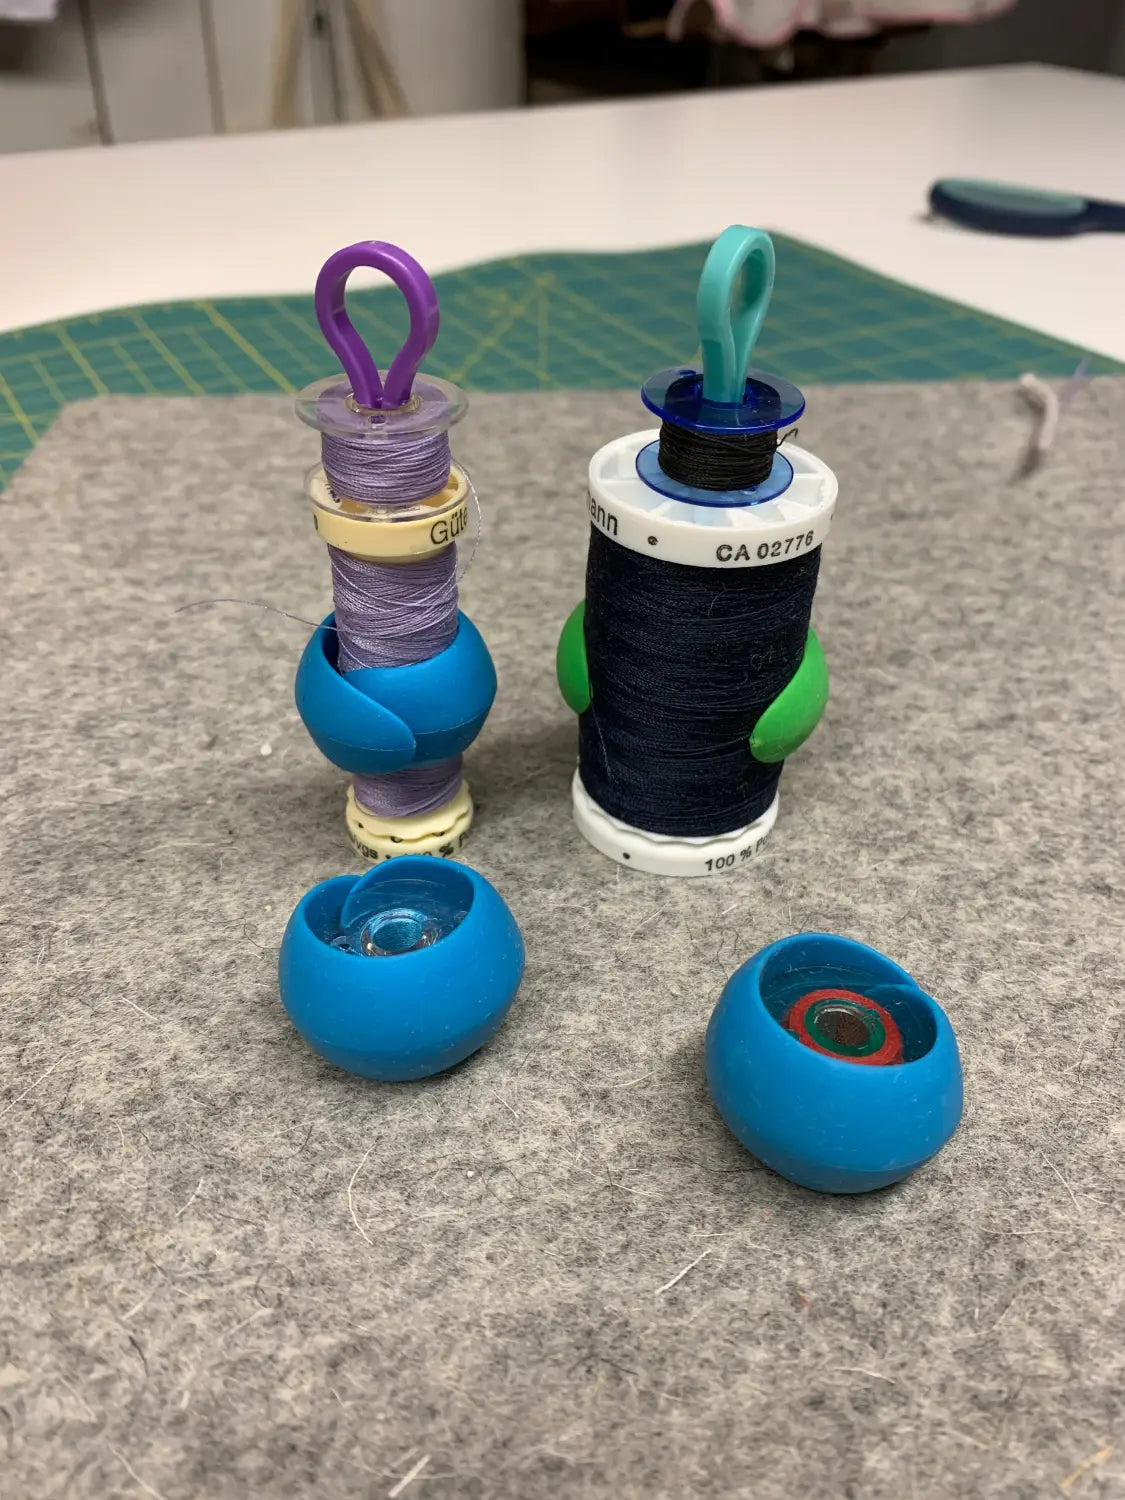
Tip: Keep your neutral threads and bobbins close to your machine, in a tool caddy; consider a pegboard for your specialty and colored threads.
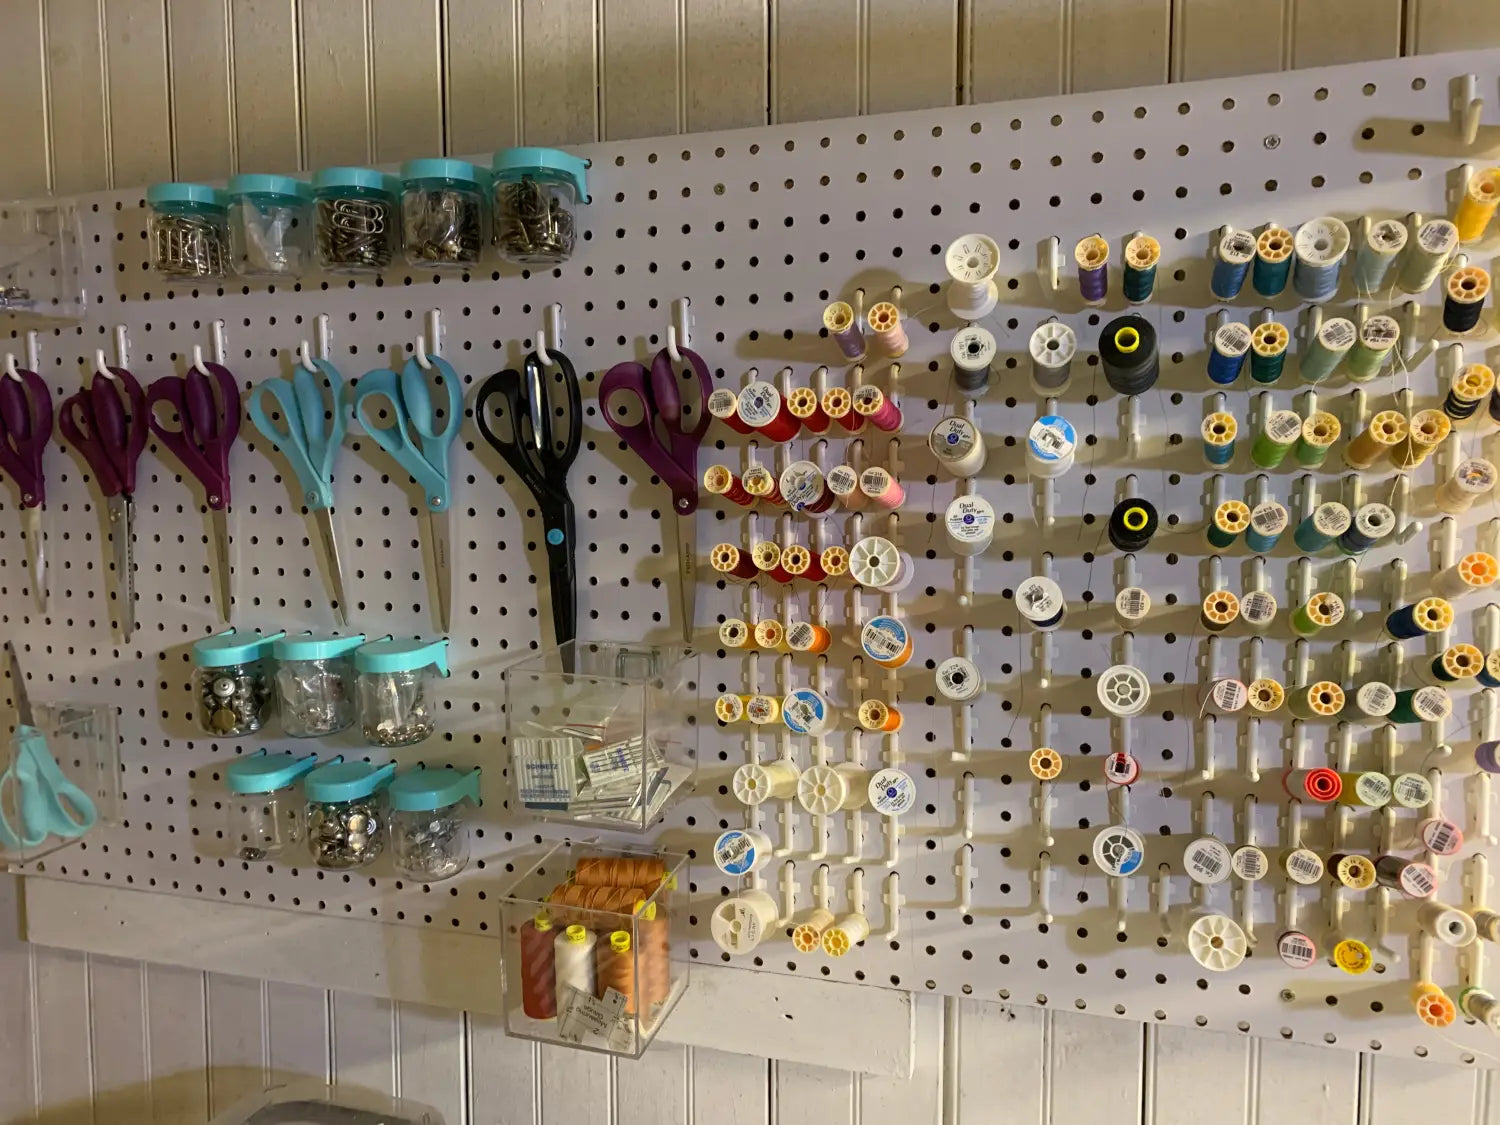
Threads and bobbins are messy. And those thread tails DRIVE ME NUTS! I've found these spool huggers and bobbin holdersto be the best solution for me. I like that the huggers are silicon and don't slip. And the bobbin holders let you keep your matching thread and bobbin together. Another pro-tip: the spool huggers also fit around bobbins nicely.
Lastly, live in your space before you buy for it. I am so guilty of over-anticipating what I may or may not need for my creative endeavors, and I over-shop. When I moved my sewing studio to my basement though I decided to set it up and work in it for a few months to learn what was lacking. The result? Instead of buying new tables and cubbies, I spent $29 at Ikea on a rolling cart.
Organizing your sewing space can seem overwhelming, but starting small (make yourself a tool caddy NOW) can have a big impact! Let's get started!
Stay in touch and Show us what you've made:
Instagram: @sewingbysarahstore
Facebook VIP Group: https://www.facebook.com/groups/sbsvip
Download your FREE Presser Foot Quick Guide Here:


Donna Lindsay
January 26, 2021
Your suggestions are most timely and helpful! I am in the midst of trying to organize my sewing things! Thank you!