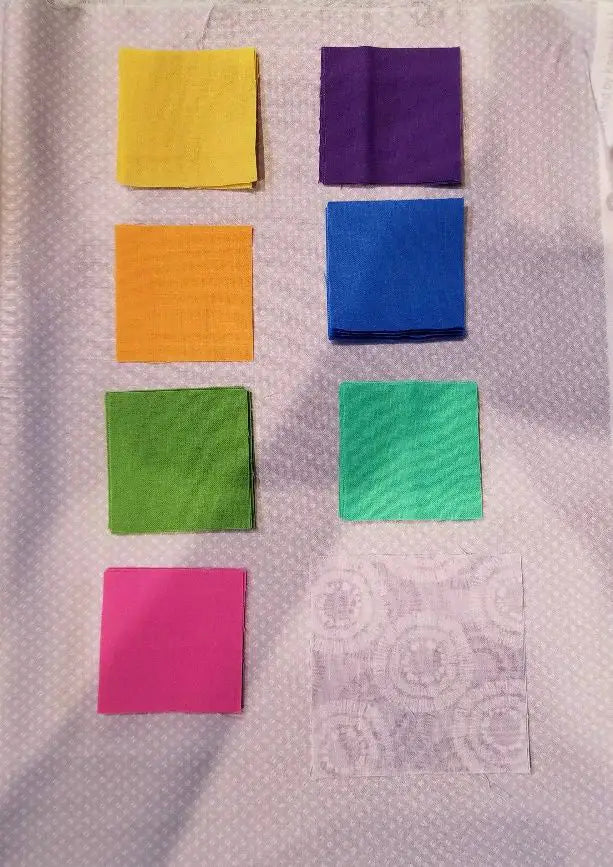
This week is all about cutting your fabric for your quilt. I hope that you have your fabrics purchased and are inspired by the colors that you have chosen. I can’t wait to get started! So let’s get to cutting! There are a lot of pieces to cut and it would be easy for things to get chaotic. Your project will go quickly and with a lot less fuss if you organize your pieces in groups. It helps to keep them separated by color and size. Refer to the “Cutting List” beginning on page 1 of the pattern. You will notice that the background fabrics are all wider than the colored fabric pieces. For instance, you will need to cut a total of 50 background pieces that are 2-3/4” square. So, begin by cutting a 2-3/4” wide strip by the width of fabric (WOF). Cut three strips. This should give you about 56 squares. Divide this into 2-3/4” squares. Once you have 50 pieces, cut each of these diagonally to create 100 triangles. Then stack them together, or place them in a zip-lock baggie, as I do.
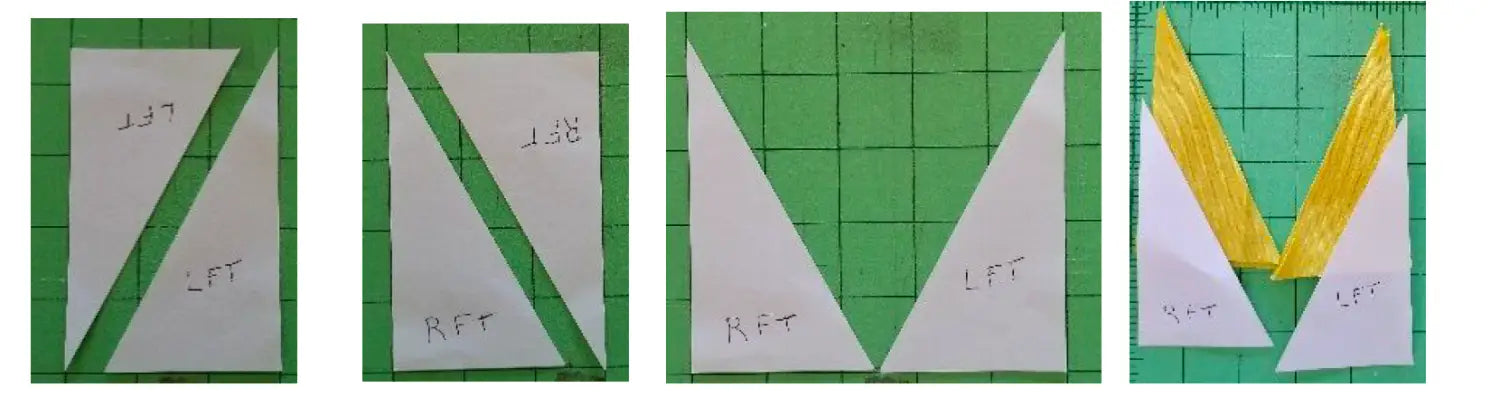
Cut all of your background fabrics as listed in the pattern. I am going to be using a second background fabric. I will only be using it for the sixteen 3-1/2” squares. Page 1. If you have taken a peek at your pattern, you have probably noticed those, “LFT” and “RFT” instructions on the cutting list, and block diagrams. It may look confusing, left and right facing triangles. However, if you are using a fabric that looks exactly the same on both sides, you can cut the left facing triangles (LFT) and right facing triangles (RFT) all exactly the same way. The backside of a “LFT” is a “RFT”, so you can use whichever side is needed. That will only work for a fabric that is the same on both sides. One thing that really helped me with getting exact measurements for my triangles was to make a paper pattern for each size of triangle. To make this paper pattern, cut out a 2-1/2” x 4-1/2” paper rectangle and slice it diagonally, from the lower left corner to the upper right. Label the front side of each triangle, “LFT” and the back side of each, “RFT”.
Another item on the cutting list for the “Crib” design that you may be wondering about are the “Alternate “ colors for LFT and RFT pieces. These pieces are for the diamond blocks along the top, bottom and sides. I call them alternates because these can be any colors that you want. Use up your scraps or extra pieces. They are not crucial to the design, as they are in the “Modern” design. I have listed them as alternates so that you will not run out of fabric for the stars and squares. Just pick 4 or more fabrics that you like and have plenty of.
Use your paper pattern for both triangles, left or right facing. You can cut a few colors at the same time. Be careful not to cut too many of each color or you may run out of fabric.
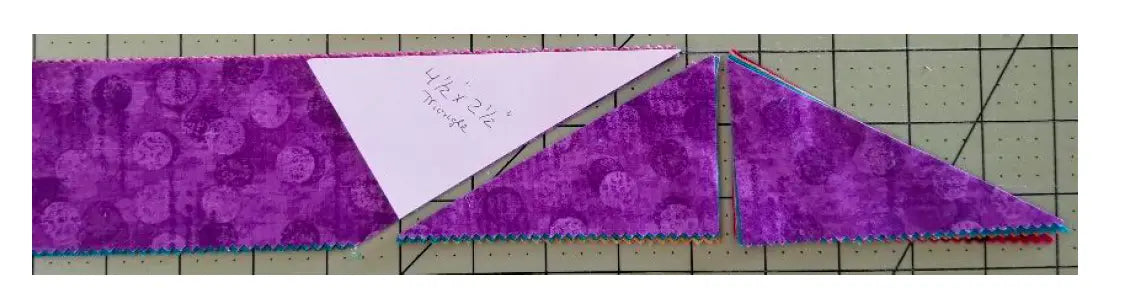
Now for cutting those other triangles.
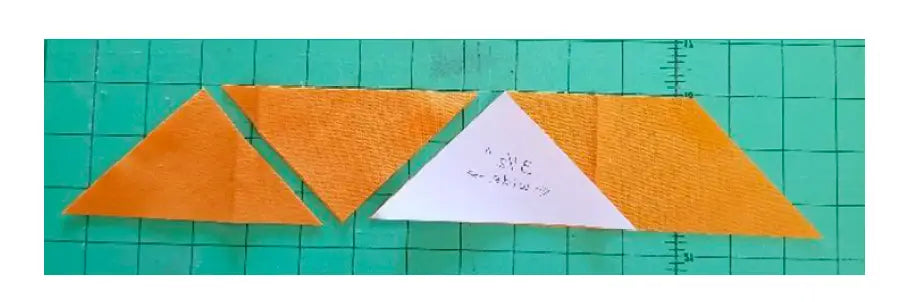
The above photo shows 3-1/2” triangles from a 2-1/2” wide strip. These triangles are all identical, so you won’t need to worry about LFT and RFT triangles. Make a paper pattern by cutting a paper 3-1/2” square. Cut the square in half diagonally. Use 1 half as a pattern. Label this pattern 3-1/2” triangle. If you are using scraps from your stash, or fat quarters, then you can just cut 3-1/2” squares and slice them diagonally to form triangles. Stack up the pieces by size so that you can easily find the pieces that you need when we get to the next step, “Making the Small Blocks”.
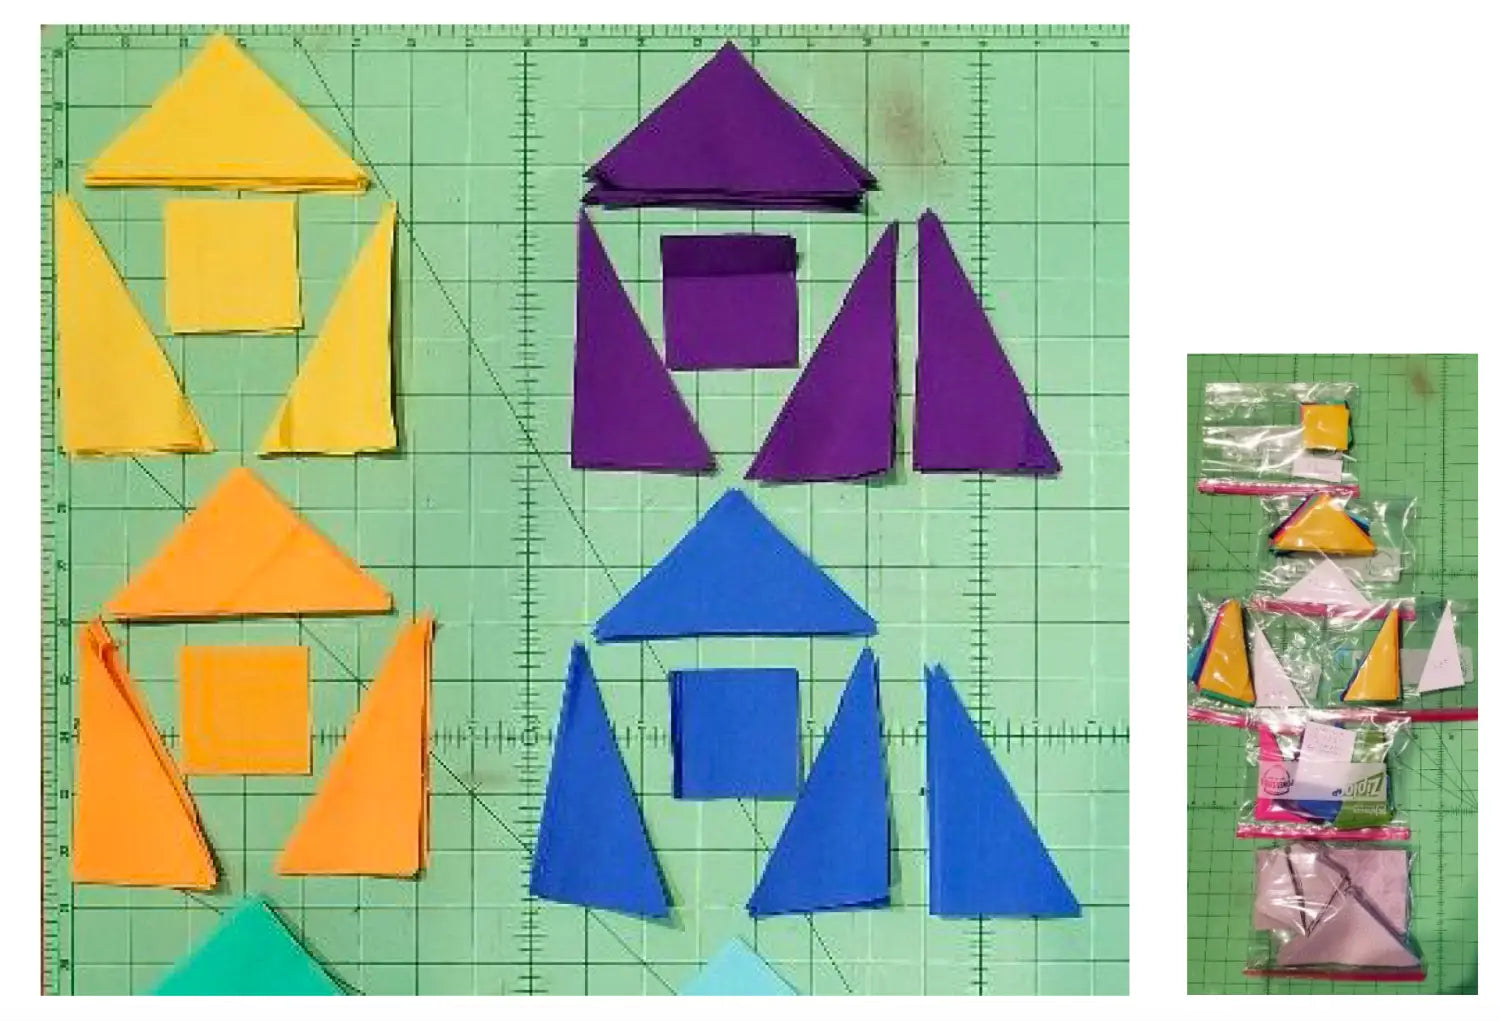
When I need to organize my workspace, I like to put the pieces in a ziplock bag. I sort then by shape and size. This way I can easily move them.
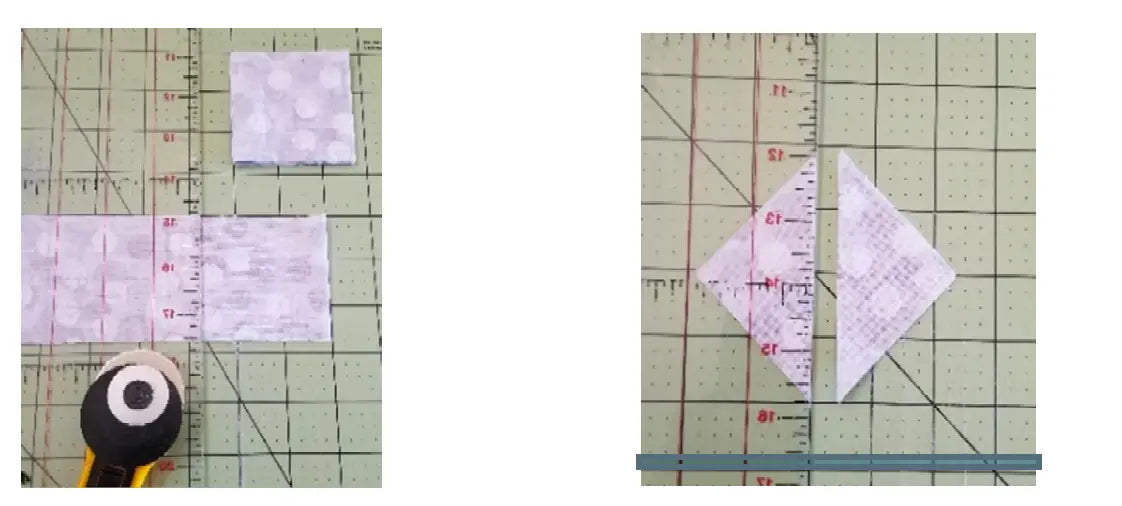
Cutting the diamond background from your 3-1/4” x 7” rectangle:
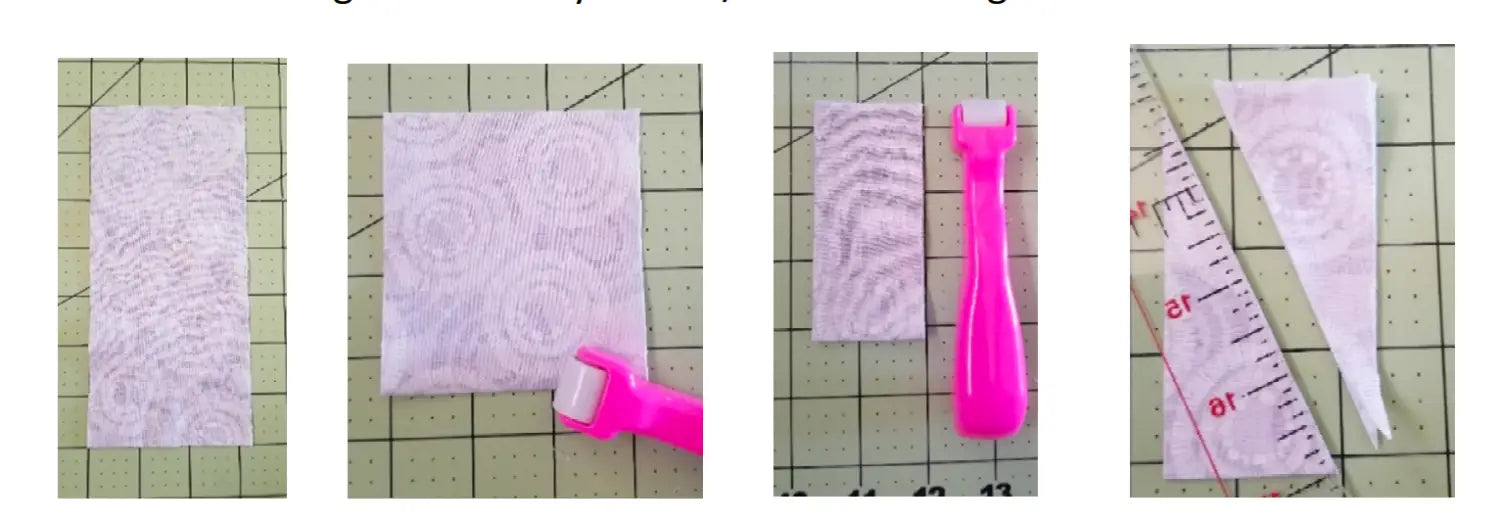
Lay out rectangle. / Fold lengthwise. Press. /Then fold widthwise. Press. /Cut away the corners. Unfold. Voila! A perfect diamond shape.

Do you have a small workspace? At home I use my dining room table which gives me lots of room. But in the summer, we live in our small mountain cabin where space is scarce. I have found a few tools on SewingBySarah.com that really help.
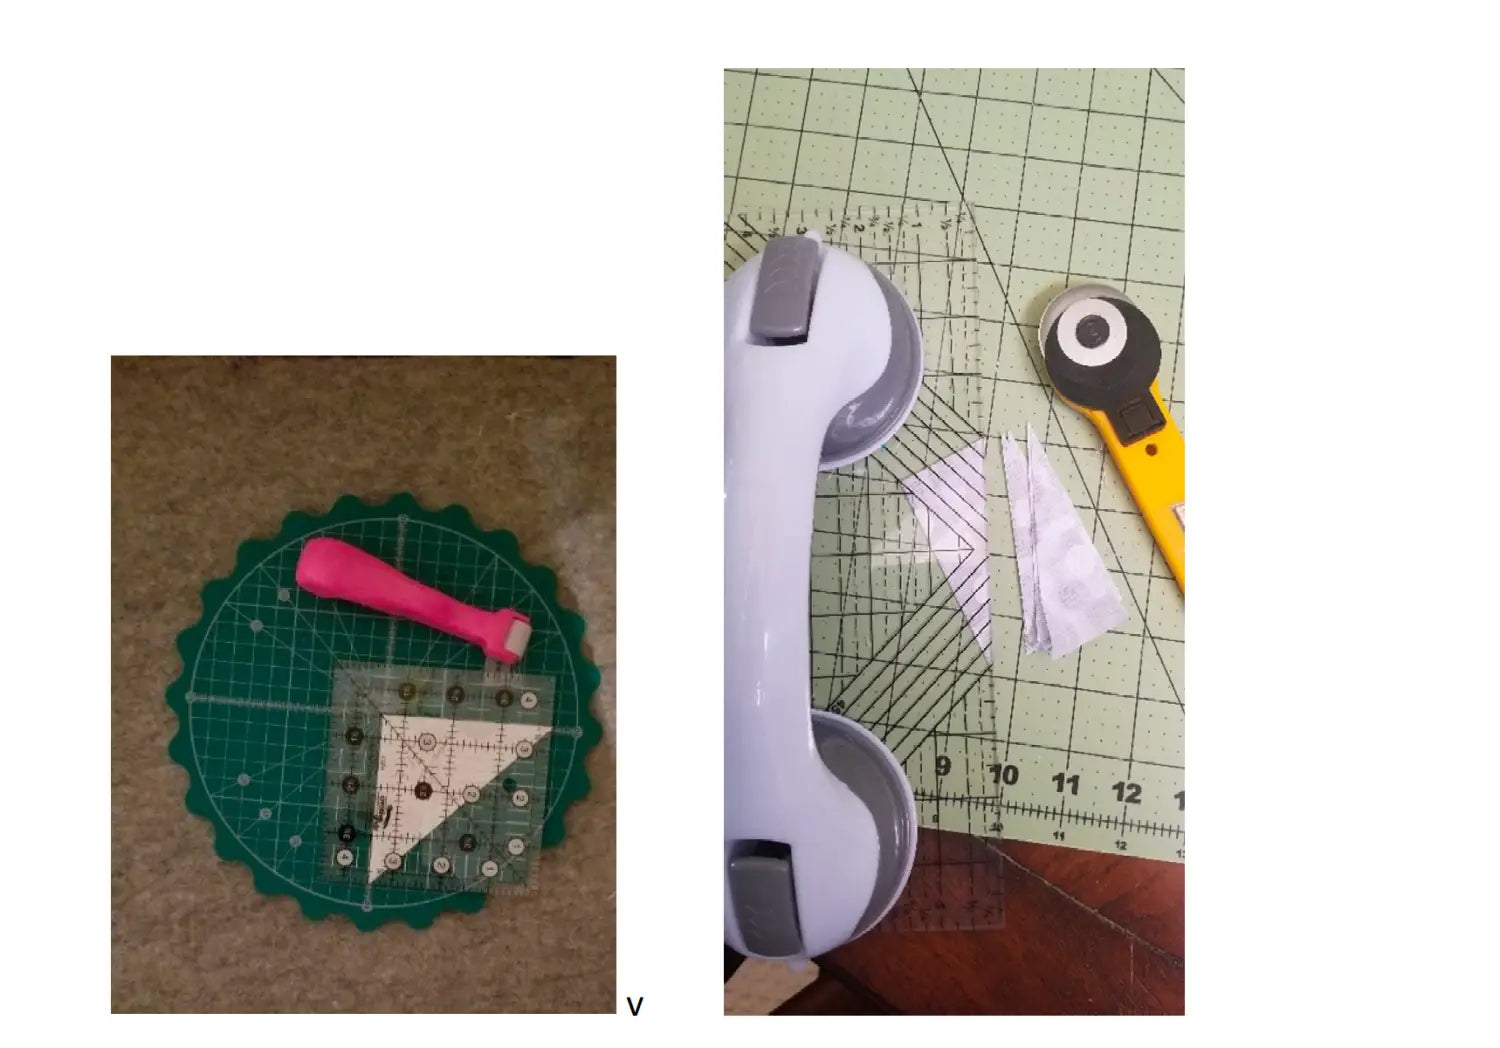
This little cutting board is like a tiny “Lazy Susan”. It revolves! I like to use it on my ironing board along with the felt mat for ironing. This way I can cut from a more upright position. I also use the pink seam presser for flattening seams rather that hopping up to use the iron every time. I keep it next to my sewing machine. I also love this suction handle for my quilting ruler. It allows me to lean on the ruler to get a secure measurement. My ruler doesn’t move as I cut. Visit our next” Quilt-Along Blog” for tips on piecing the small blocks, and trimming. You will need plenty of thread matching your background fabric. I also recommend a magnetic guide for a ¼” seam. You might also like sewing machine lights. Happy Cutting!


Leave a comment (all fields required)