This is our final week for this quilt along, here are links to the rest of the posts in case you missed them:
I love the look of applique – but (full disclosure) I’m not a fan of needle turn applique. Not because it isn’t beautiful. It most definitely is. No – I’m not a fan because it takes. So. Long. So what’s a quilter to do? Fused applique!
Ok great! Applique can add a wonderful accent to pieced projects. Fusing applique shapes makes the process quick and easy. What’s the best way to approach adding fused applique? Let’s go through my suggested steps for the best fused applique results.
Before we get into the nitty gritty of HOW to approach your project, let’s talk supplies: fusible, fabric, thread and needles.
First, let’s talk fusible. There are a lot of choices – and it’s largely a matter of personal preference, features and accessibility. The two products I favor heavily are Steam-A-Seam 2 Lite, a double paper sided fusible, and Odif’s 606 spray.
Fusible
Let’s look at the two products:
Steam-A-Seam 2 Lite by Warm Company
Pluses:
- Easy to find, as many big box stores as well as quilt shops carry it
- Available by the yard (quilt shops) as well as in packages of 5 sheets (big box stores and online)
- Forms a permanent bond when the instructions are followed
- Sheets can be trimmed to standard paper size and run through a printer for printing templates
Minuses:
- If not fused properly, can gum up your needle
- Does have a life span. “Old” product may not fuse properly
606 Spray by Odif
Pluses:
- Easy to use (recommend using a basting box, which will protect from overspray)
- Fuses quickly
- Will NOT gum up your needle
Minuses:
- May be harder to find, as most big box stores do not carry
- Aerosol can irritate folks with sensitive respiratory systems
- You will need to trace shapes using template plastic
Regardless of the fusible, it is strongly recommended that you NOT use fabric softener if you prewash your fabrics. You also should NOT use pressing sprays, such as Best Press, Flatter, or spray starch. Those products create a barrier between the fabric and fusible, which will prevent the fusible from adhering to the fabric.
Applique Fabrics
I recommend wool or a heavier fabric (felt, canvas, flannel) if you are fusing on a base that has seams in it. You CAN use regular weight fabric, but be aware that the seams MAY show through the applique. The heavier fabrics help camouflage those seams and look smoother.
Thread
What is the best thread? If this is a strictly decorative project, you can use any thread that suits your fancy – rayon, metallic, wool, blends. If your project will be used and might be washed, then choose colorfast threads that are washable!
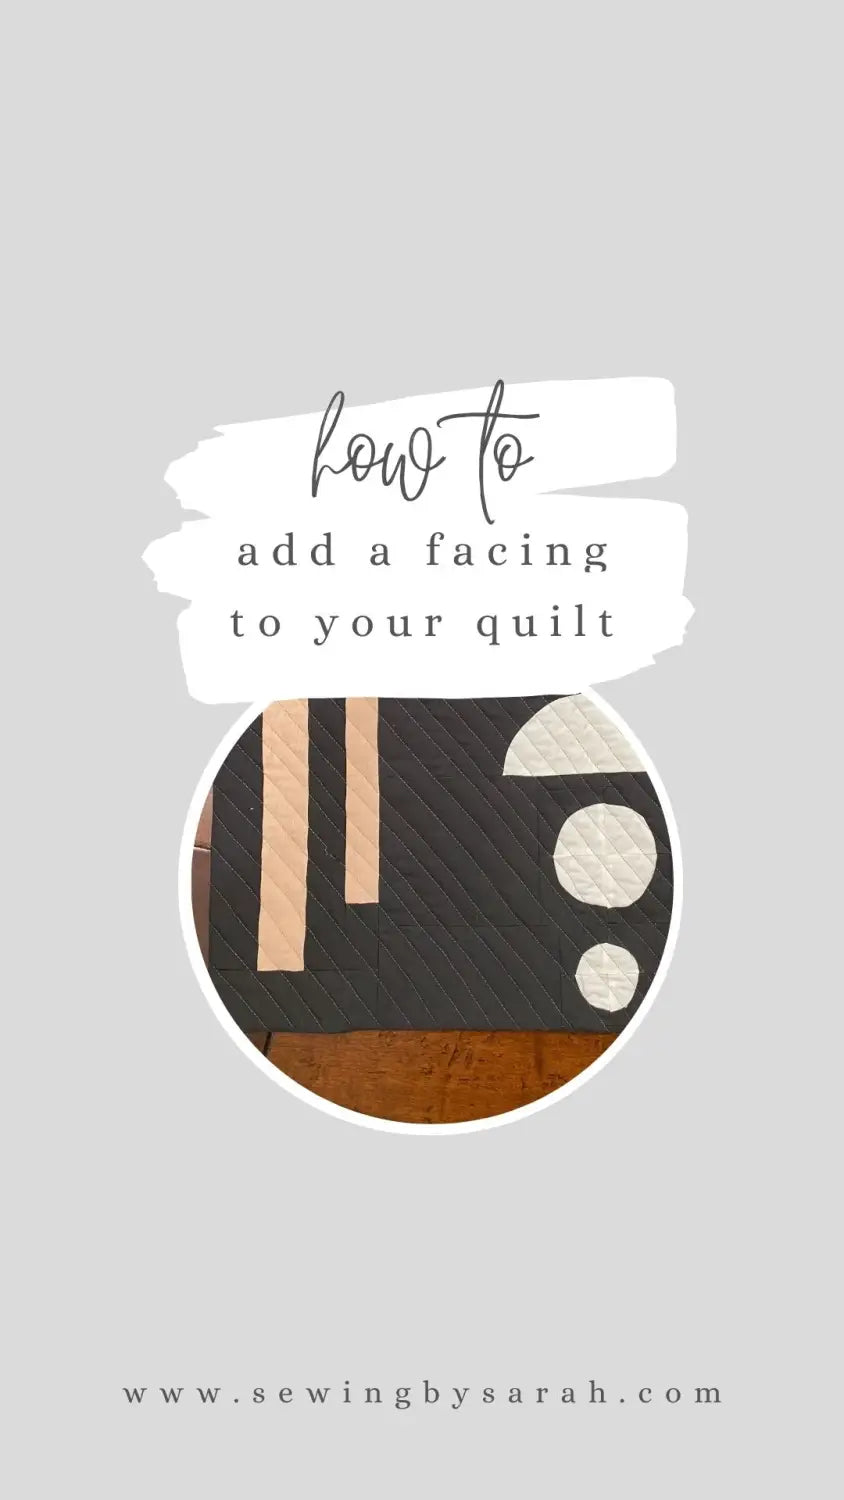
How much do you want the stitches to show? The heavier the thread, the more the thread will show. For reference, the project pictures shared in this post were all done with my Aurifil 28wt collection – the quilting and the decorative stitches on the appliques.
Needles
Before I discuss needles, let me ask you: when is the last time you changed your needle? Can’t remember? Ack! It is generally recommended you change your needle after every eight hours of sewing. Yes, really. Needles will dull with use, and if you make it a habit to change your needle regularly, it will ensure better stitches and a better overall project.
So what size needle to you need for your applique? Since we are going to stitch through a base that is already quilted, use a heavier needle (80/12 or 90/14). The heavier needles will hold up to the thicker layers. If you really want the best experience, try a Microtex nonstick needle. Yes, it really works and will glide through most fusible with minimal gumming.

Layer Your Project for Quilting
Let’s start at the beginning – and layer your project for quilting. Yes, we are going to quilt first!
Use best practices for layering, which includes that your backing and batting is a bit larger to offset any shifting and shrinkage while quilting.
Quilt Your Entire Project
Yup – do all of your quilting now. Why? It will be much easier to quilt the project without the motifs in place. You won’t have as many stops and starts or have to worry about going around your motifs. Do NOT trim it – just wait. We will trim at the end.

Plan Out Your Fused Applique
Once you have prepared your motifs for fusing, take some time to play around with placement of all of the shapes – because, well, it is going to be fused, which means once you iron it down, it is there to stay!
If you don’t have a layer applique, do you still need to plan it out? YES! Again, once you iron it down, your applique is permanent so take the time to audition some placements to make sure you are happy with it before fusing down.

Work From the Bottom Layer Up
If working with layered motifs, work from the bottom layer up. This is especially true if you are planning on doing any decorative stitching around or along the edges of the motifs. Once you have your first layer positioned, follow the manufacturer’s instructions and fuse the motifs in place. Allow them to cool before stitching. Trust me – just wait.

When stitching motifs, practice your stitches on scrap fabric. Find a reference point on your presser foot, such as the edge of the presser foot or a marking on the foot, to keep your stitches at the same point along the edge of your motif.
Try different stitches – and don’t forget to lengthen your stitch length. You are going through MORE layers of fabric, which will take up some of the stitch length. Consider your bobbin thread color. You will be stitching through your entire quilted project, and the stitching will show on the back. I usually try to match my bobbin thread to my backing to minimize the stitches showing.

Bury Your Thread As You Go
As you finish stitching each layer of your applique, don’t forget to turn your project over and bury your threads.
I pull my top thread to the back and then tie off my bobbin thread and top thread. Then I use a sharp needle and bury the threads by running a small portion between the backing and batting, and then trim. This keeps the back nice and neat.


Continue Layering Your Motif
Continue to work with the layers of your motif. Remember to take your time and fuse completely. As the layers increase, you may need to spend a bit more time ironing the appliques down.

When fusing appliques, I iron first on the front of the project, and then from the back.
As the layers increase, remember to lengthen your stitch length to accommodate the increased thickness of the project.


Trim the Finished Project
Once the project is completely finished, it is finally time to trim the complete project. If you have a border, use the border size and seam as a guide. If you have a project without borders, make sure that you are keeping your project square.
You can do this by using a large square (easy!) or by using your ruler and the lines. Note that in the picture above, I have trimmed one side. I then placed a line on the ruler on that trimmed line and the rest of the project will be trimmed based on that. Using the ruler line as a guide will ensure your trims are at a 90 degree angle, which means your trimmed project will be nice and square. And that means it will be easy to bind!


Leave a comment (all fields required)