The sewing term "stitch in the ditch" OR "ditch stitch" refers to the term of stitching right in the seam line or in the space between the fabrics in a seam. It’s most commonly used in quilting, attaching waistbands and finishing binding. This article talks about stitch in the ditch as a machine technique, but it can also be done as a hand technique.
This technique gives a polished finish because the needle of the machine goes through the seam on the right side (top) of the fabric/quilt/garment. It secures the fabric on the wrong side and leaves a neat finish with no visible stitch on the right side.
It is commonly done in a matching color thread so the stitches meld into the fabric and are not noticeable from a distance. It’s important to think about top thread and bottom (bobbin) thread colors to insure you create the invisible look. Matching thread or clear can be used to create the desired effect.
Some of the most common uses of this technique:
1. Quilting. Typically using a walking foot, this technique can be used to quilt your quilt in the ditch, or to help secure the binding to the quilt as the finishing step.
2. Attaching Waistbands – Waistbands on skirts are joined using the stitch in the ditch method. This is typically done with a stitch in the ditch foot (also called an edge joining foot)
3. Attaching binding on necklines, cuffs, waistbands, quilts and anywhere you want an invisible finish. A stitch in the ditch finish is a great way to neatly finish the edge of a garment with binding. This is typically done with a stitch in the ditch foot (also called an edge joining foot). For attaching a quilt binding, use a walking foot to first attach one side of the binding and then fold over and use the stitch in the ditch foot.
What is the equipment you need?
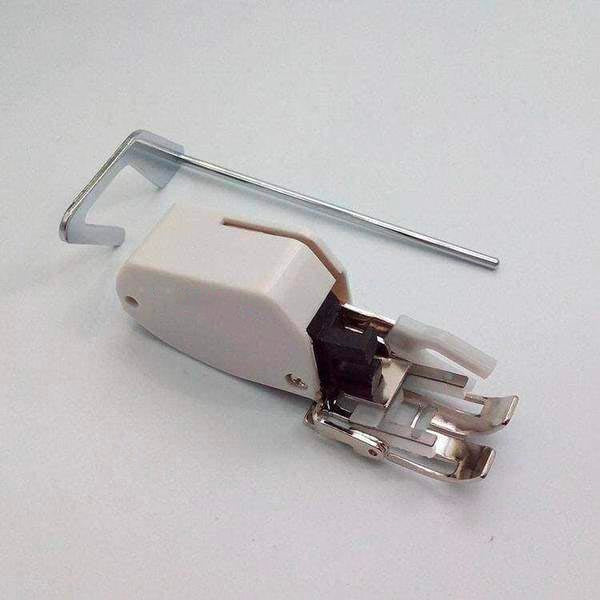
STITCH IN THE DITCH FOOT – If you are going to be quilting regularly, sewing binding or making garments with waistbands, it is advantageous to have one of the specialty stitch in the ditch or edge stitch sewing machine feet. They have a guide that allows use to easily stay in the ditch while sewing.

WALKING FOOT – A walking foot can also be used to stitch in the ditch. This is used for thicker layers of fabric like quilts as it stops the fabric from bunching up and twisting as you sew. The beauty of sewing in the ditch with a walking foot is you have more control over the fabric when sewing thicker fabrics or layers like in quilting.
Here is a video on how to install a walking foot on your machine:
Some tips for getting great results
• Secure your stitches firmly at the beginning and end of the stitching. Note: if using a walking foot, I do not backstitch, but I use a smaller stitch length at the beginning and end to secure the ends. Most quilts are bound and will take care of sealing up and avoiding stitch releases.
• Gently open the seam as you sew to be able to stitch into the crease.
• Try using a smaller size needle to get into small spaces accurately.
• Lower the speed of your machine to slow yourself down, it’s best to do this once as it’s difficult to remove stitches once you’ve stitched in the ditch.
• You will be able to feel which side of the seam is high with your fingertip. The trick is to REMEMBER TO FEEL FOR IT before sewing the upcoming section of seam. Then stitch on the lower side as close as possible to where the fabrics are joined.
Using Stitch in the Ditch in Quilting
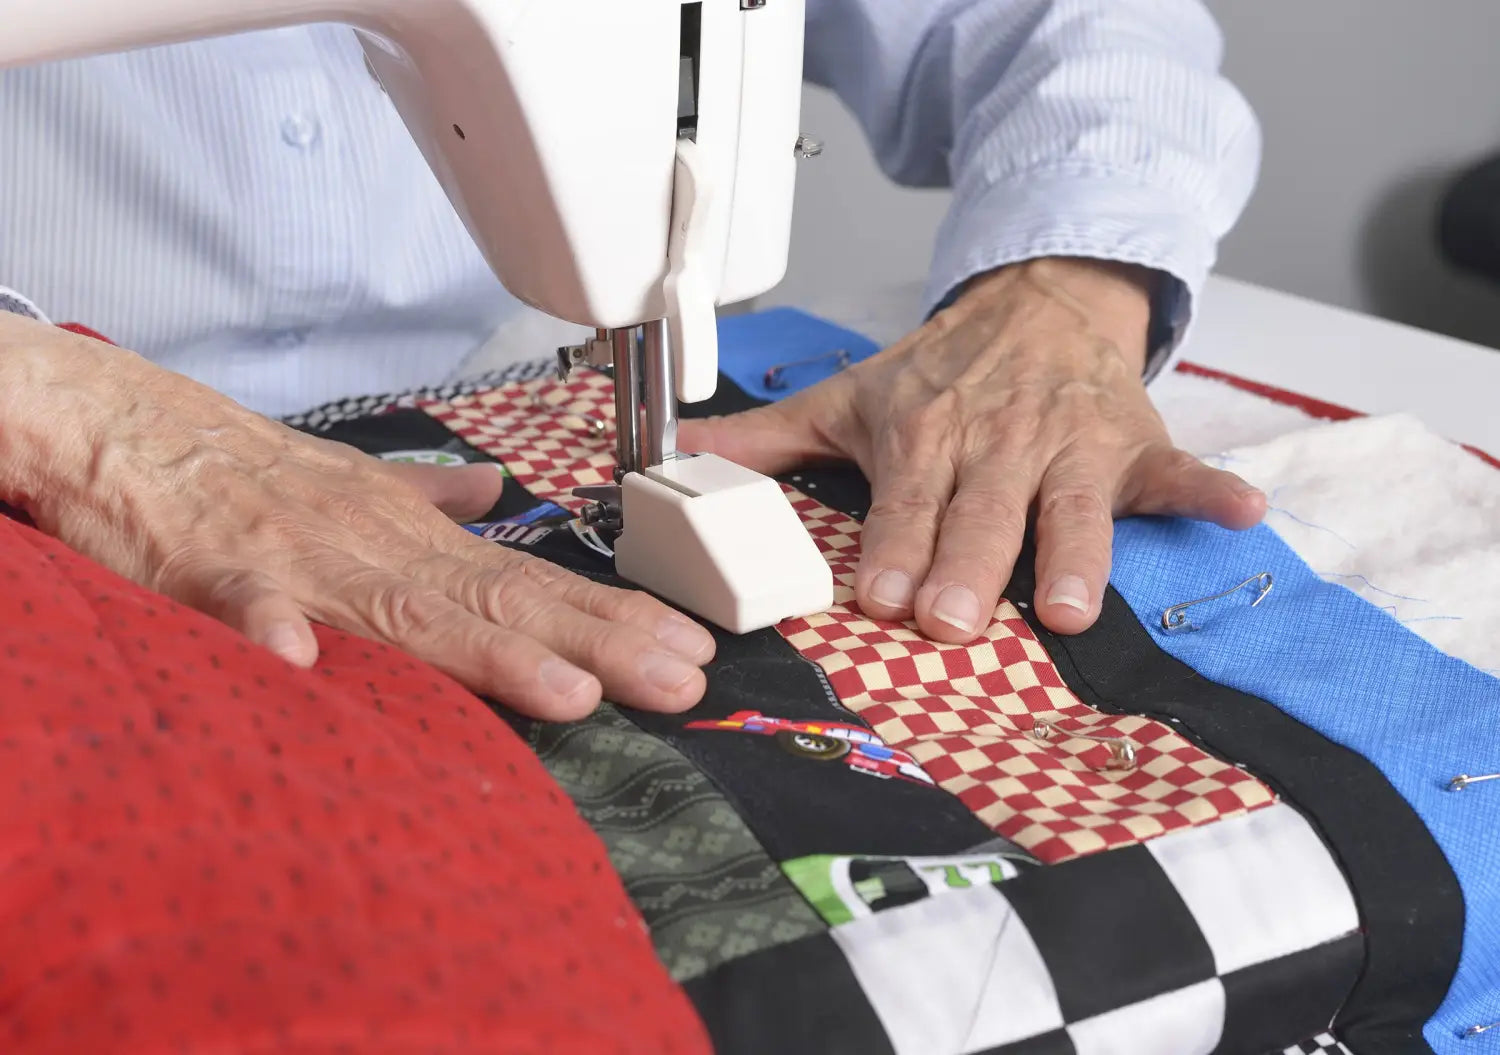
To quilt stitch in the ditch, you typically use a Walking Foot and not a stitch in the ditch foot. This allows you to create straight lines on the bulky fabric as it has a built in feed dog that handles the layers of your quilt better than a regular style presser foot.
If seams allowances are pressed to one side, these stitches are made on the side of the seam with just one layer of fabric. (If the seams are pressed open, the stitches are made in the center where the fabrics meet.)
This quilting technique doesn’t require marking the quilt top and adds texture, but not pattern to the top of the quilt. This is an easy technique to use for quilting a quilt. You simply follow the lines of your piecing.
Tips:
Avoid turning a quilt under the needle to get around corners. The extra bulk of the quilt could bunch up and break the needle.
*If using a walking foot, I do not backstitch, but I use a smaller stitch length at the beginning and end to secure the ends. Most quilts are bound and will take care of sealing up and avoiding stitch releases.
Using stitch in the ditch to attach binding or a waistband.
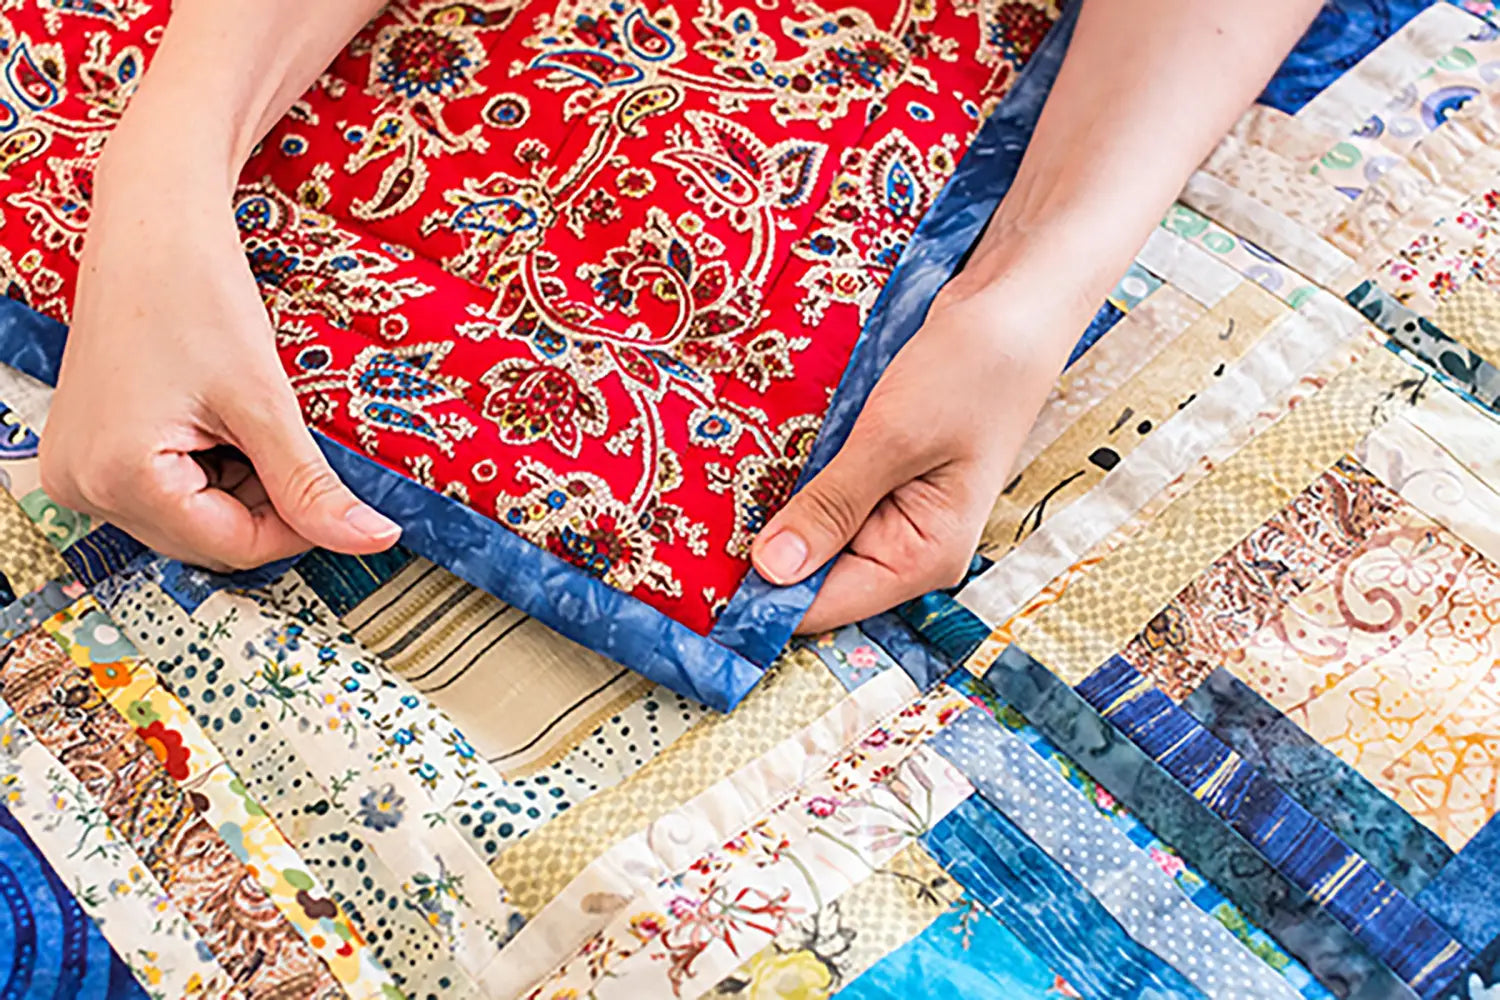
The first step is to sew your binding or waistband onto your edge (neckline, waistband, etc.). Once you’ve attached it right sides together (like a regular seam), you fold the binding or waistband over to hide the seam. This is when you use stitch the ditch to attach the back of the binding, which removes the need to hand stitch.
Once folded over you can use pins or binding clips to secure while sewing. Binding clips are easier I find and produce less finger pricks.
Gently stitch in the ditch on the right side. This means you will be sewing in the seam of the bias tape or waistband.
Make sure that the machine catches the bias edge or waistband edge on the wrong side. As you sew along, keep running your finger over the edge underneath just to double-check it does not move while sewing. 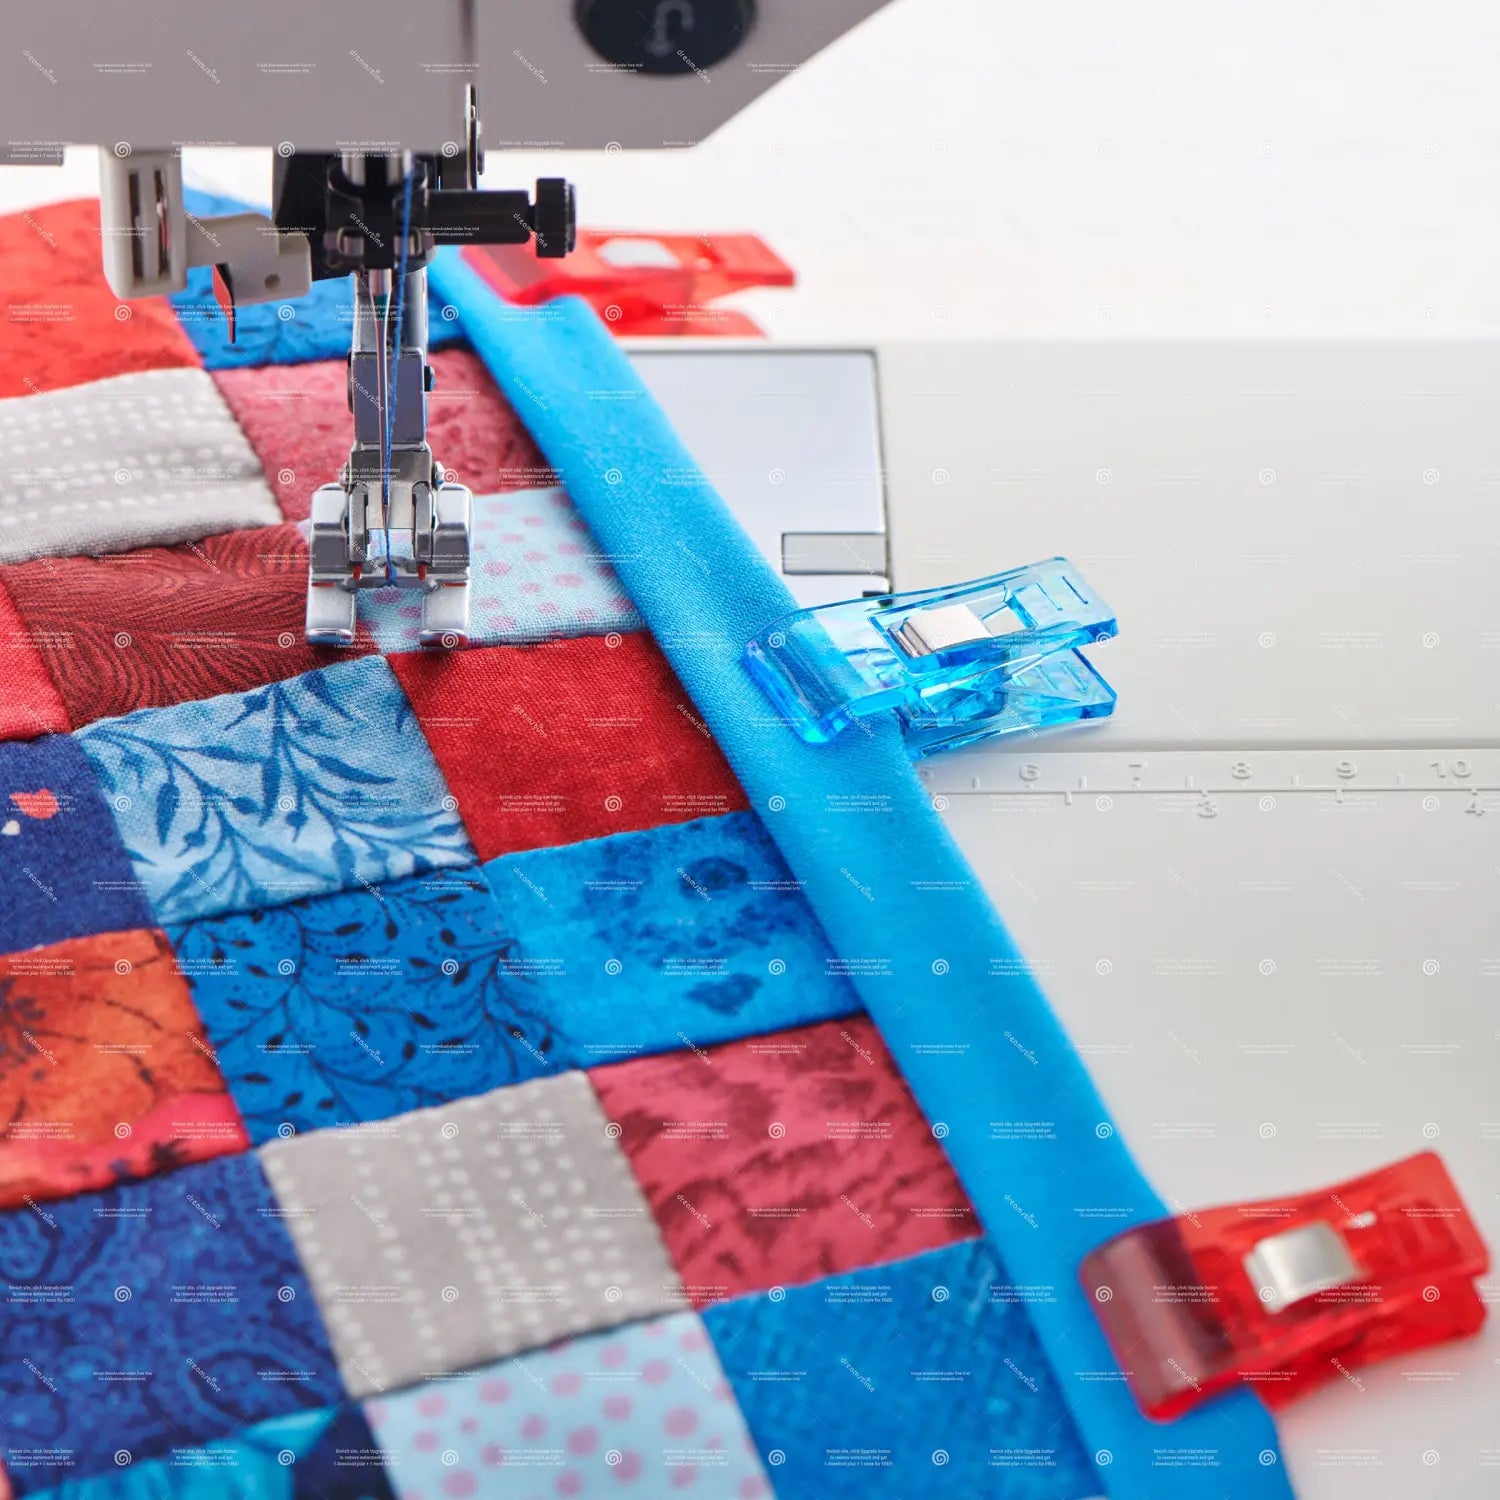
Stay in touch and Show us what you've made:
Instagram: @sewingbysarahstore
Facebook VIP Group: https://www.facebook.com/groups/sbsvip


Leave a comment (all fields required)