Adding embellishment to projects can be time consuming and frustrating and if there's anything I've learned through my years of sewing and knitting, it's that when you have the right tools, your project goes that much more smoothly. That's why there are 32 feet in our 32 piece presser foot sets--each of those feet has a purpose to move your project along smoothly.
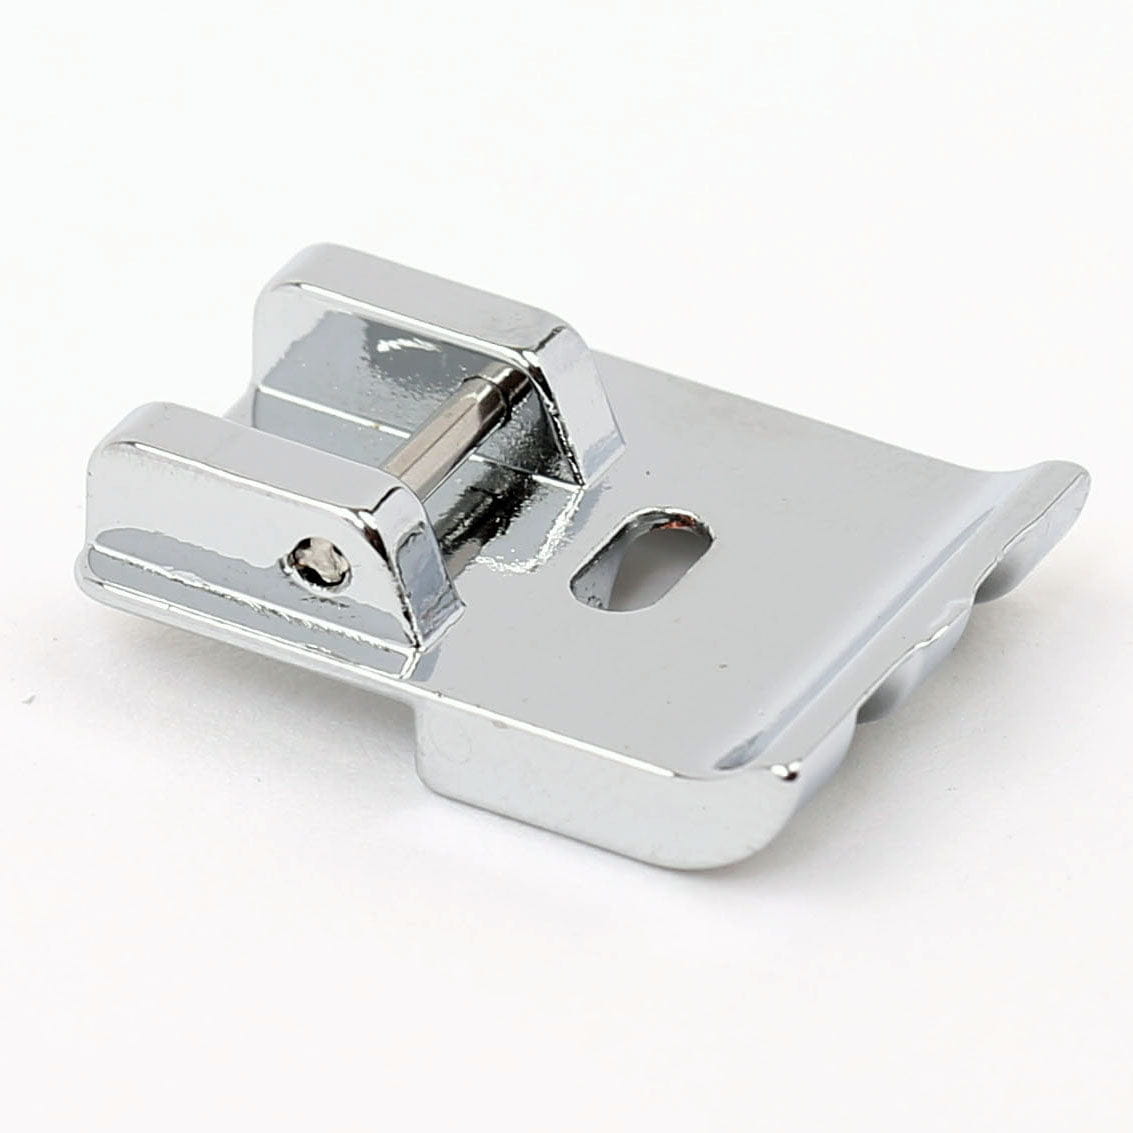
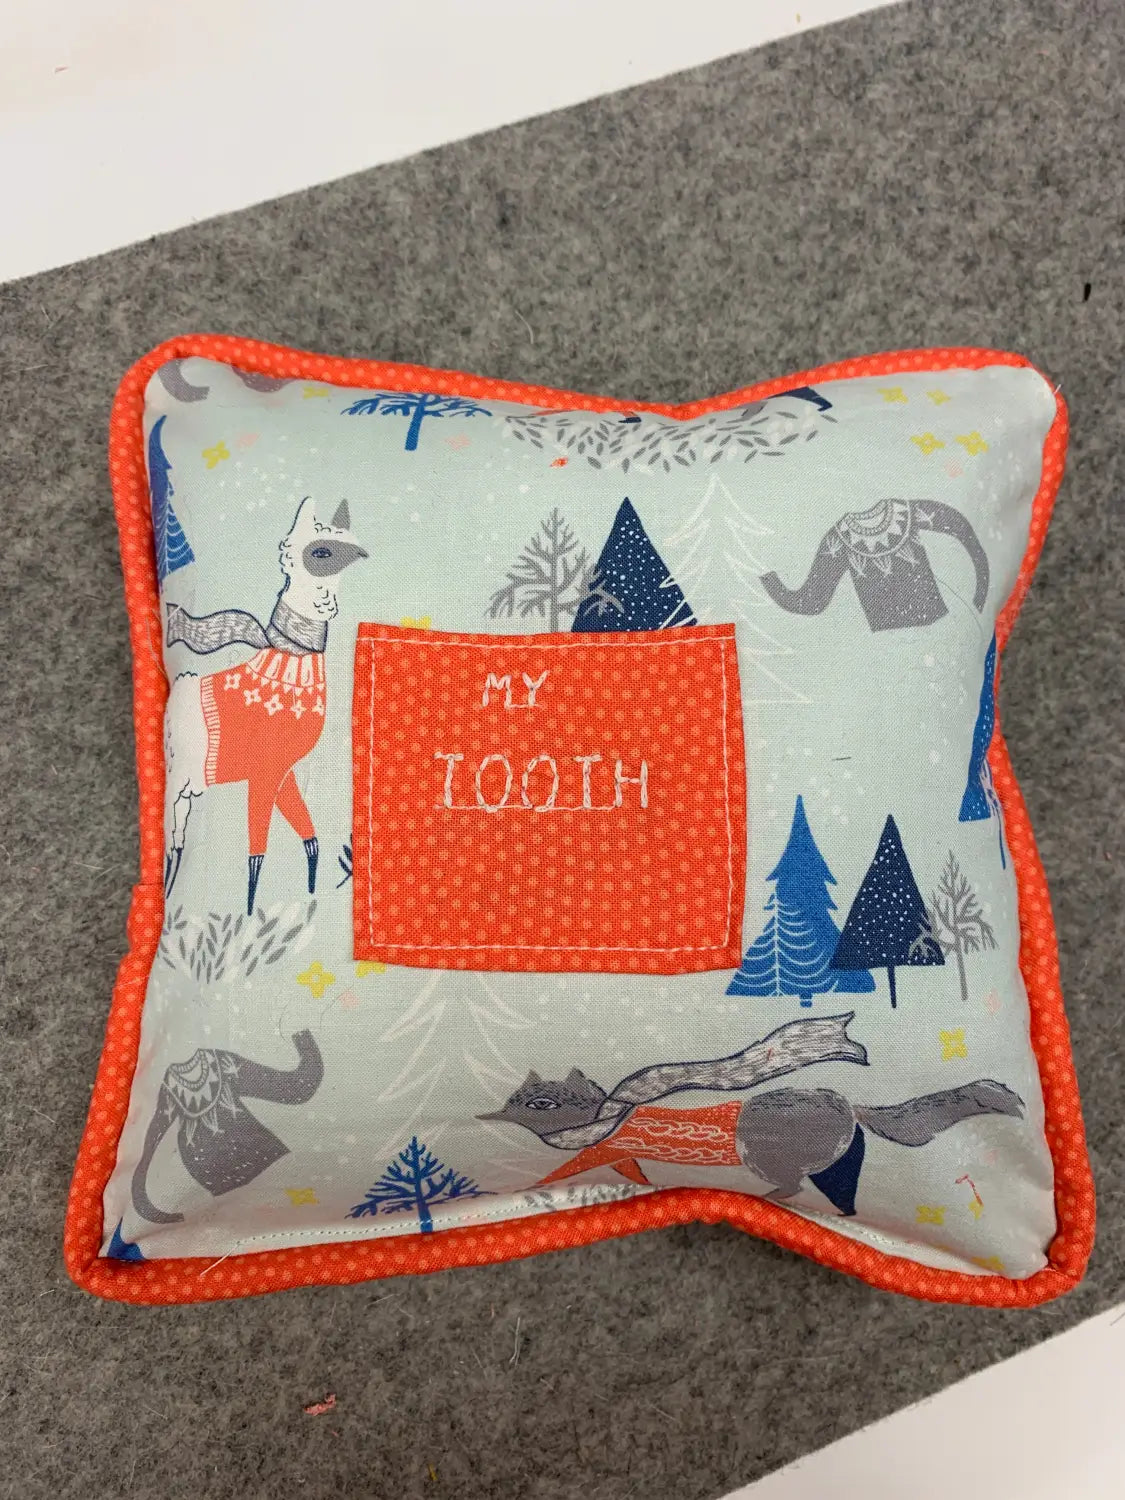
Many of the feet in the presser foot set help add trim and embellishment without damaging your machine or needle. Today I'll focus on how to use the Piping Foot (also called the Round Bead Foot) as I recently needed it to create decorative trim on a project for a newly toothless niece--a tooth pillow.
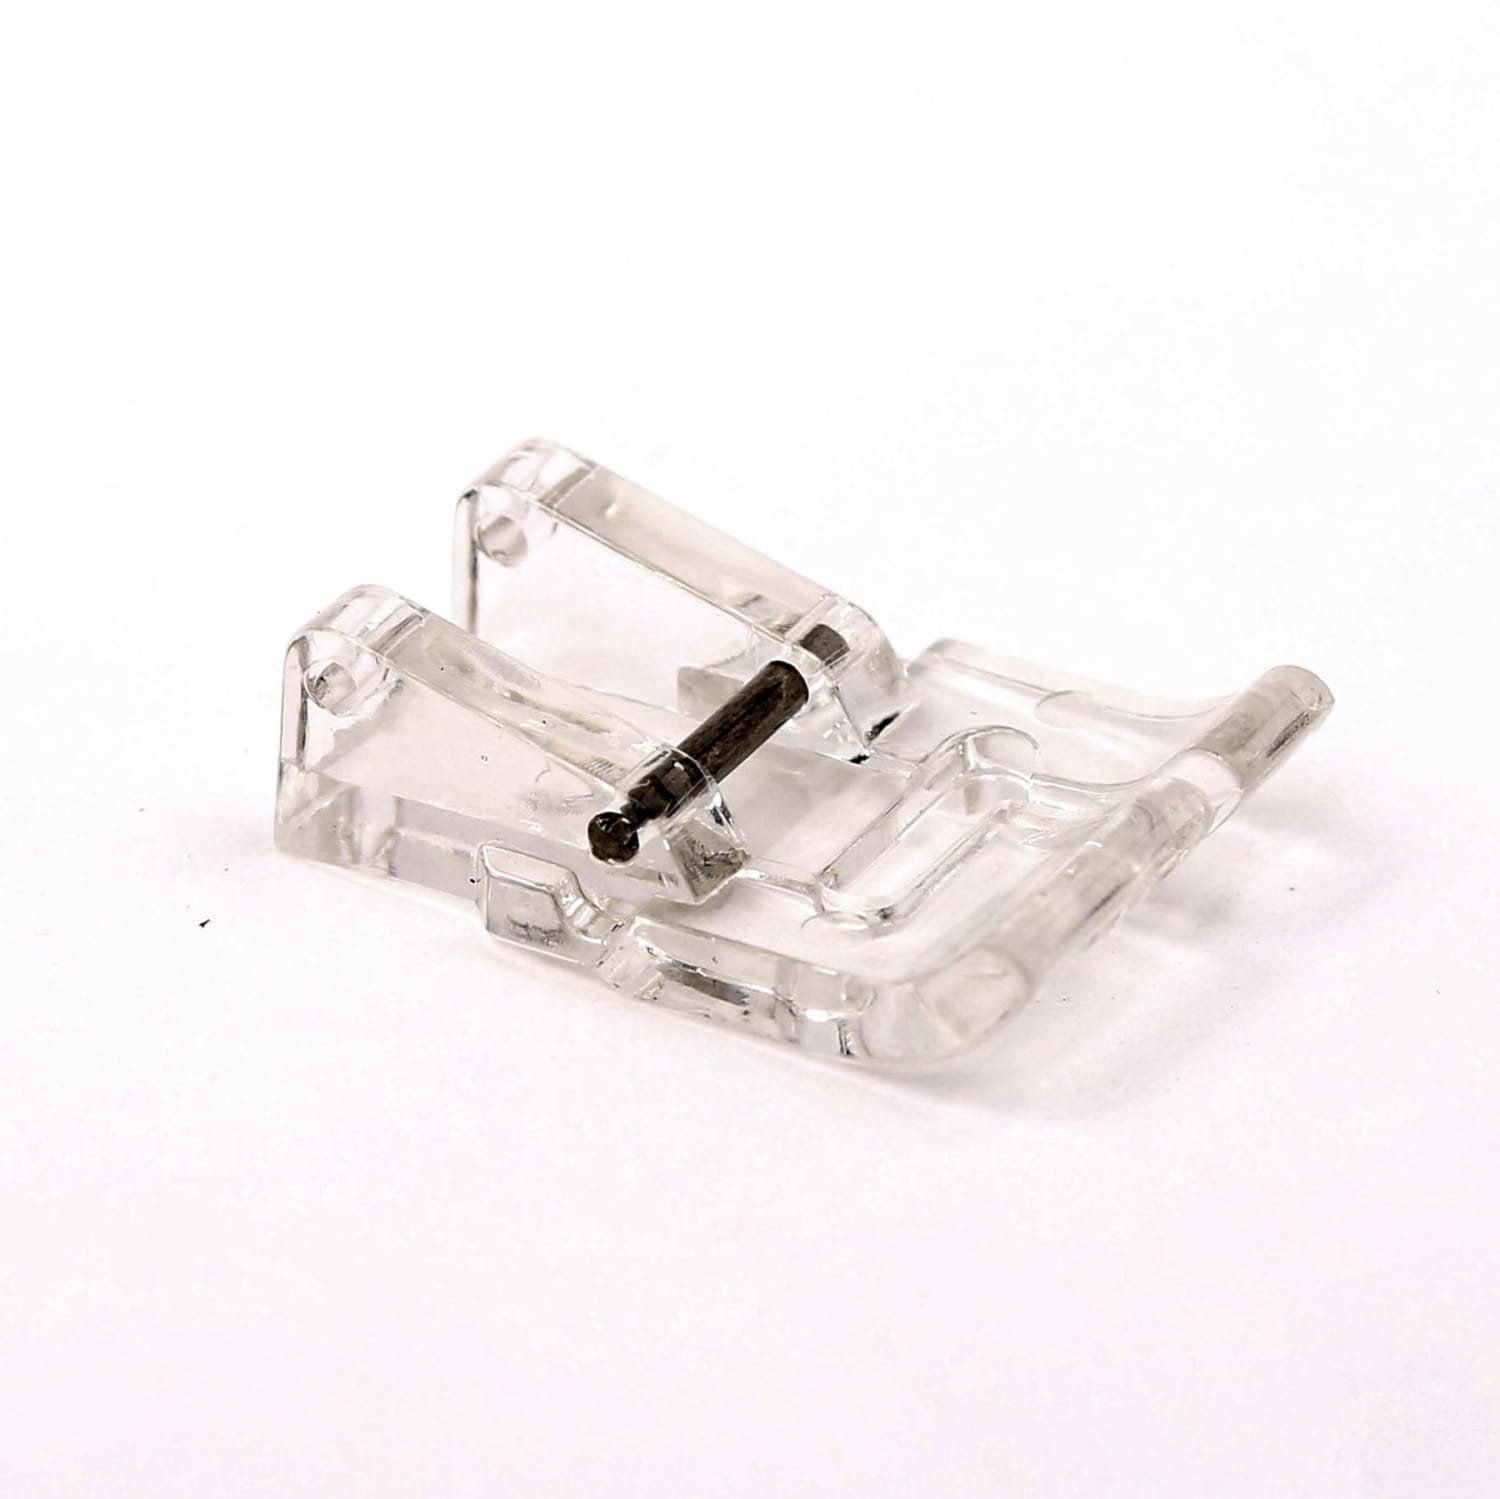
If you have the 32 Piece set, you can also use the Double Welting Foot (shown at the right) to add piping, depending on the size of the piping you are trying to add.
Supplies & Tools:
- 2 x 8" square quilting cotton (pillow front & back)
- 2.5" x 2.5" square in contrast fabric for the tooth pocket
- 32" cotton cording (mine was 6/32")
- 32" x 2" strip of contrast fabric
- polyfil stuffing
- thread to match
- Piping Foot (available in our 32 piece set here)
- Sewing Machine
- Seam ripper
- Scissors or snips
- pins or Clever Clips
Watch the full video here:
Instructions:
1. Embroider your tooth pocket. My machine has an alphabet function, and so I broke out the instruction book to learn how to add lettering to my pocket. You could also hand-embroider, use fabric markers, or leave it plain. You know your gift recipient best! After embroidering (if you choose to do so), fold the sides of the pocket in, and stitch to the pillow front, remembering to leave the top open for the Tooth Fairy!
2. Make your piping. Yes, you can buy pre-made piping (or cording), but sometimes it's fun to match it with your project.
A. Lay your fabric strip right side down, and place your cording in the middle.
B. Fold the raw edges of the strip to each other (the right side will be showing).
C. Install your piping foot on your sewing machine. The piping foot has a channel for the piping, and you may need to adjust your needle position so that you're sewing next to (not on) the cording.
3. Attach the piping to the right side of your front pillow piece. Start in the middle of one of the sides, and pin (or clip) all the way around. When you get to the corner, with your snips, cut an angle out of the piping (but don't cut the seam); this will allow the piping to round the corner nicely.
When you get to the starting point, you'll cut the excess piping leaving about a 1.5" overlay. With your seam ripper, open up the piping and cut the actual cord (not the fabric) so that it meets the piping at the beginning. With your seam ripper, take out a few of the stitches on the other side of the piping. Fold the excess fabric onto itself and over the start of the piping (so that that raw edge is covered). Pin in place.
4. Stitch the piping to the pillow front, using your piping foot. Pivoting around the corners is tricky (because of the channel, so you may want to backstitch and reposition the piece at each corner.
5. Repeat steps 3 and 4 (pinning and sewing) with the pillow back, remembering to leave about a 3" opening along the bottom edge to turn the piece right side out.
6. Stuff the pillow with polyfil. Pin the opening shut, and stitch closed.
WOOT! The Tooth Fairy will thank you for making her job that much easier!
Stay in touch and Show us what you've made:
Instagram: @sewingbysarahstore
Facebook VIP Group: https://www.facebook.com/groups/sbsvip
Download your FREE Presser Foot Quick Guide Here:


Leave a comment (all fields required)