Get ready for spring with this quick sewing project. These cute quilted bags can be used as Easter Baskets but then can be repurposed throughout the spring time. Great for older children. This project comes together quickly and is a great way to practice quilting techniques and use up some leftover fabric.
I love putting together Easter Baskets, even more so now that my littles are actually big; it's fun to surprise them with knick-knacks and treats that they don't buy for themselves. This year I thought I'd make my daughter a reversible Easter Basket that can double as an organizer, since she lives in a tiny apartment.
Supplies:
- 15" x 18" outer fabric
- 15" x 18" interfacing
- 1" webbing 1" x 10" (x2), or if using fabric, you'll need a 6"x18" piece of fabric and interfacing.
- 16" x 19" lining fabric
- 16" x 19" batting
- matching thread
- walking foot
- pins or Clever Clips
- marking pen
- sewing machine
- iron
Let's get started!
Check out the video below, and scroll down for step by step instructions
Make the Exterior
1. Interface your outer fabric and strap fabric (if you're using a fabric strap).
2. Fold the outer fabric in half so that the piece is 15" x 9". Finger press.
3. Sew along the short edges at 1/2" seam allowance
4. Press the seam open.
5. We're now going to "box the corners." With the seam you just pressed facing upwards, you've created a triangle. Measure up from that point 2.5" and mark it. Then draw a line perpendicular to the seam at that point. Your line will be 5" long. Repeat this on the other side. Then sew those two lines. Set this piece aside.
Make Your Strap
1. If you've decided to make a fabric strap, fold the strap in half, and finger press.
2. Open up the strap, and then fold the two long edges in to the center. Press and Fold in half. Topstitch along both long edges and in the middle. Set your strap aside.
Make the Lining
1. Place the lining over your batting. Pin or clip along the edges.
2. Install your walking foot on your sewing machine. I'm just going to do parallel lines, and I've marked them on the fabric.
3. Quilt your lining fabric. I've increased my stitch length (only slightly), and I start in the middle and work out. .
4. Once your lining is quilted, follow steps 1-5 with your lining fabric.
Assemble
1. Sew the handle to the exterior fabric by turning your exterior piece so the wrong side is on the outside. Clip or pin the fabric handle to the inside of the bag, aligning raw edges. Stitch into place. I'm using two cotton webbing handles, but you can use one, placing the edges opposite each other.
2. Turn the outer piece (with the handles attached) inside out, and place inside the quilted lining piece, right sides together. Stitch along the perimeter, making sure to leave a 3"-4" opening to turn the pieces right side out.
3. Turn right side out and finger press the top. You will stitch all the way around, making sure to close the gap.
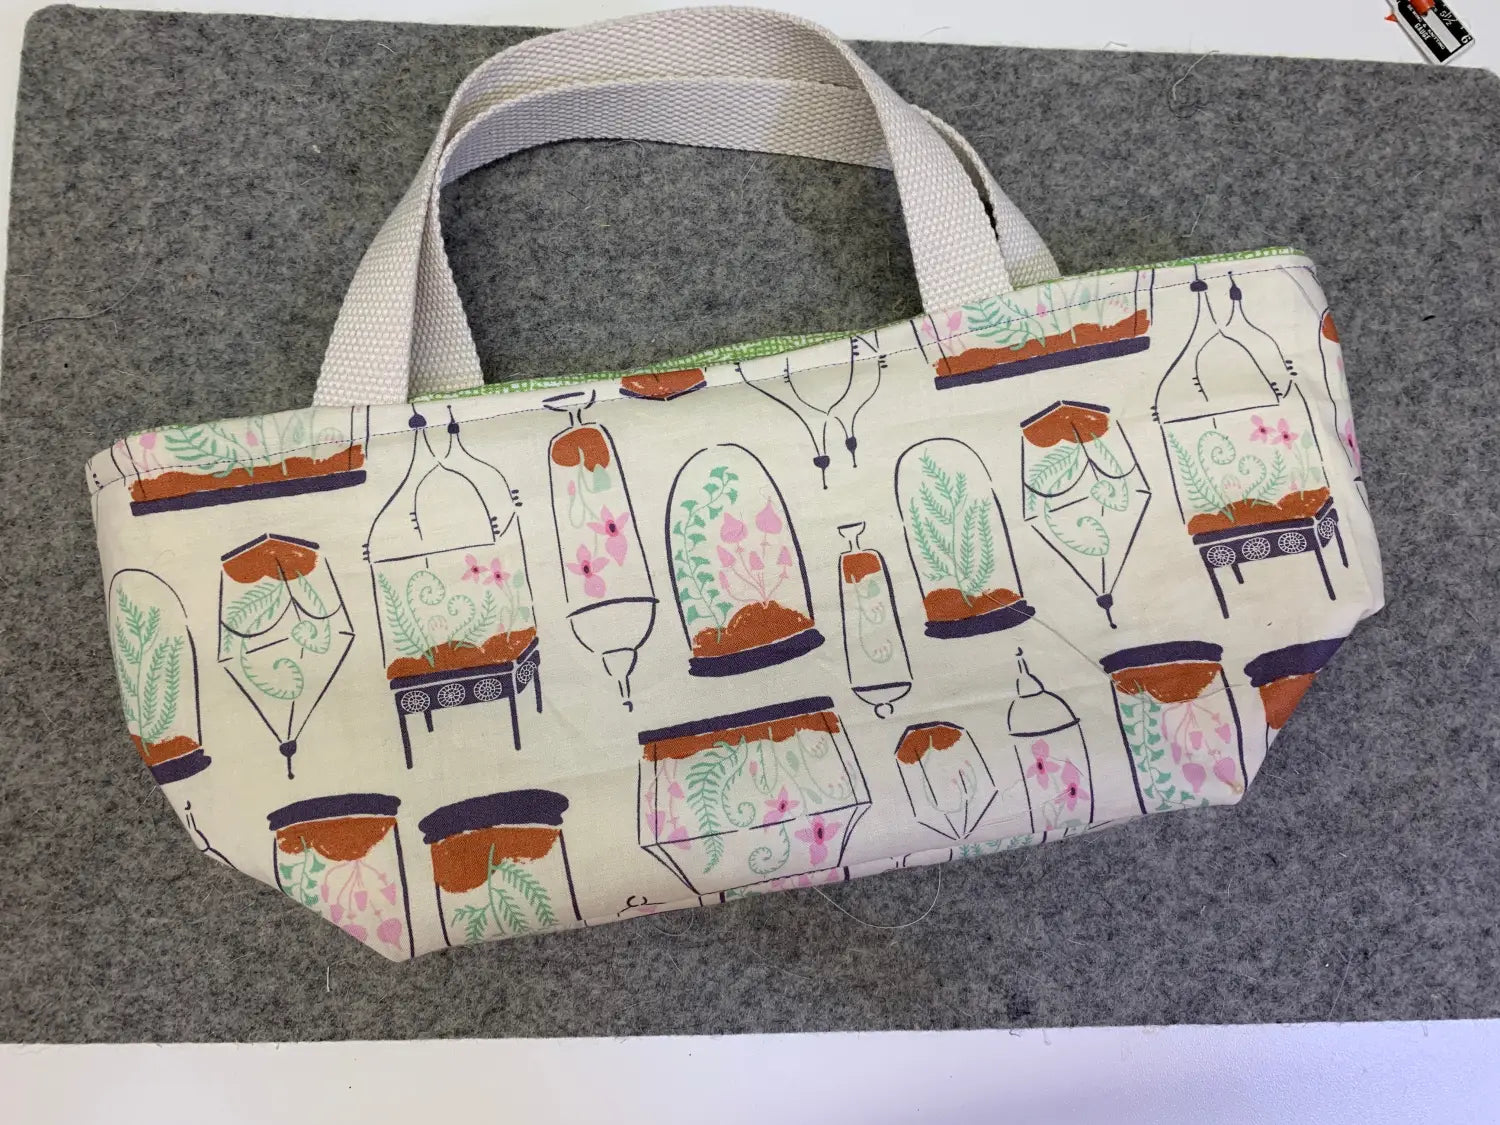
VOILA--you now have a reversible Easter basket/storage tote!

Stay in touch and Show us what you've made:
Instagram: @sewingbysarahstore
Facebook VIP Group: https://www.facebook.com/groups/sbsvip
Download your FREE Presser Foot Quick Guide Here:


Kim
March 30, 2021
I appreciated the step-by-step demo. An easy pattern to sew. Makes a great gift. Thank you – enjoyed very much :-!