You would think that sewing a straight seams would be straightforward, but sewing a straight line can be trickier than you think. Lucky for us sewists, there are plenty of tools available to help. Here at Sewing By Sarah we carry a variety of marking pens (both heat-erasable and water-soluble) and guides to keep you on the straight and narrow. I've spent the past few sewing projects testing the different options, and here's my assessment.
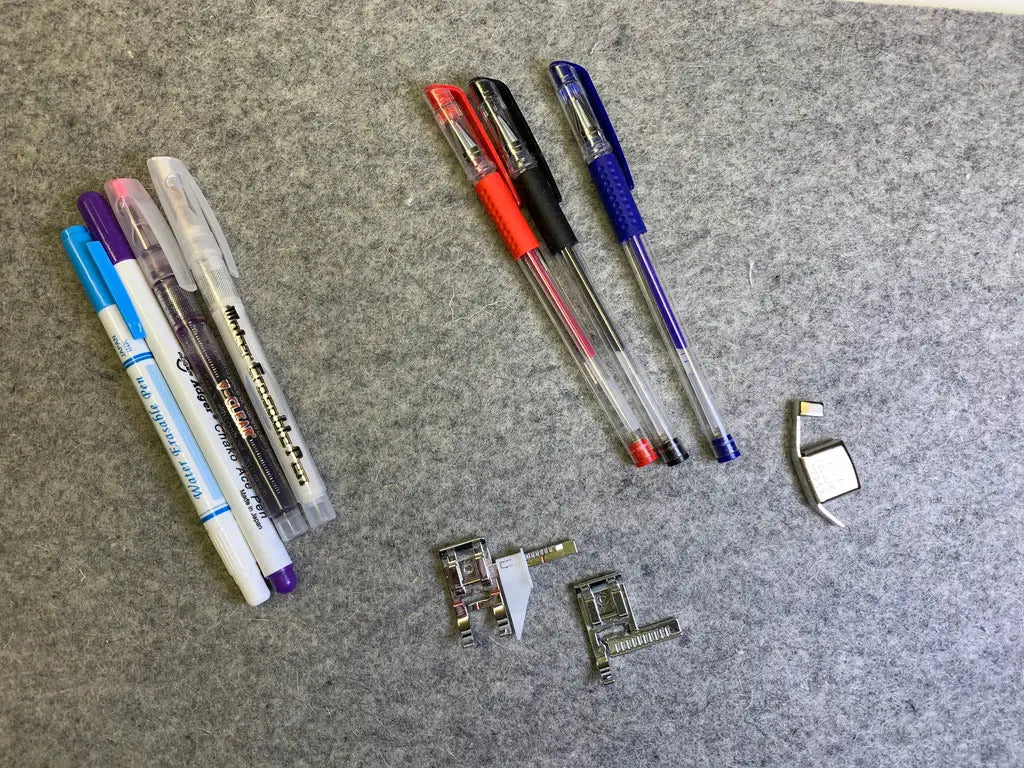
TOOLS
- water and air soluble pens
- heat-erasable pens
- magnetic seam guide
- adjustable guide presser foot
- precision guide foot (part of the 32 piece set)
Assessment
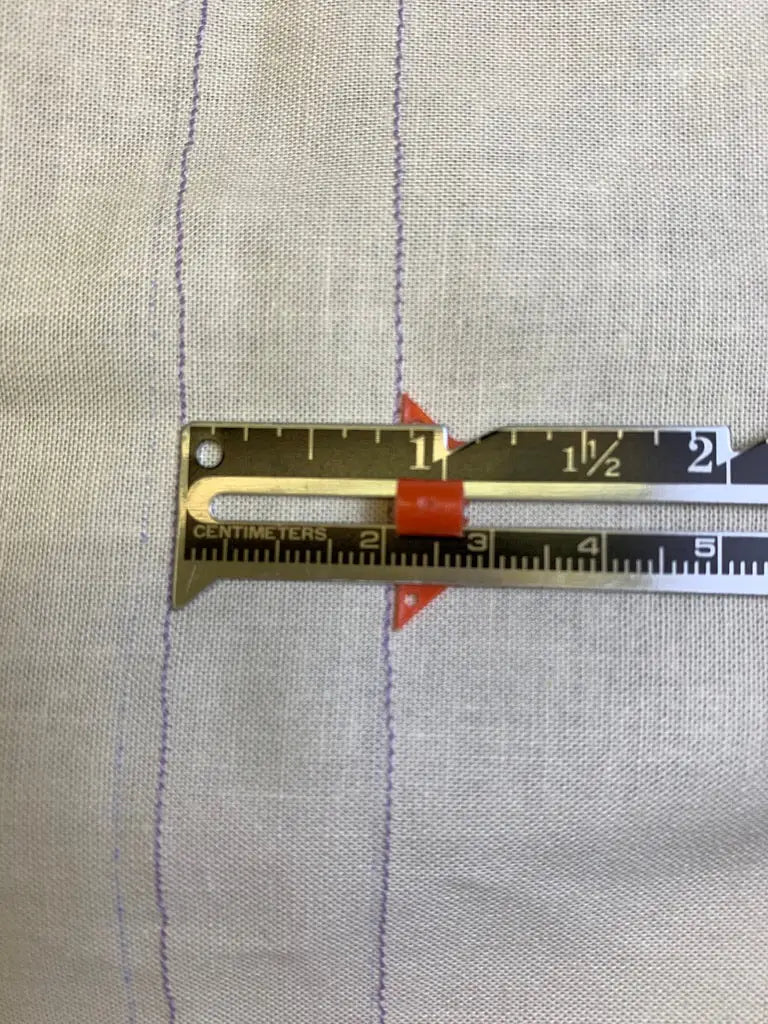
Using my gridded ruler, I used a variety of the marking pens and marked lines at varying distances from each other. My thoughts were to test the various guide feet (as well as the zigzag foot that comes with my machine to see which consistently helped me achieve long straight seams.
Test 1: Adjustable Guide Foot using markings on the foot
- I lined up the center red mark with the drawn line and sewed the length of the line.
Test 2: Adjustable Guide Foot using the adjustable guide
- I lined up the adjustable guide with the drawn line to the right of the foot and sewed.
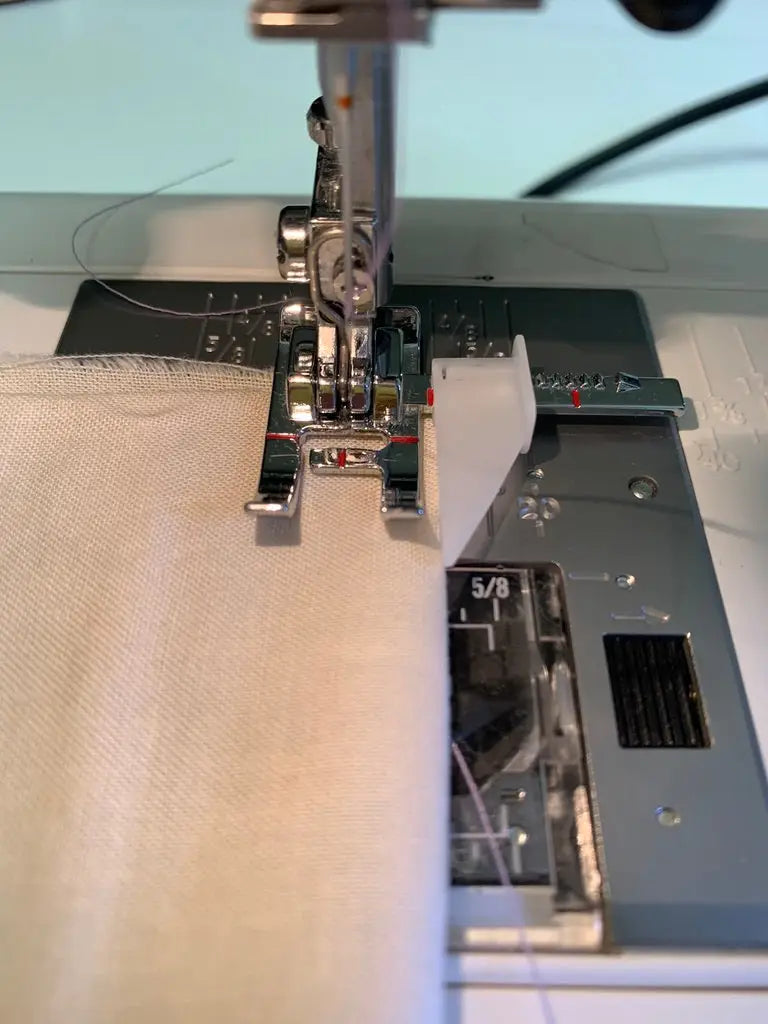
Test 3: Zigzag foot with the magnetic seam guide
- I lined up the fabric with the magnetic seam guide placed at 5/8" and stitched parallel to that.

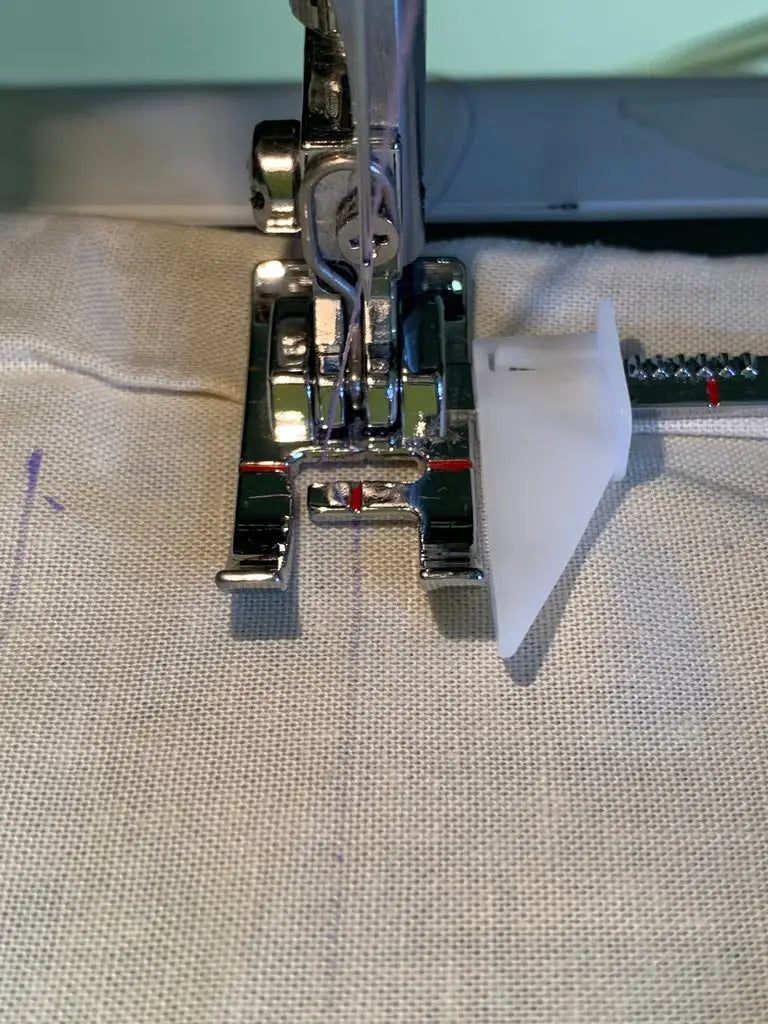
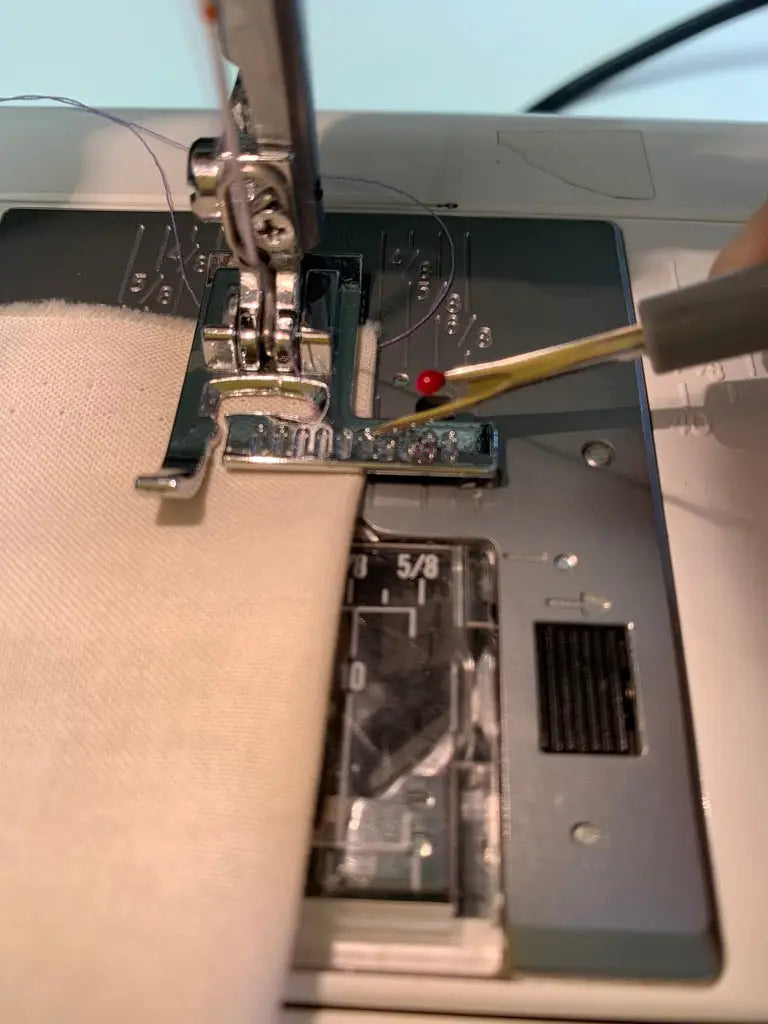
Test 4: Precision Guide Foot using the center marking on the foot
- I lined up the needle with the drawn line, and sewed.
Test 5: Precision Guide Foot using the 3/8th marking
- I lined up a previously sewn line with the 3/8" mark on the foot and stitched parallel to that.
Test 6: Adjustable Guide Foot, no lines, using the 3/8" mark,
- I lined up the guide with the edge of the fabric at the 3/8" mark and stitched
Test 7: Adjustable Guide Foot, no lines, using the 5/8" mark
- I lined up the guide with the 5/8th mark and stitched

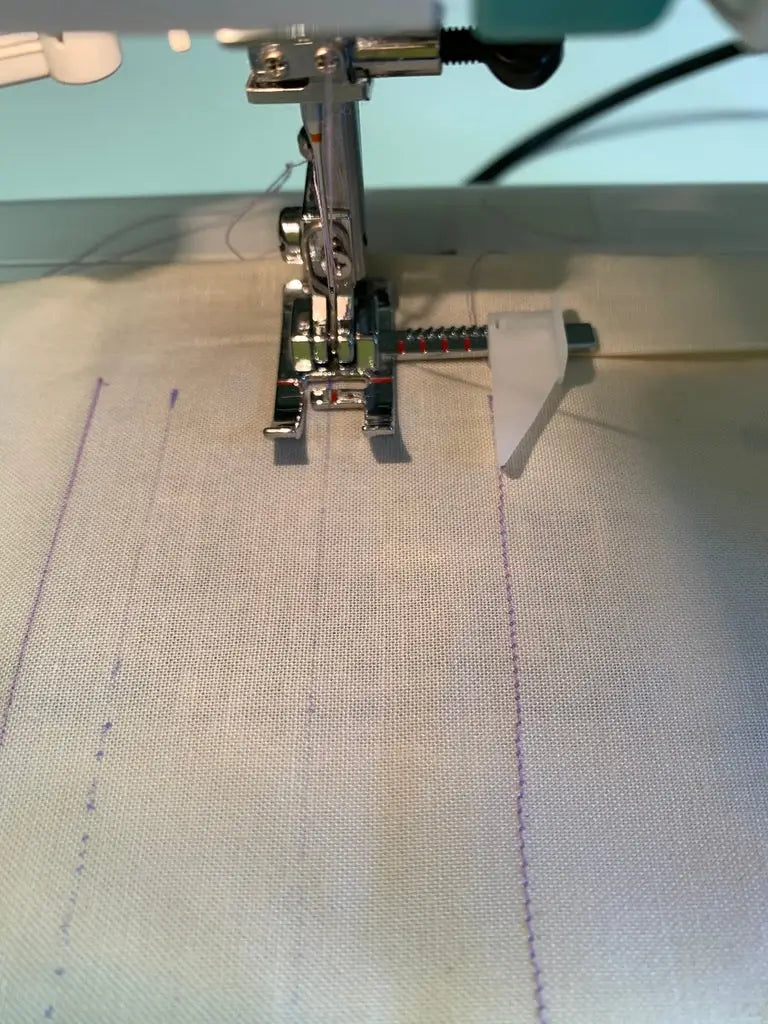
Test 8: Precision Guide Foot, no lines, using the 5/8" mark
- I lined up the 5/8" marking with the edge of the fabric and stitched
Test 9: Zigzag foot, no lines, using the magnetic seam guide at 3/8"
- I placed the magnetic seam guide at the 3/8" mark on the machine, lined the fabric up with the seam guide and stitched.
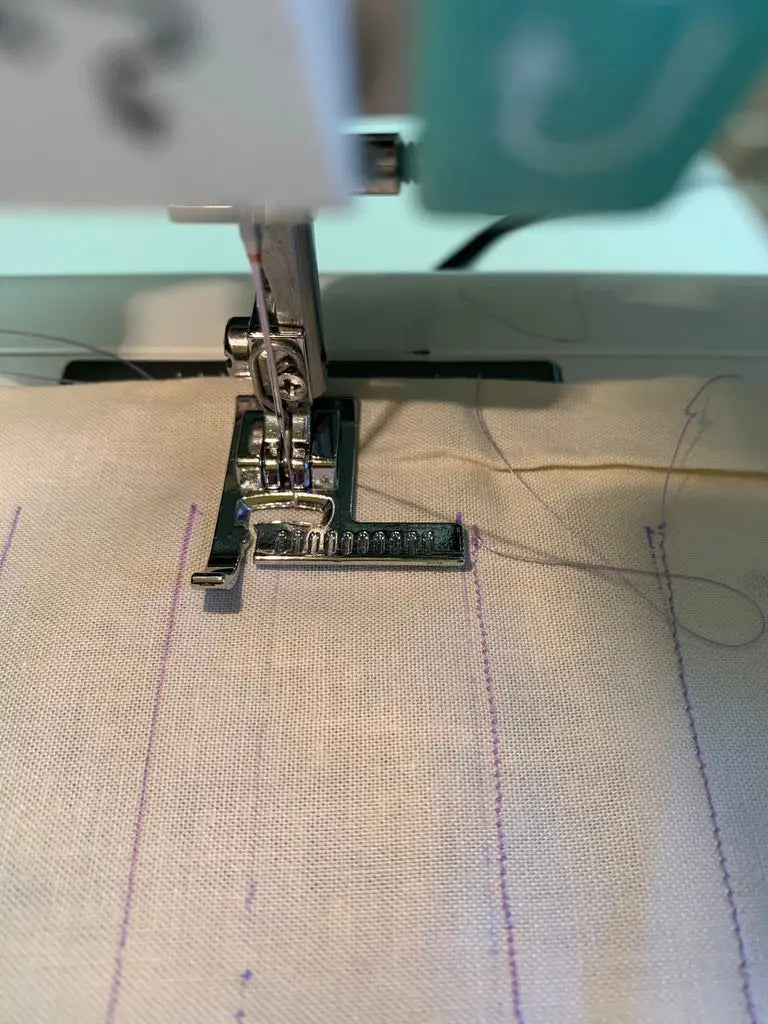
Results
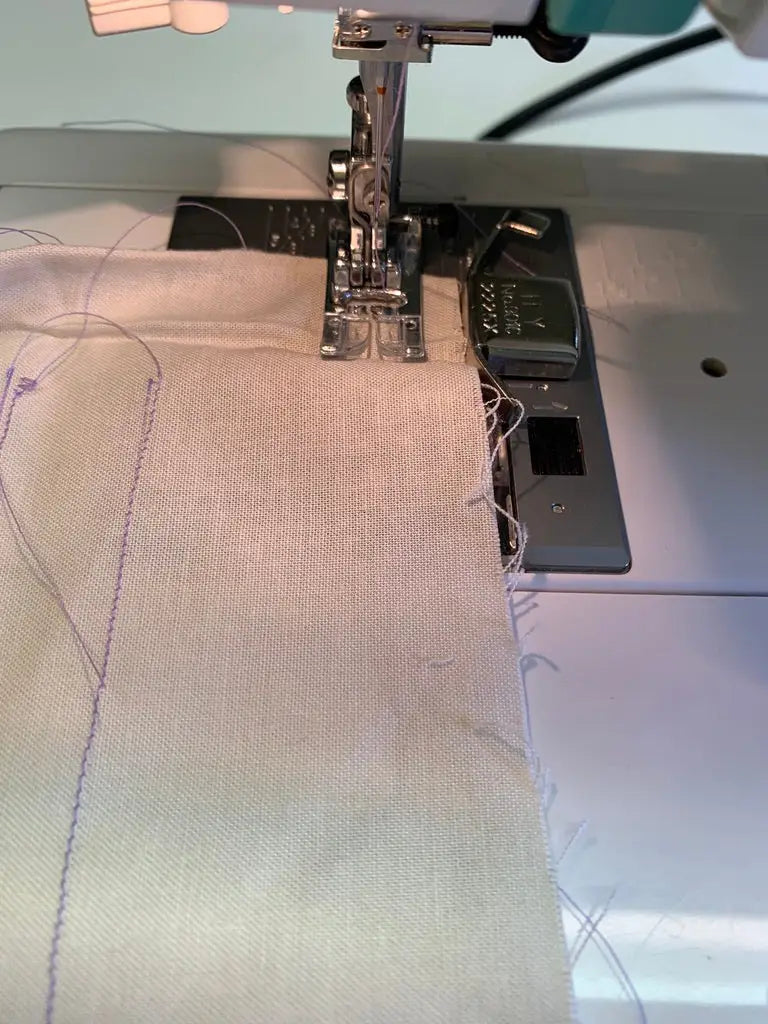
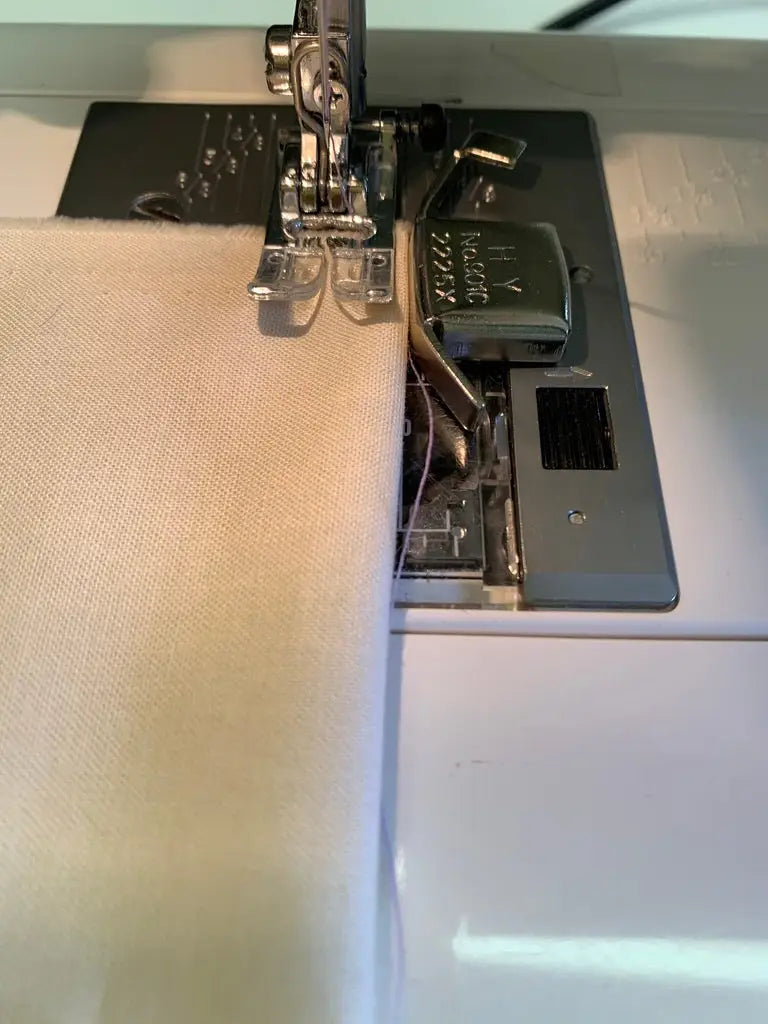
Some of my seams were better than others--not necessarily because of the function of the guide, but more that the guide is just that--you, the sewist, are still in charge of your speed, and feeding the fabric through the machine.
It's also important when using these feet that you measure for accuracy, as your particular machine may be calibrated slightly differently, so get out that gauge ruler to double check your work!
(See what I mean? The first seam is nice and straight, but I took my eye off the second seam when my cat crawled under my sewing table, and it got a bit wonky)
Of course, there's good news and bad news. The bad news is there is no definitive PERFECT SEAMING tool. But that's also the good news. Each guide and guide foot works equally well, and it's up to you to choose the correct tool for your project. After a few projects, this is what I've learned about my preferences.
1. If I'm sewing a garment, I prefer the Adjustable Guide Foot, as the plastic guide moves according to the seam allowances I need, and I don't need to strain my eyes to keep track of a marking on the foot itself.
2. If I'm quilting straight lines (and I'm not using my walking foot), I like using the Precision Guide Foot, lining up the markings on the foot with the previously sewn lines. (you can also use the 1/4" foot, I wrote another blog post about those here: https://sewingbysarah.com/blogs/tutorials/the-1-4-presser-feet-game-changer
3. If I'm using thicker fabrics (and a teflon foot or walking foot), I like the magnetic seam guide as it keeps everything in line.
So my advice to you is to experiment--you'll find your favorite tools for your go-to projects, and if one technique isn't working, try another! All things considered, any one of these tools is a much better option than my previous go-to: blue painter's tape.
Stay in touch and show us what you've made!
Instagram: @sewingbysarahstore
Facebook VIP Group: https://www.facebook.com/groups/sbsvip


Leave a comment (all fields required)