

Marking your project with lines to create your project can be time consuming. Using a foot on your sewing machine with a built in guide can help remove the need to mark your project but still give you straight lines at the measurement you require. This post will show you how to sew straight with ease.
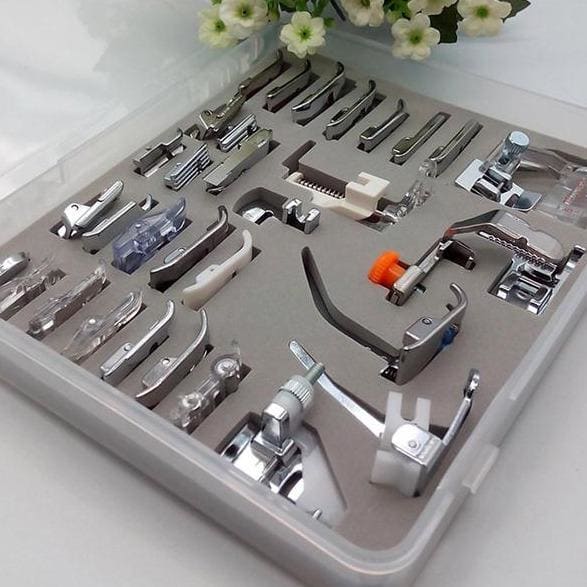
There are several varieties of feet depending on the project you are working on and your needs. 3 of these feet come packaged in our Ultimate Quilting Presser Foot set, but you can also find them sold separately:
1. Adjustable Guide Foot
The adjustable guide foot is a snap on foot with a plastic guide on the right and a distinctive click as you move in 1/16” increments. This helps you sew a variety of seam allowances in a perfect straight line. You can sew without measuring and marking. The plastic guide slides next to your fabric, in a crease, or on a row of stitching. It guides you from the top. You don’t have to peek underneath to look at the guides on your sewing plate or spend time drawing lines on the fabric.
Red marks on 3/8, 4/8, 5/8, 6/8 & 1 inch, with small marks in between: 7/16, 9/16, 11/16, 13/16, 14/16, 15/16 & 17/16 inch
Width foot = 1¾ inch
We don’t recommend this foot for thicker fabrics, as the plastic guide gets stuck in the fabric at times.

2. Ultimate Quilt and Stitch Presser Foot
This foot is ideal for parallel-line straight stitching, topstitching, and straight-line machine quilting.
- This foot is similar to the adjustable guide foot except it only fits low shank machines
- It has a much larger guide bar, giving your more flexibility with your line placement.
- The bar goes up to 3" with markings every 1/4" and at 3/8"
- The foot has a ¼-inch seam allowance, with a wide-back for maximum feet dog grip—presser foot stays on course and does not meander when encountering bulky seams.
- The stitch alignment guide has plenty of clearance for safety pins to pass below ruler when stitching.

3. 1/4" foot with guide bar
This foot does not have measurements on the bar itself, but is attached to a 1/4" presser foot so has multiple uses. Without the bar, it works just like the 1/4" presser foot (see blog post here). This is a great tool for top stitching or creating decorative straight line stitching. Following a curve at an exact distance is easy with this foot. The bar extends out to 3.25".

4. Walking foot with guide bar
Most walking feet come with a guide bar included. This allows you to create parallel lines while using your walking foot to quilt. The bar extends out to 3.25" in most cases. This is great for following an existing line of stitching or a seam line at the distance that you would like it.

Stay in touch and Show us what you've made:
Instagram: @sewingbysarahstore
Facebook VIP Group: https://www.facebook.com/groups/sbsvip


Leave a comment (all fields required)