Sometimes the smallest projects can be the most satisfying. My older daughter found her “woobie” in a box the other day and I had forgotten all about it. She loved it gently, my younger daughter’s looks like it’s been through a war, but my older one’s still looks pretty good. So these images are of the "loved" version that is about 5 years old!
This project is “sew” easy and makes a great gift. Here are the details:
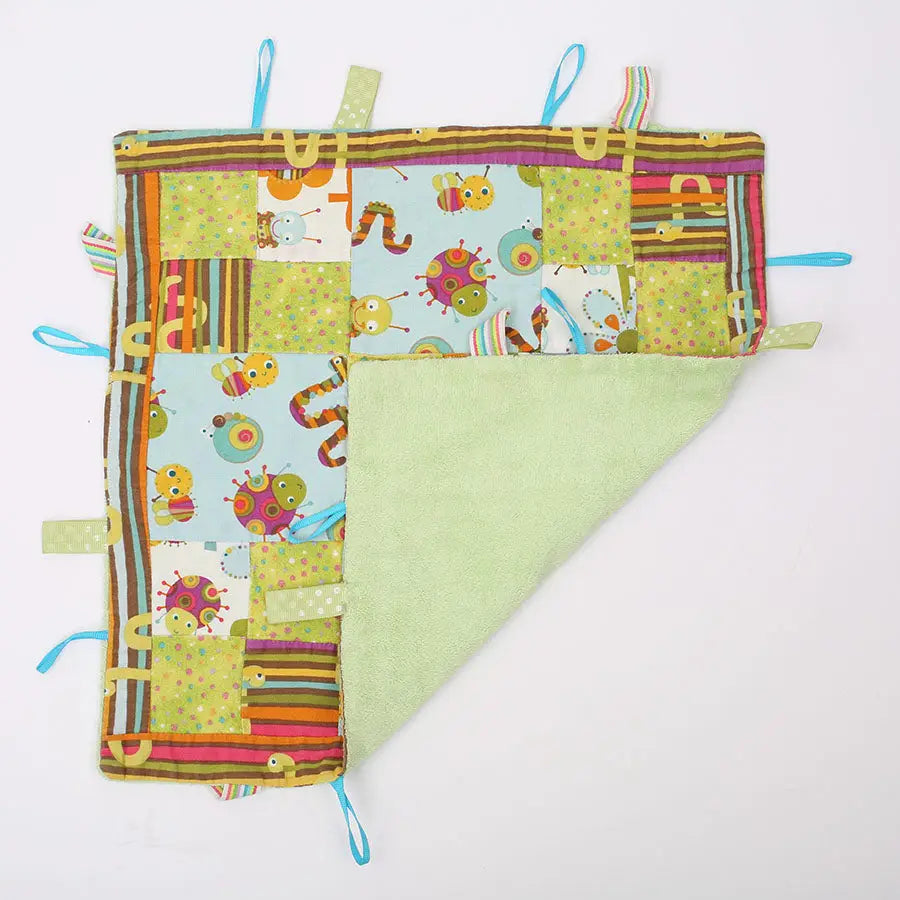
Finished project
13” x 13” “woobie/blankie”
Materials
12.5” x 12.5” square of backing (fleece or minky)
12.5” x 12.5” block of your choosing
50” strip of material for the border.
48” of ribbon (I used two different ribbons, so 24” of each or use a variety of whatever you have).
Instructions
(all measurements assume a ¼” seam allowance)
Start with a 12.5” square block. This is a great way to use up an extra block or two or use up scraps or practice a new technique. These blankets take a lot of wear, so I usually machine piece.
Here I did a simple nine-patch- basic instructions here. Strips were 2.5” and then cut into squares, which were 4.5 x 4.5 before piecing together with a ¼” seam allowance. I used 5 pieced "4 patch" blocks and 4 plain blocks.
For the border- I used a simple 1.5” strip to border the block. This is optional depending on your design. I don’t bother binding these as I like the taggies on the outside.
For the backing- I used a 12.5” square of fleece. I stitched 16 ribbons to the backing by folding 3” strips of ribbon in half and then stitching edges to the backing edges to form the “tags” the kids love playing with.
Then I simply put right sides together (block and backing) and stitch around the edge- leaving a small opening to turn. I clipped and pressed before turning right sides out and then top-stitching the opening closed.
I did not use batting in these, I think the weight is nice with the fleece and It is washed so much that it’s nice to be able to wash and dry easily. I also did not quilt these, but that is certainly an option as well.
Enjoy!


Leave a comment (all fields required)